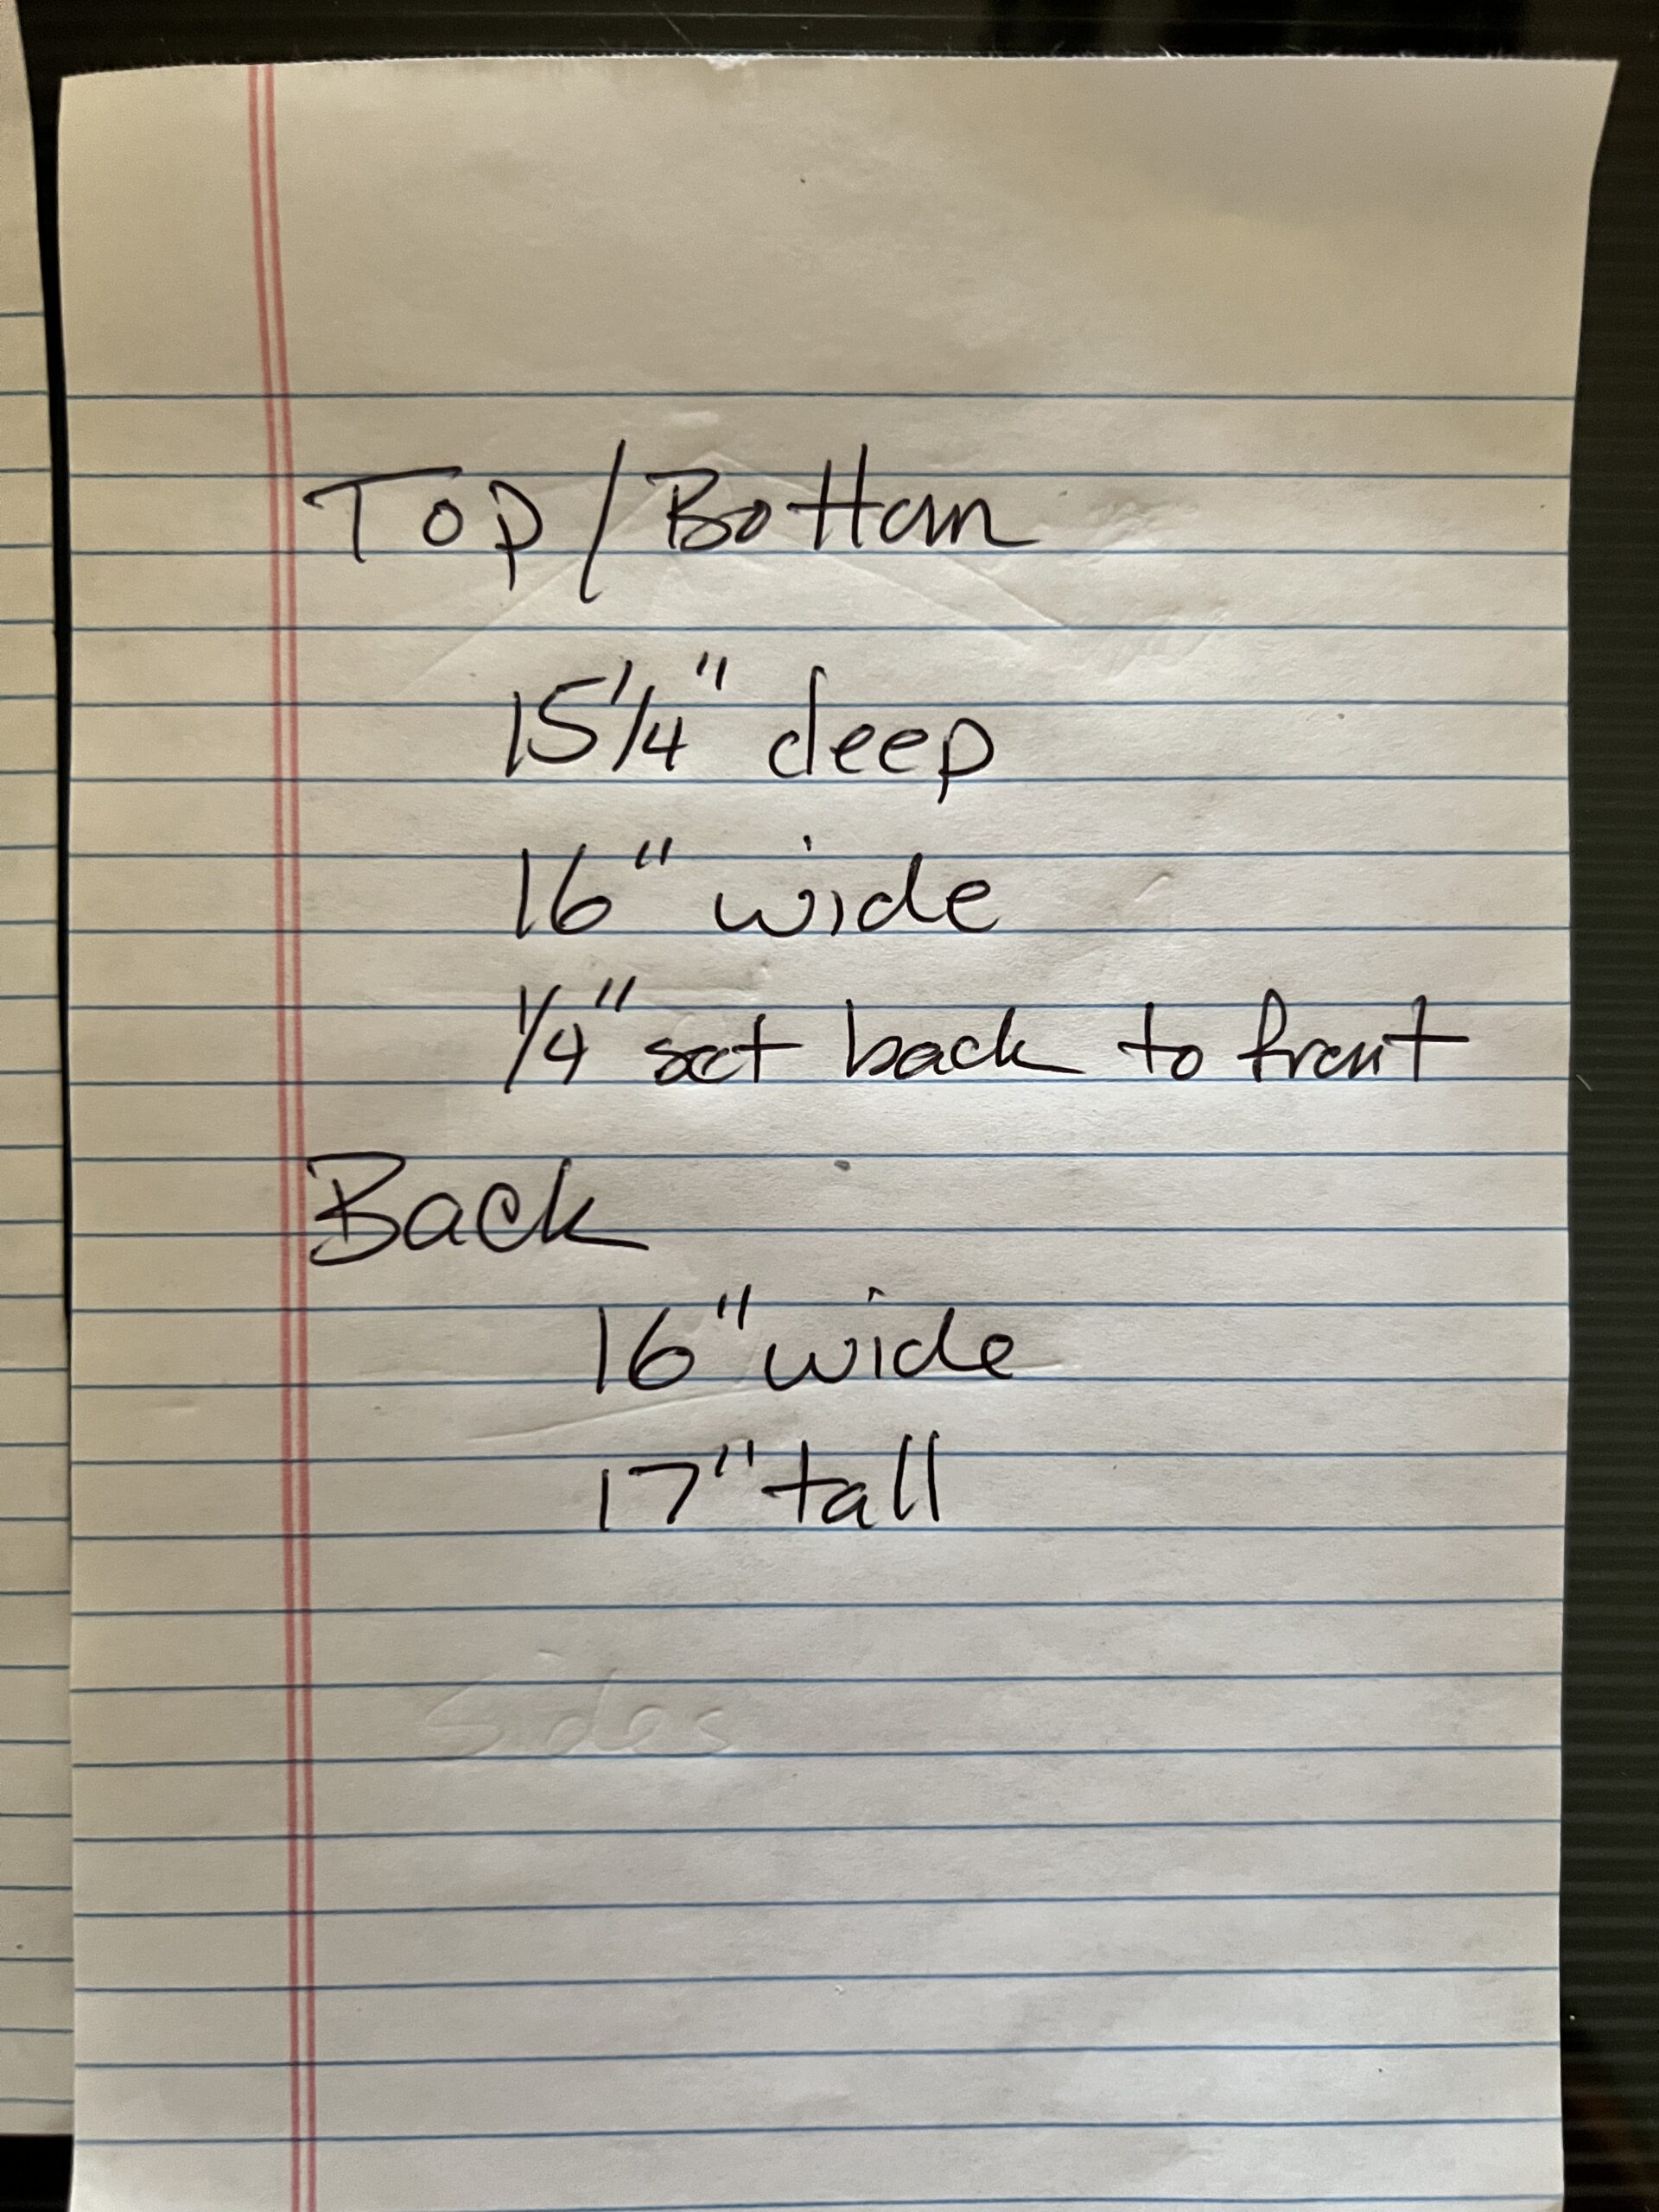
The top and bottom are cut 1/4″ less in depth to allow for air to circulate. Plywood is 1/2″ thick. Inserts if used are 3/8″. But if you didn’t want to use inserts and just a box, one could substitute the 1/2″ plywood for 3/4″. This would also mean that with 3/4″ you would not need the 1″ x 1″ for additional surface to glue and nail to with the 1/2″ plywood. Construction dimensions would change somewhat.
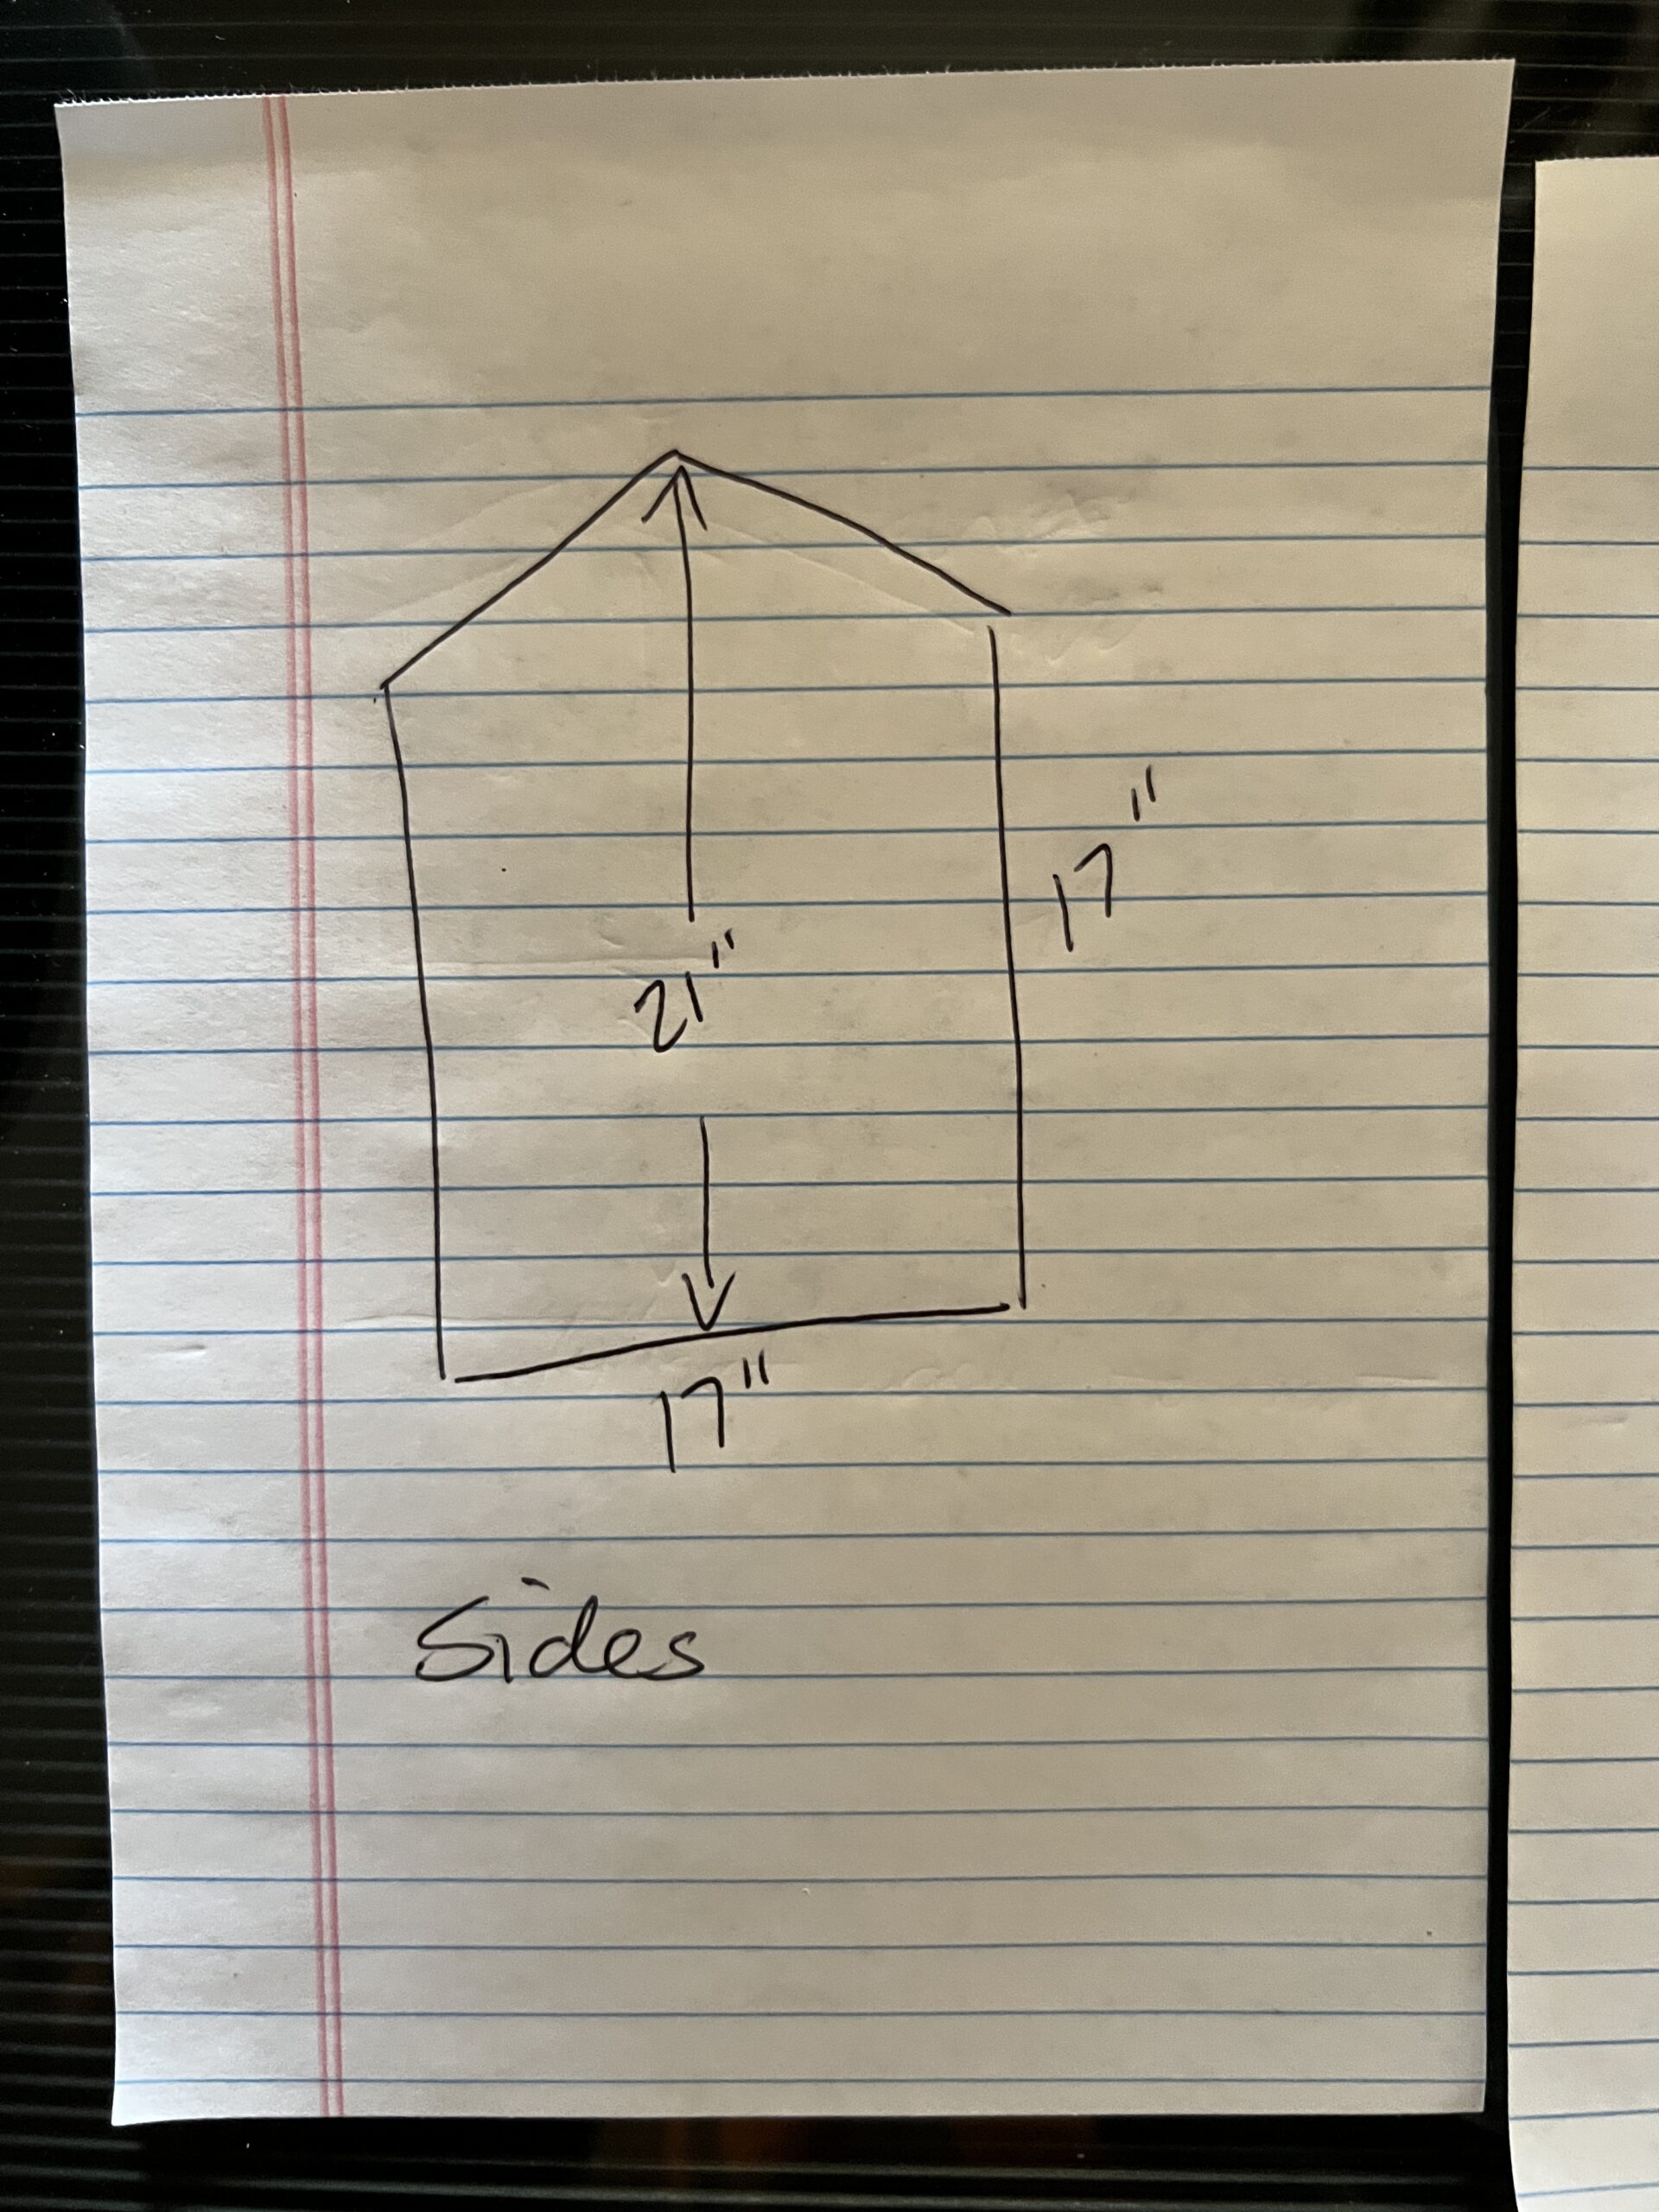
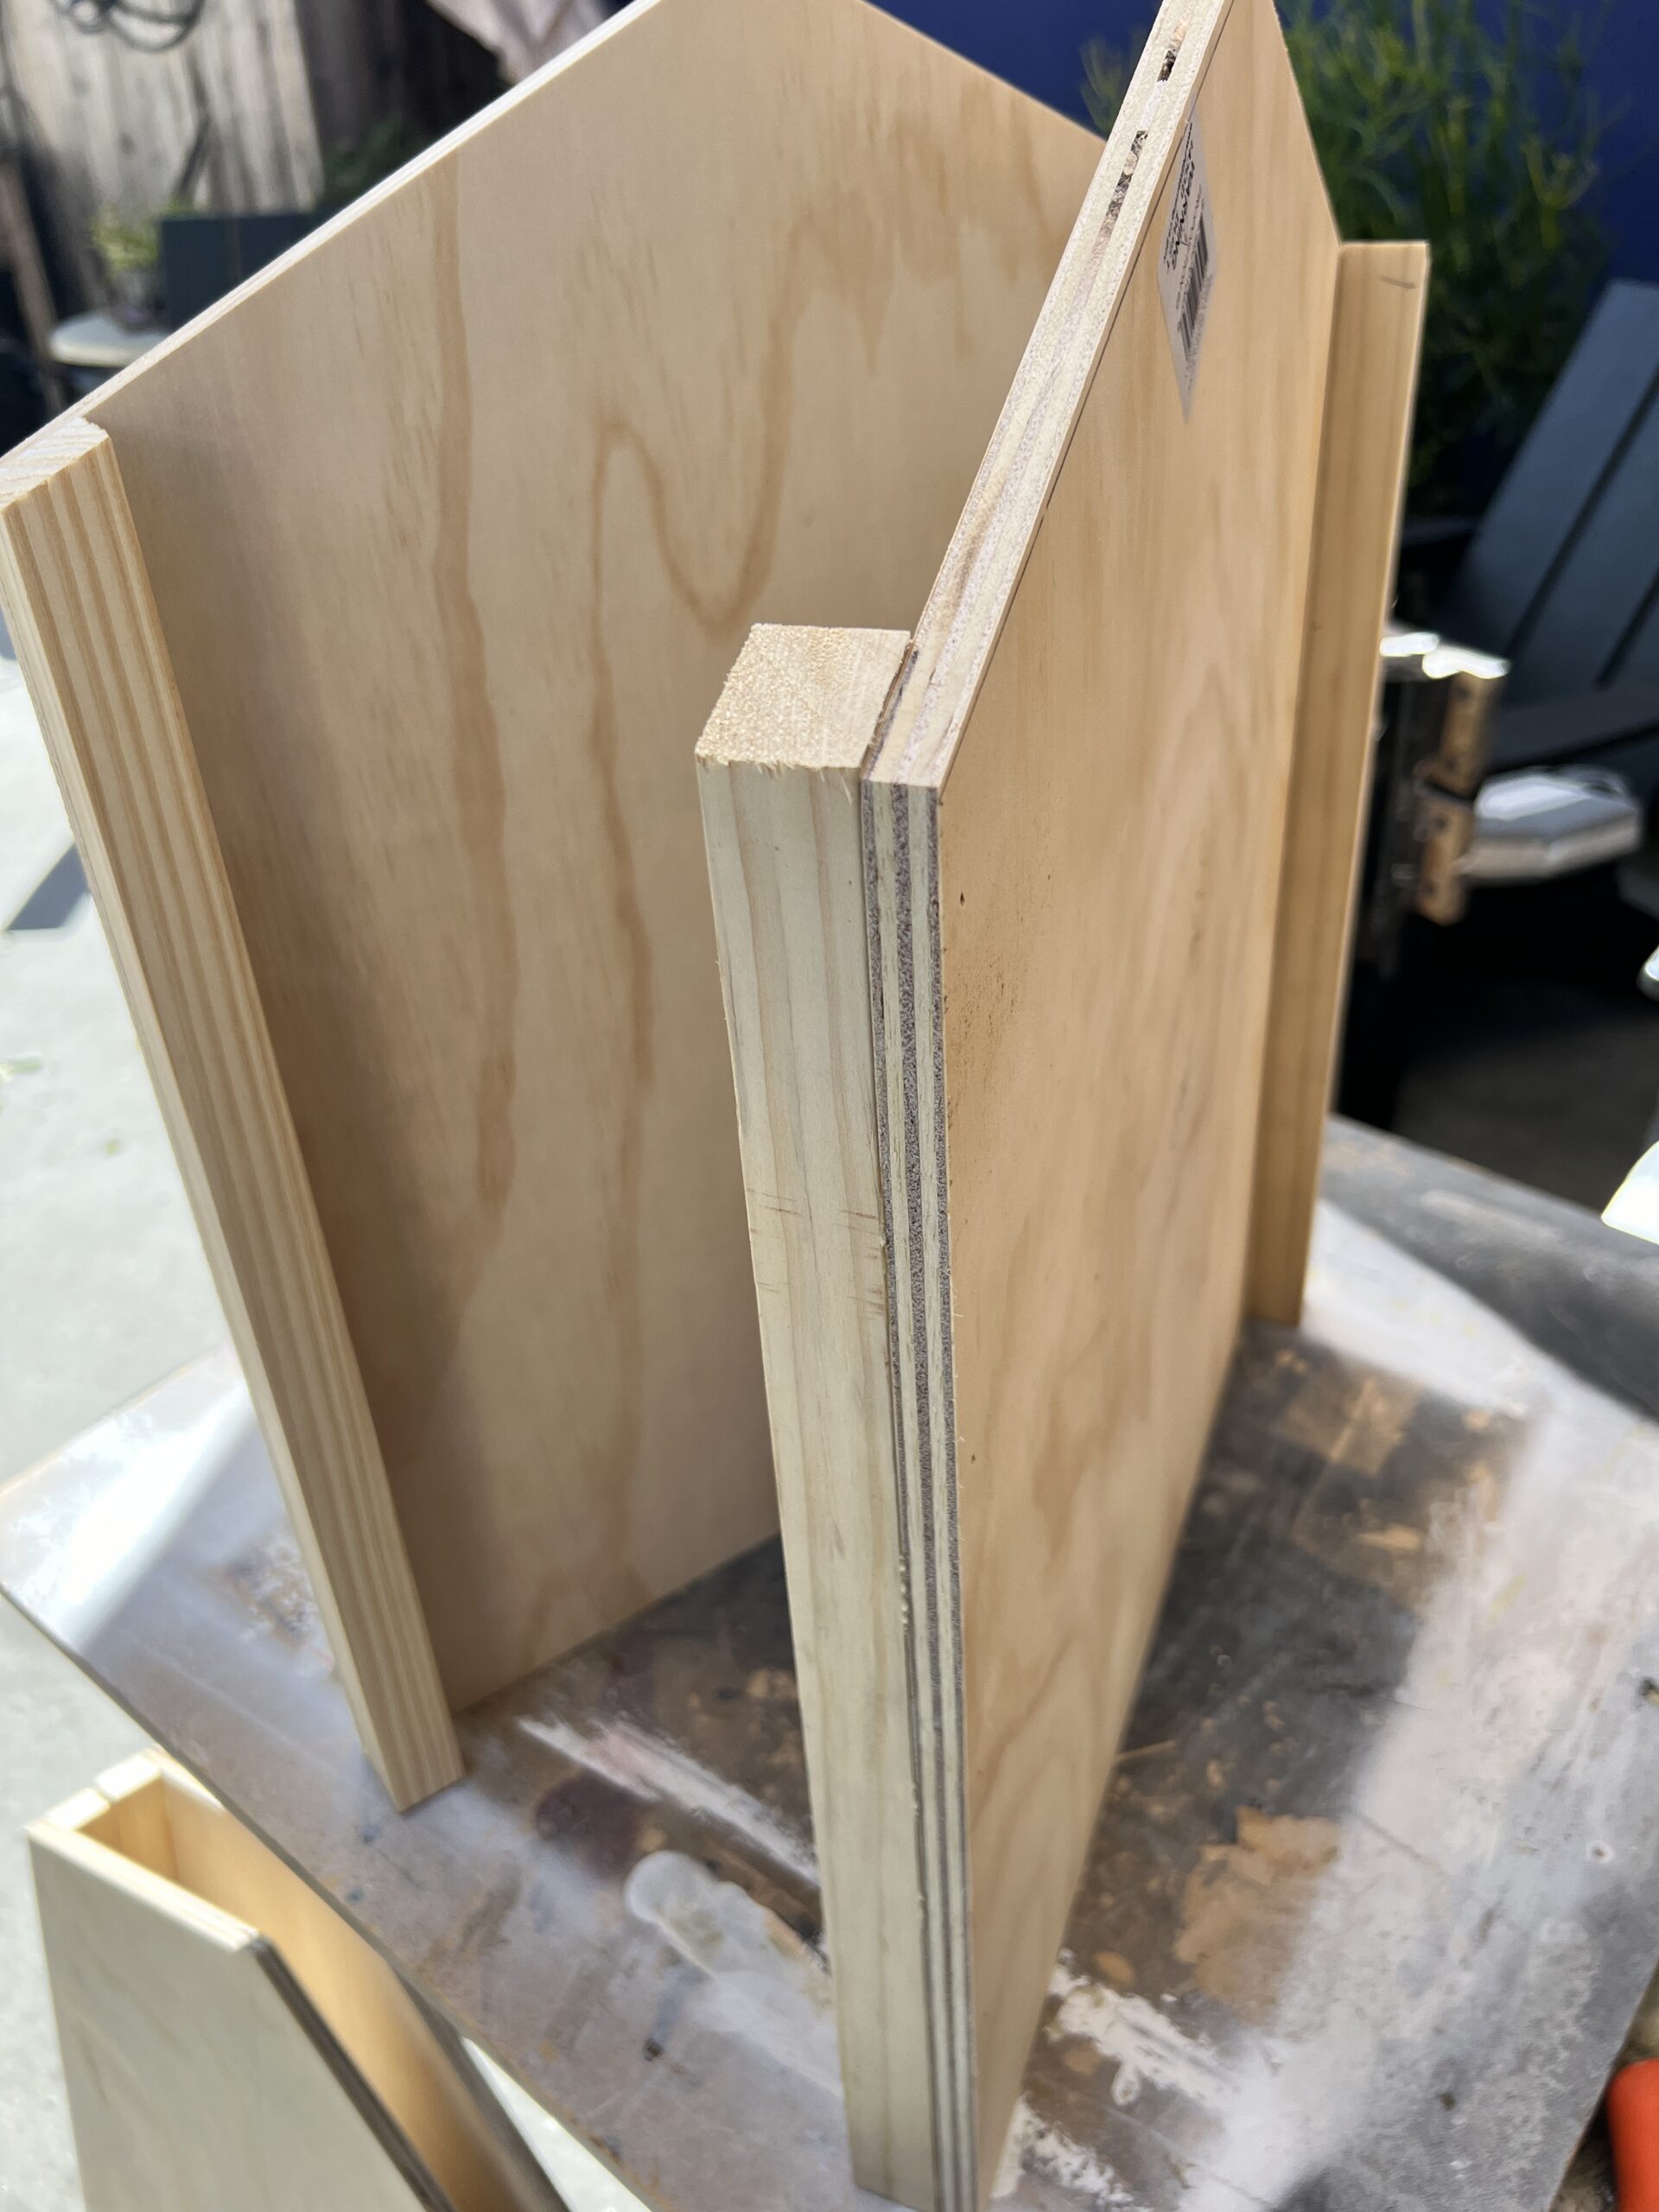
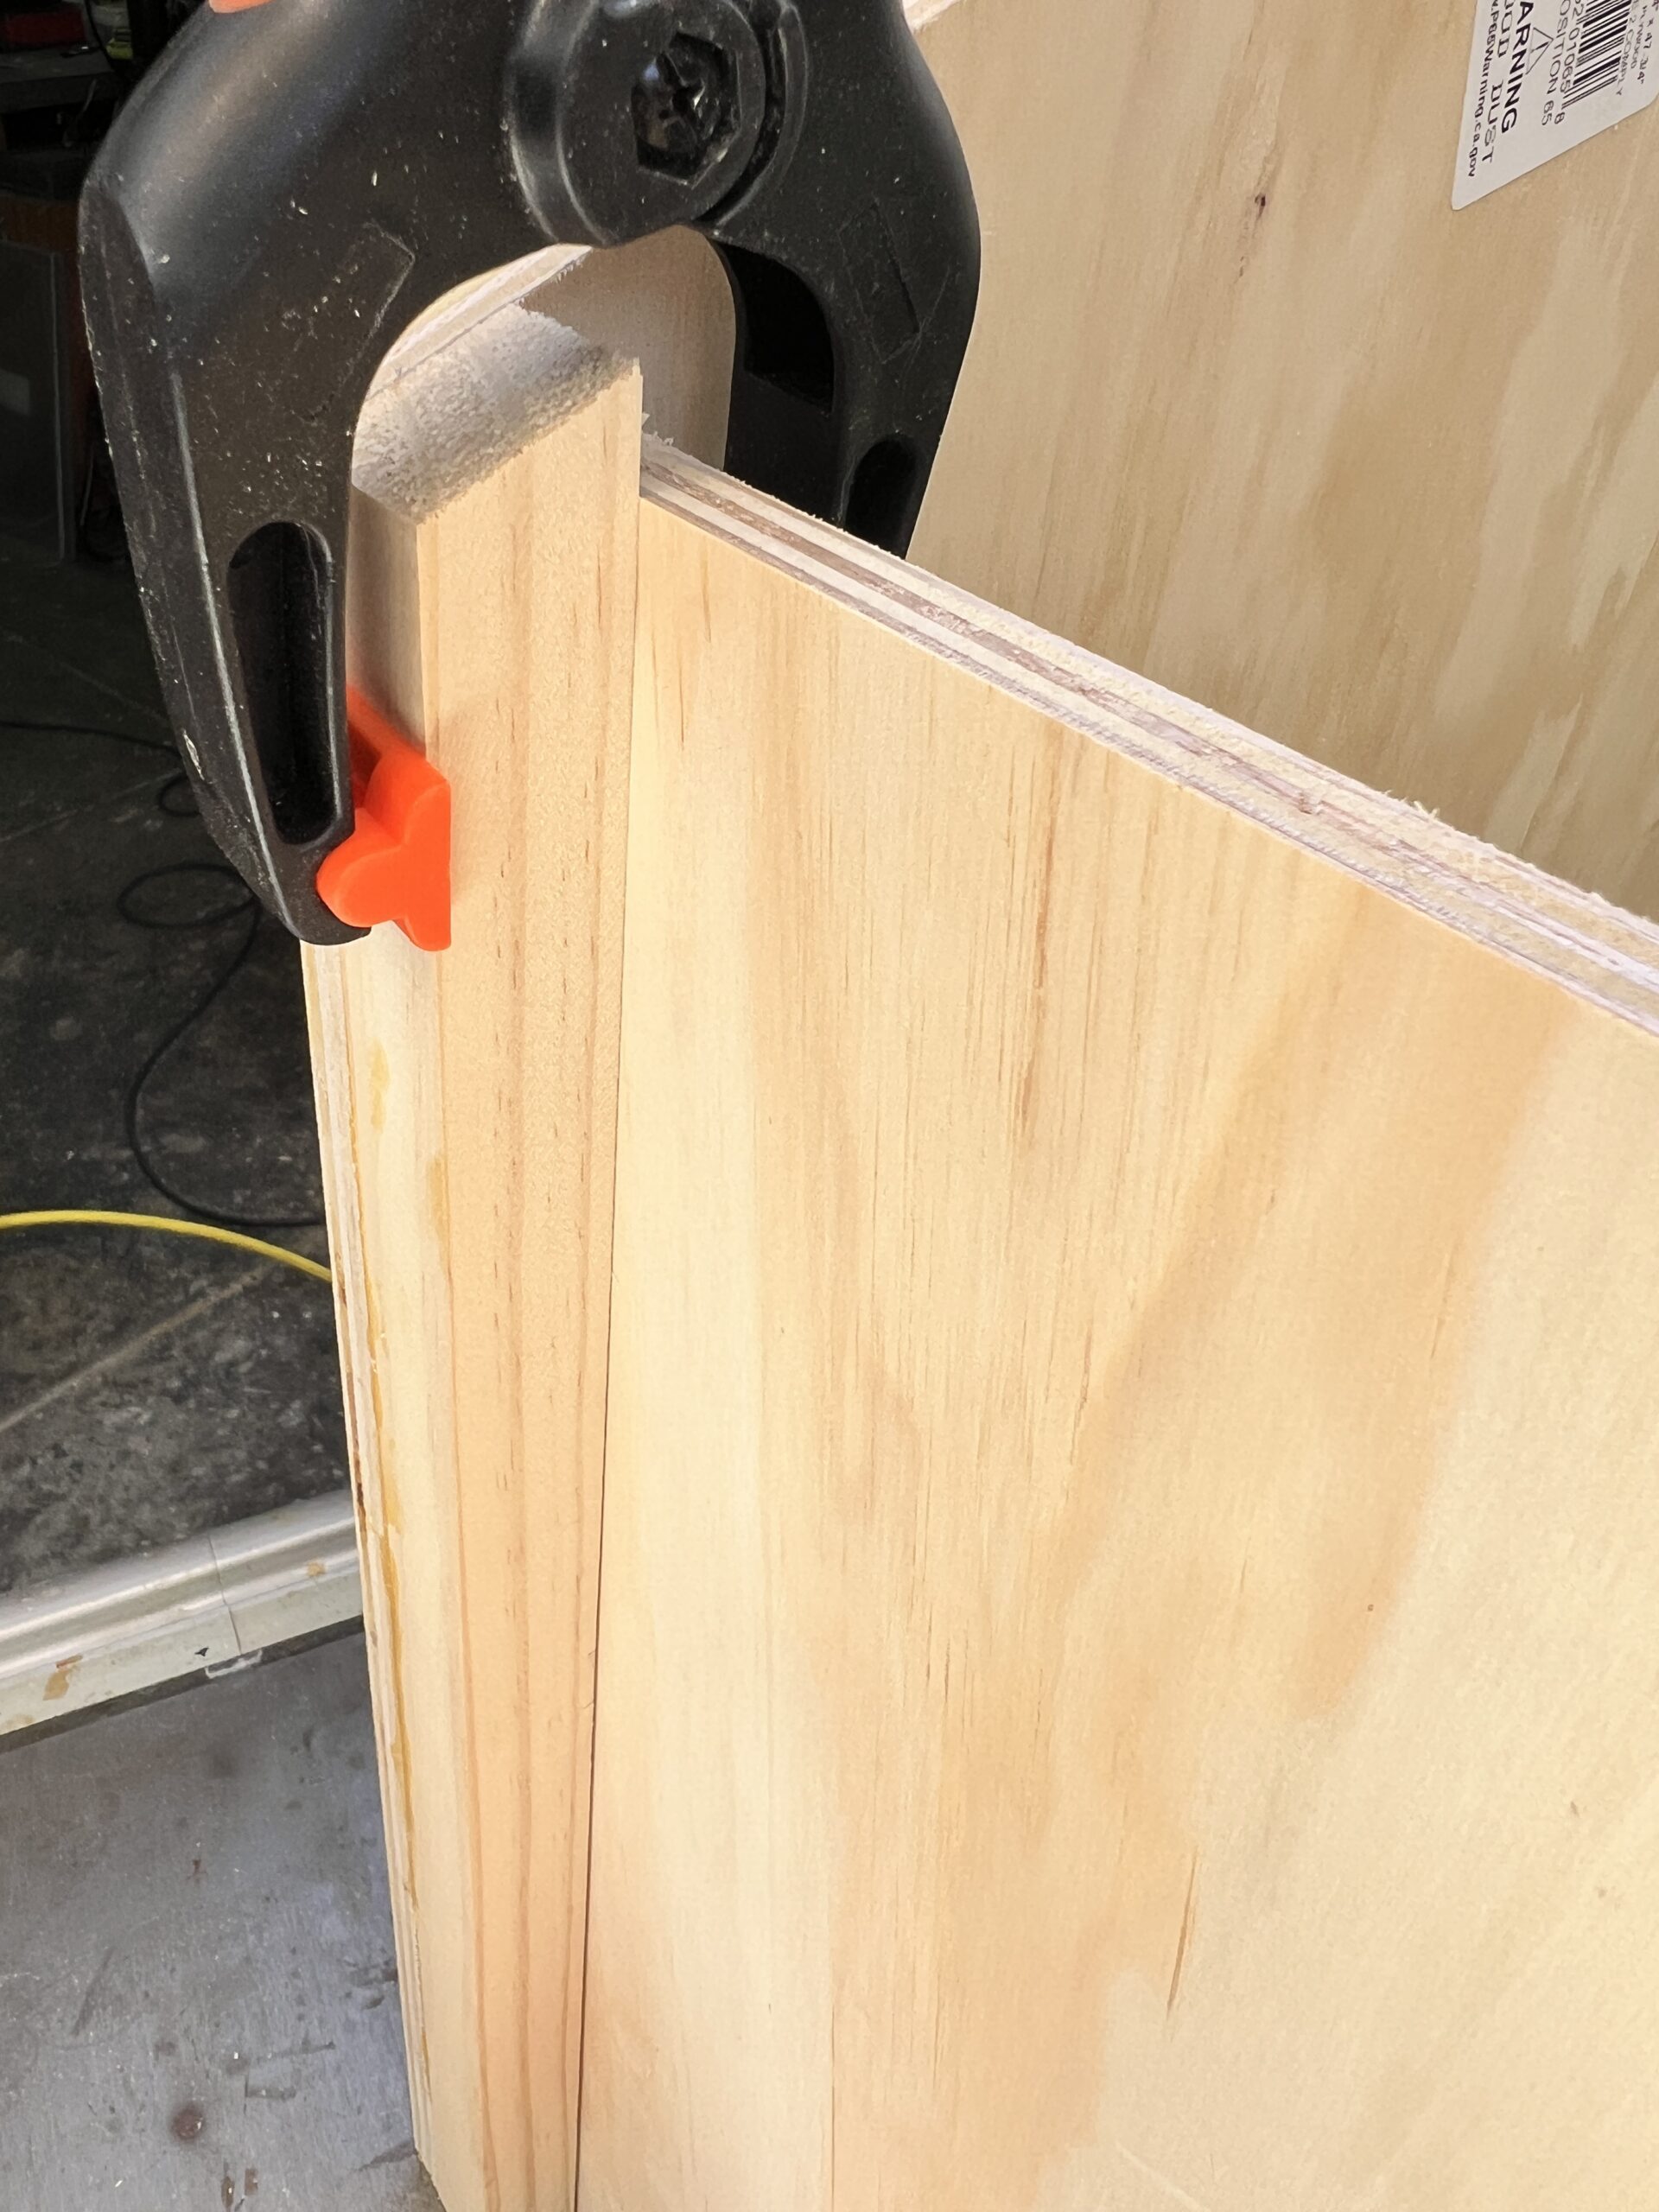
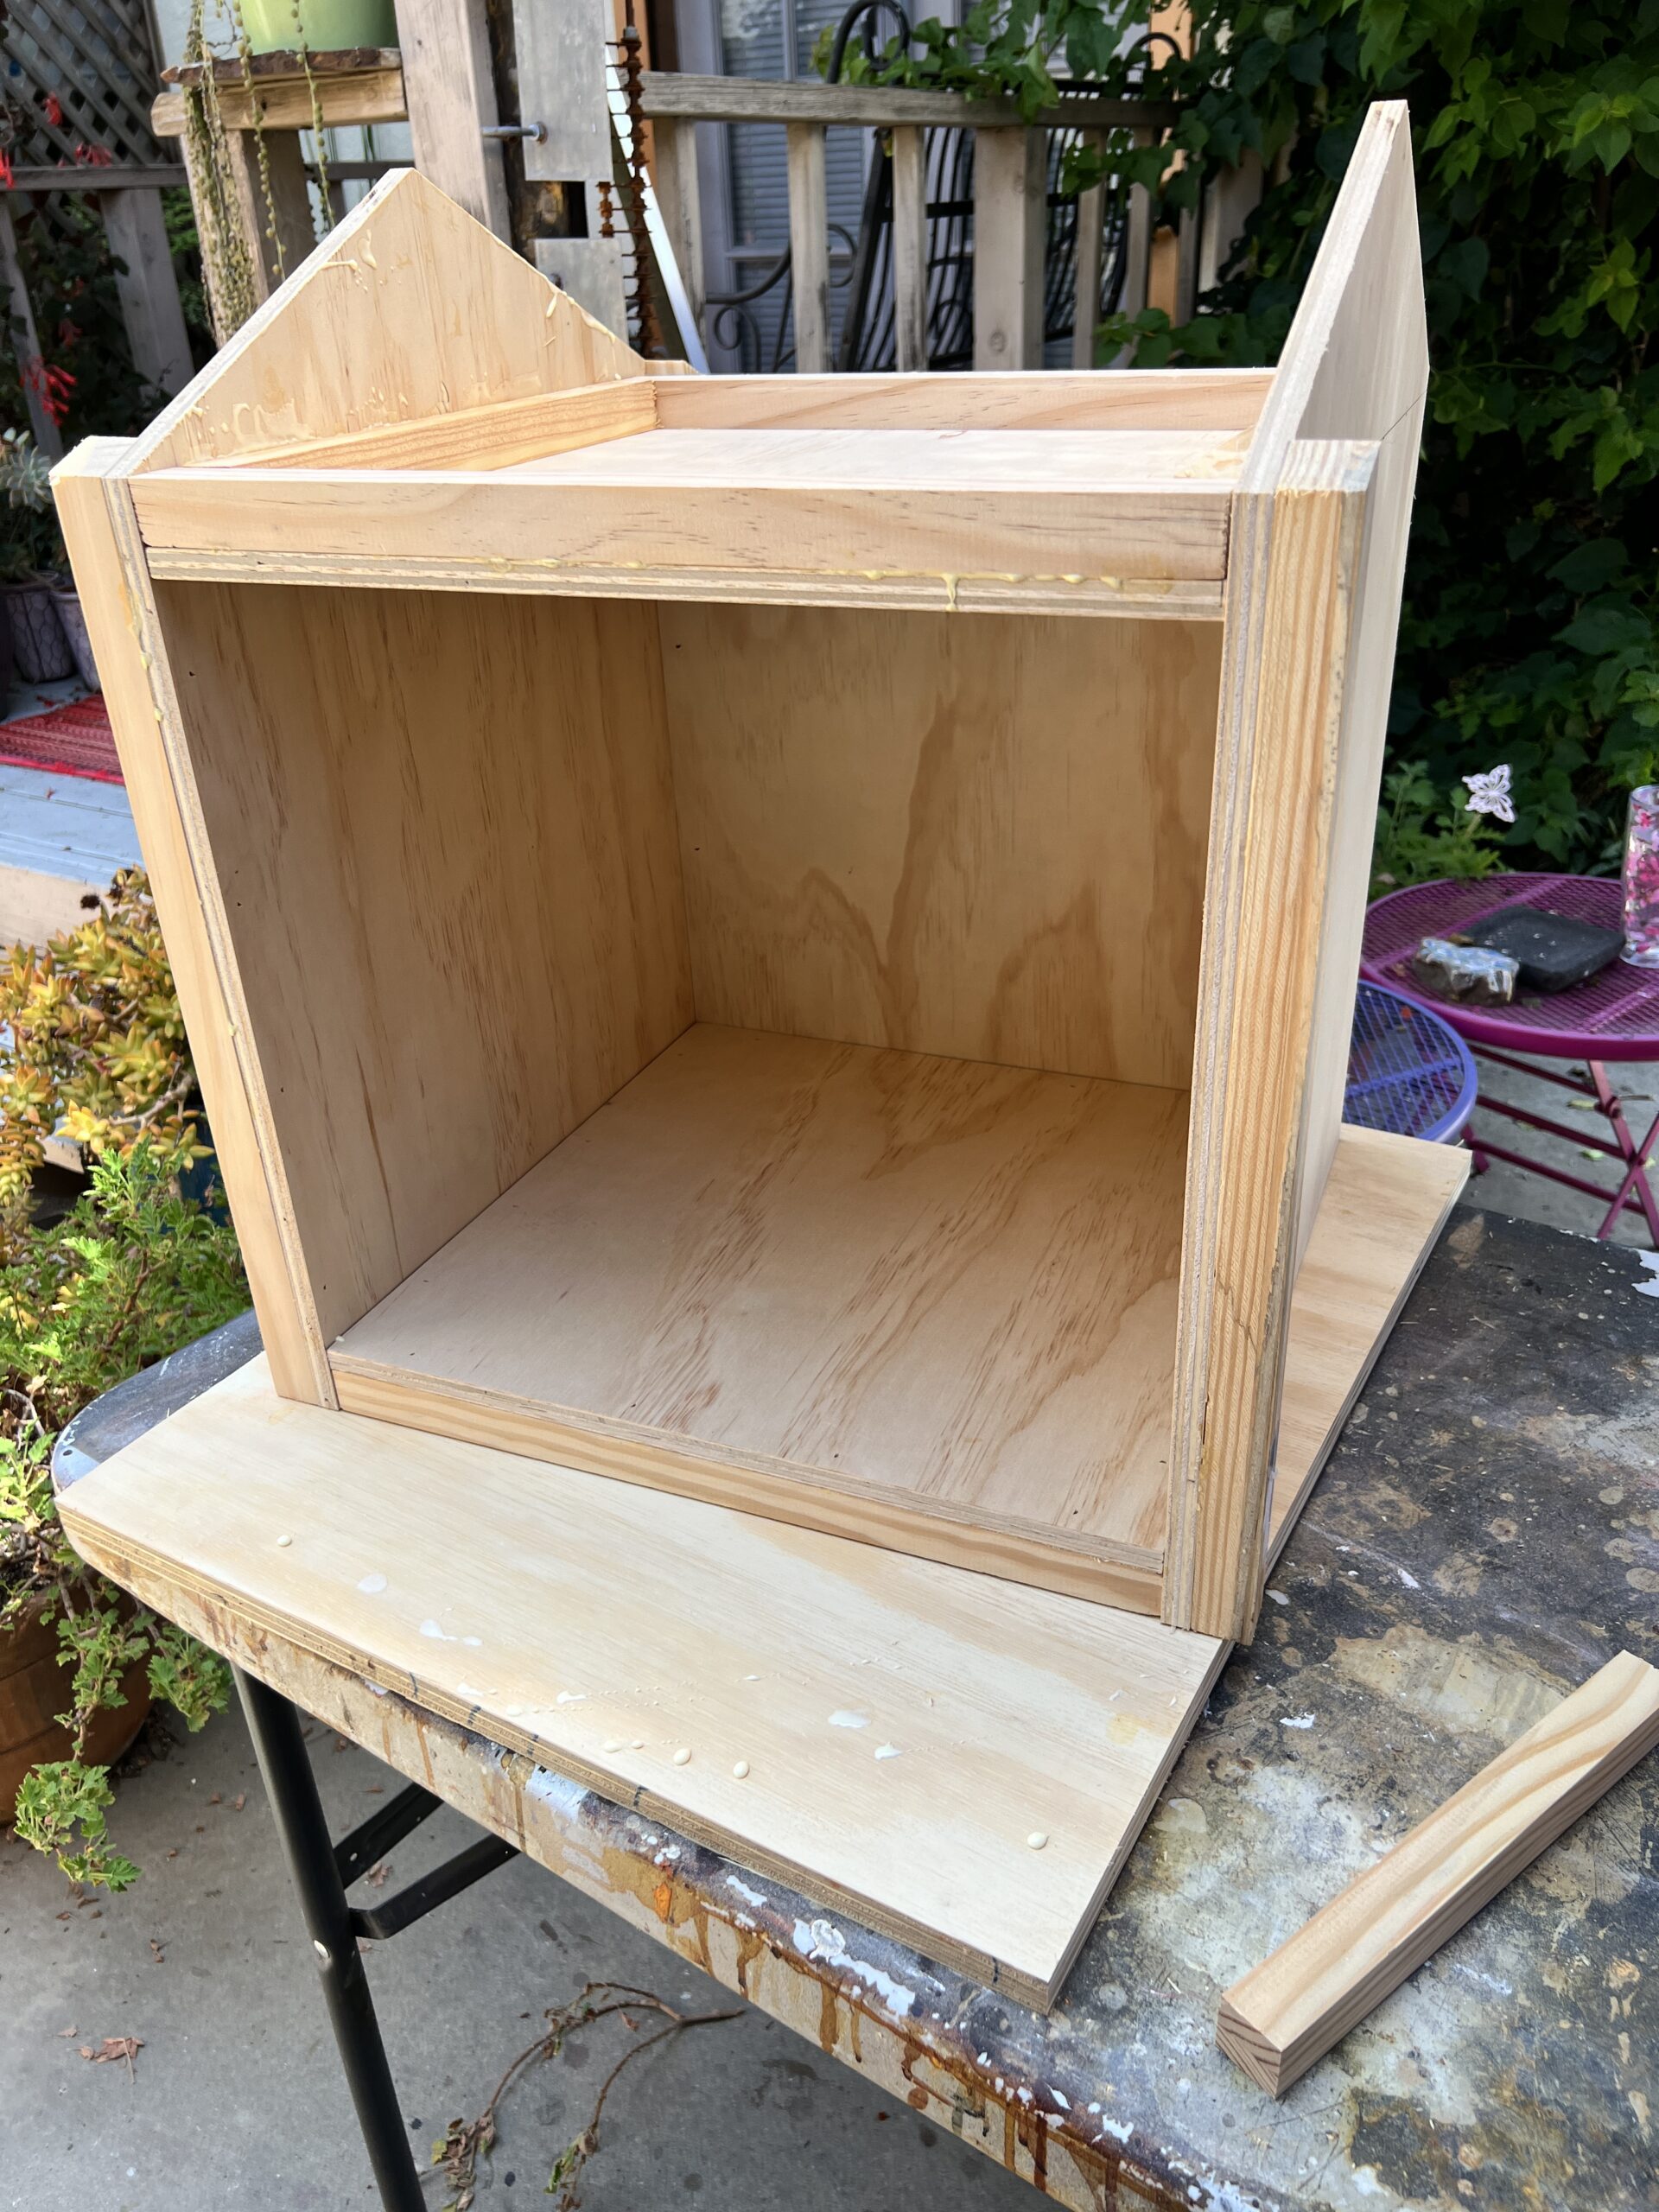
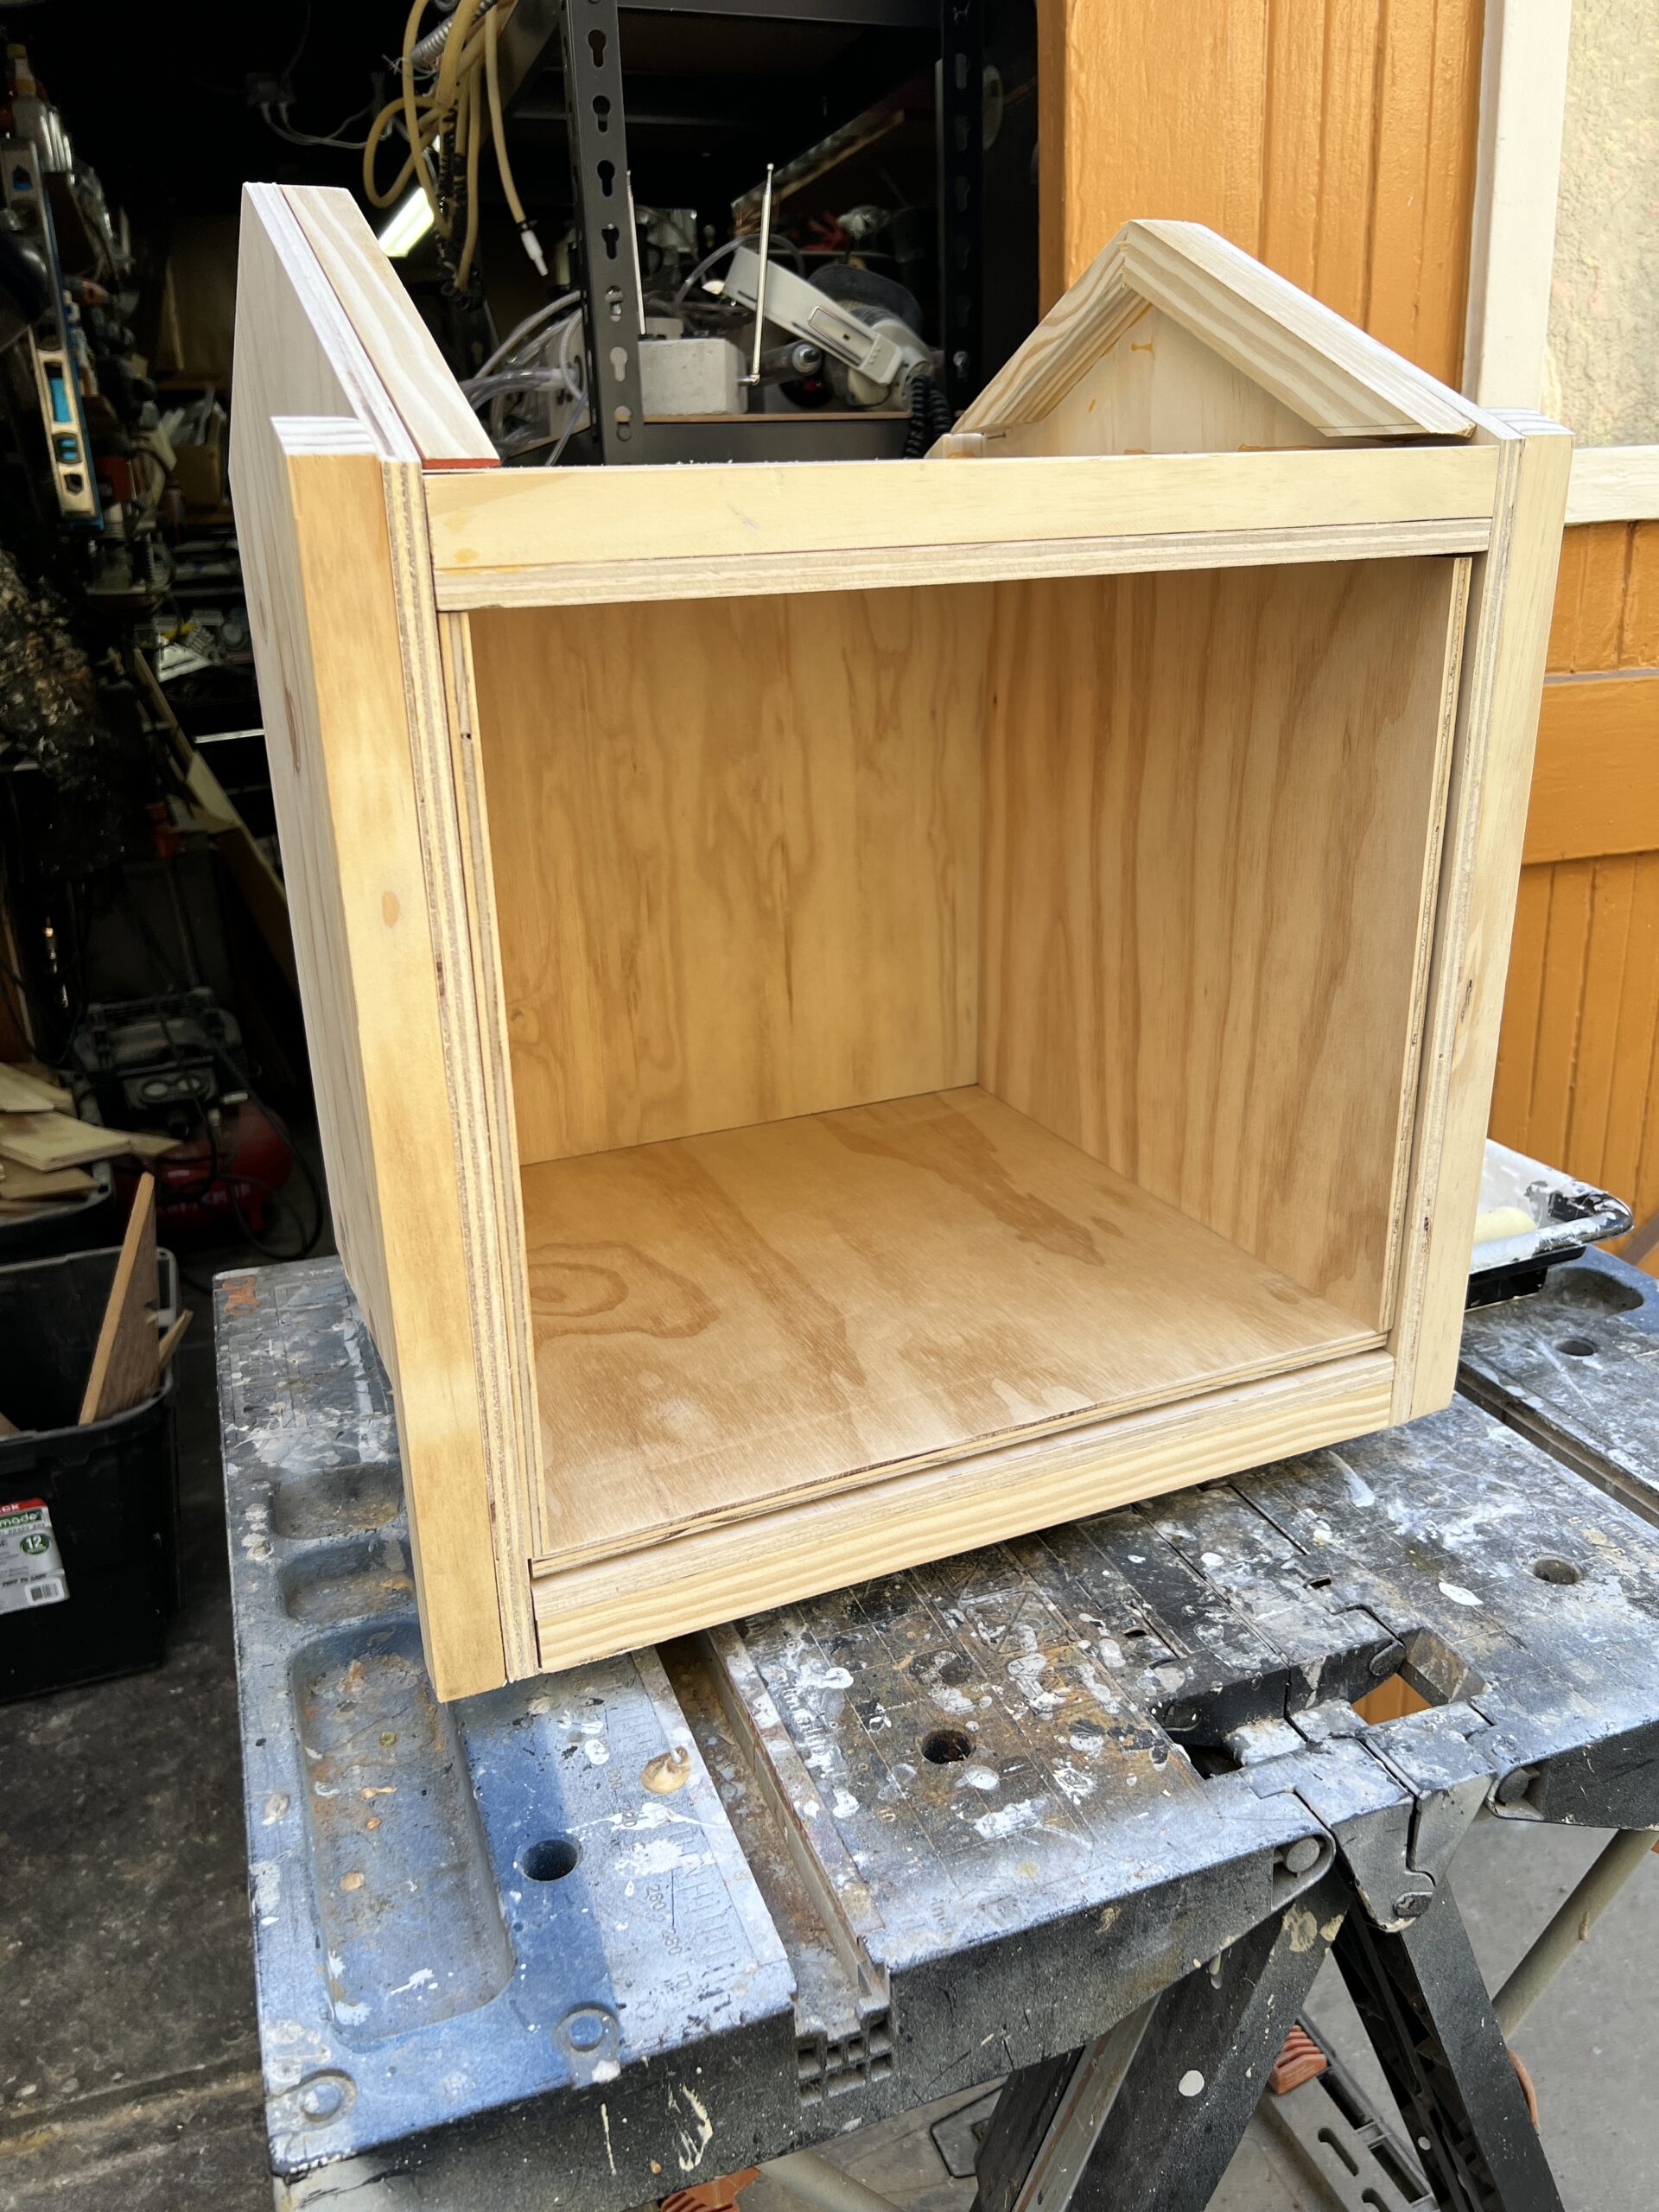
1/2″ plywood sides cut with 1″ x 1″ used as additional bracing – front and back. On the back they are on the inside and on the front they are on the outside – of the two side pieces.
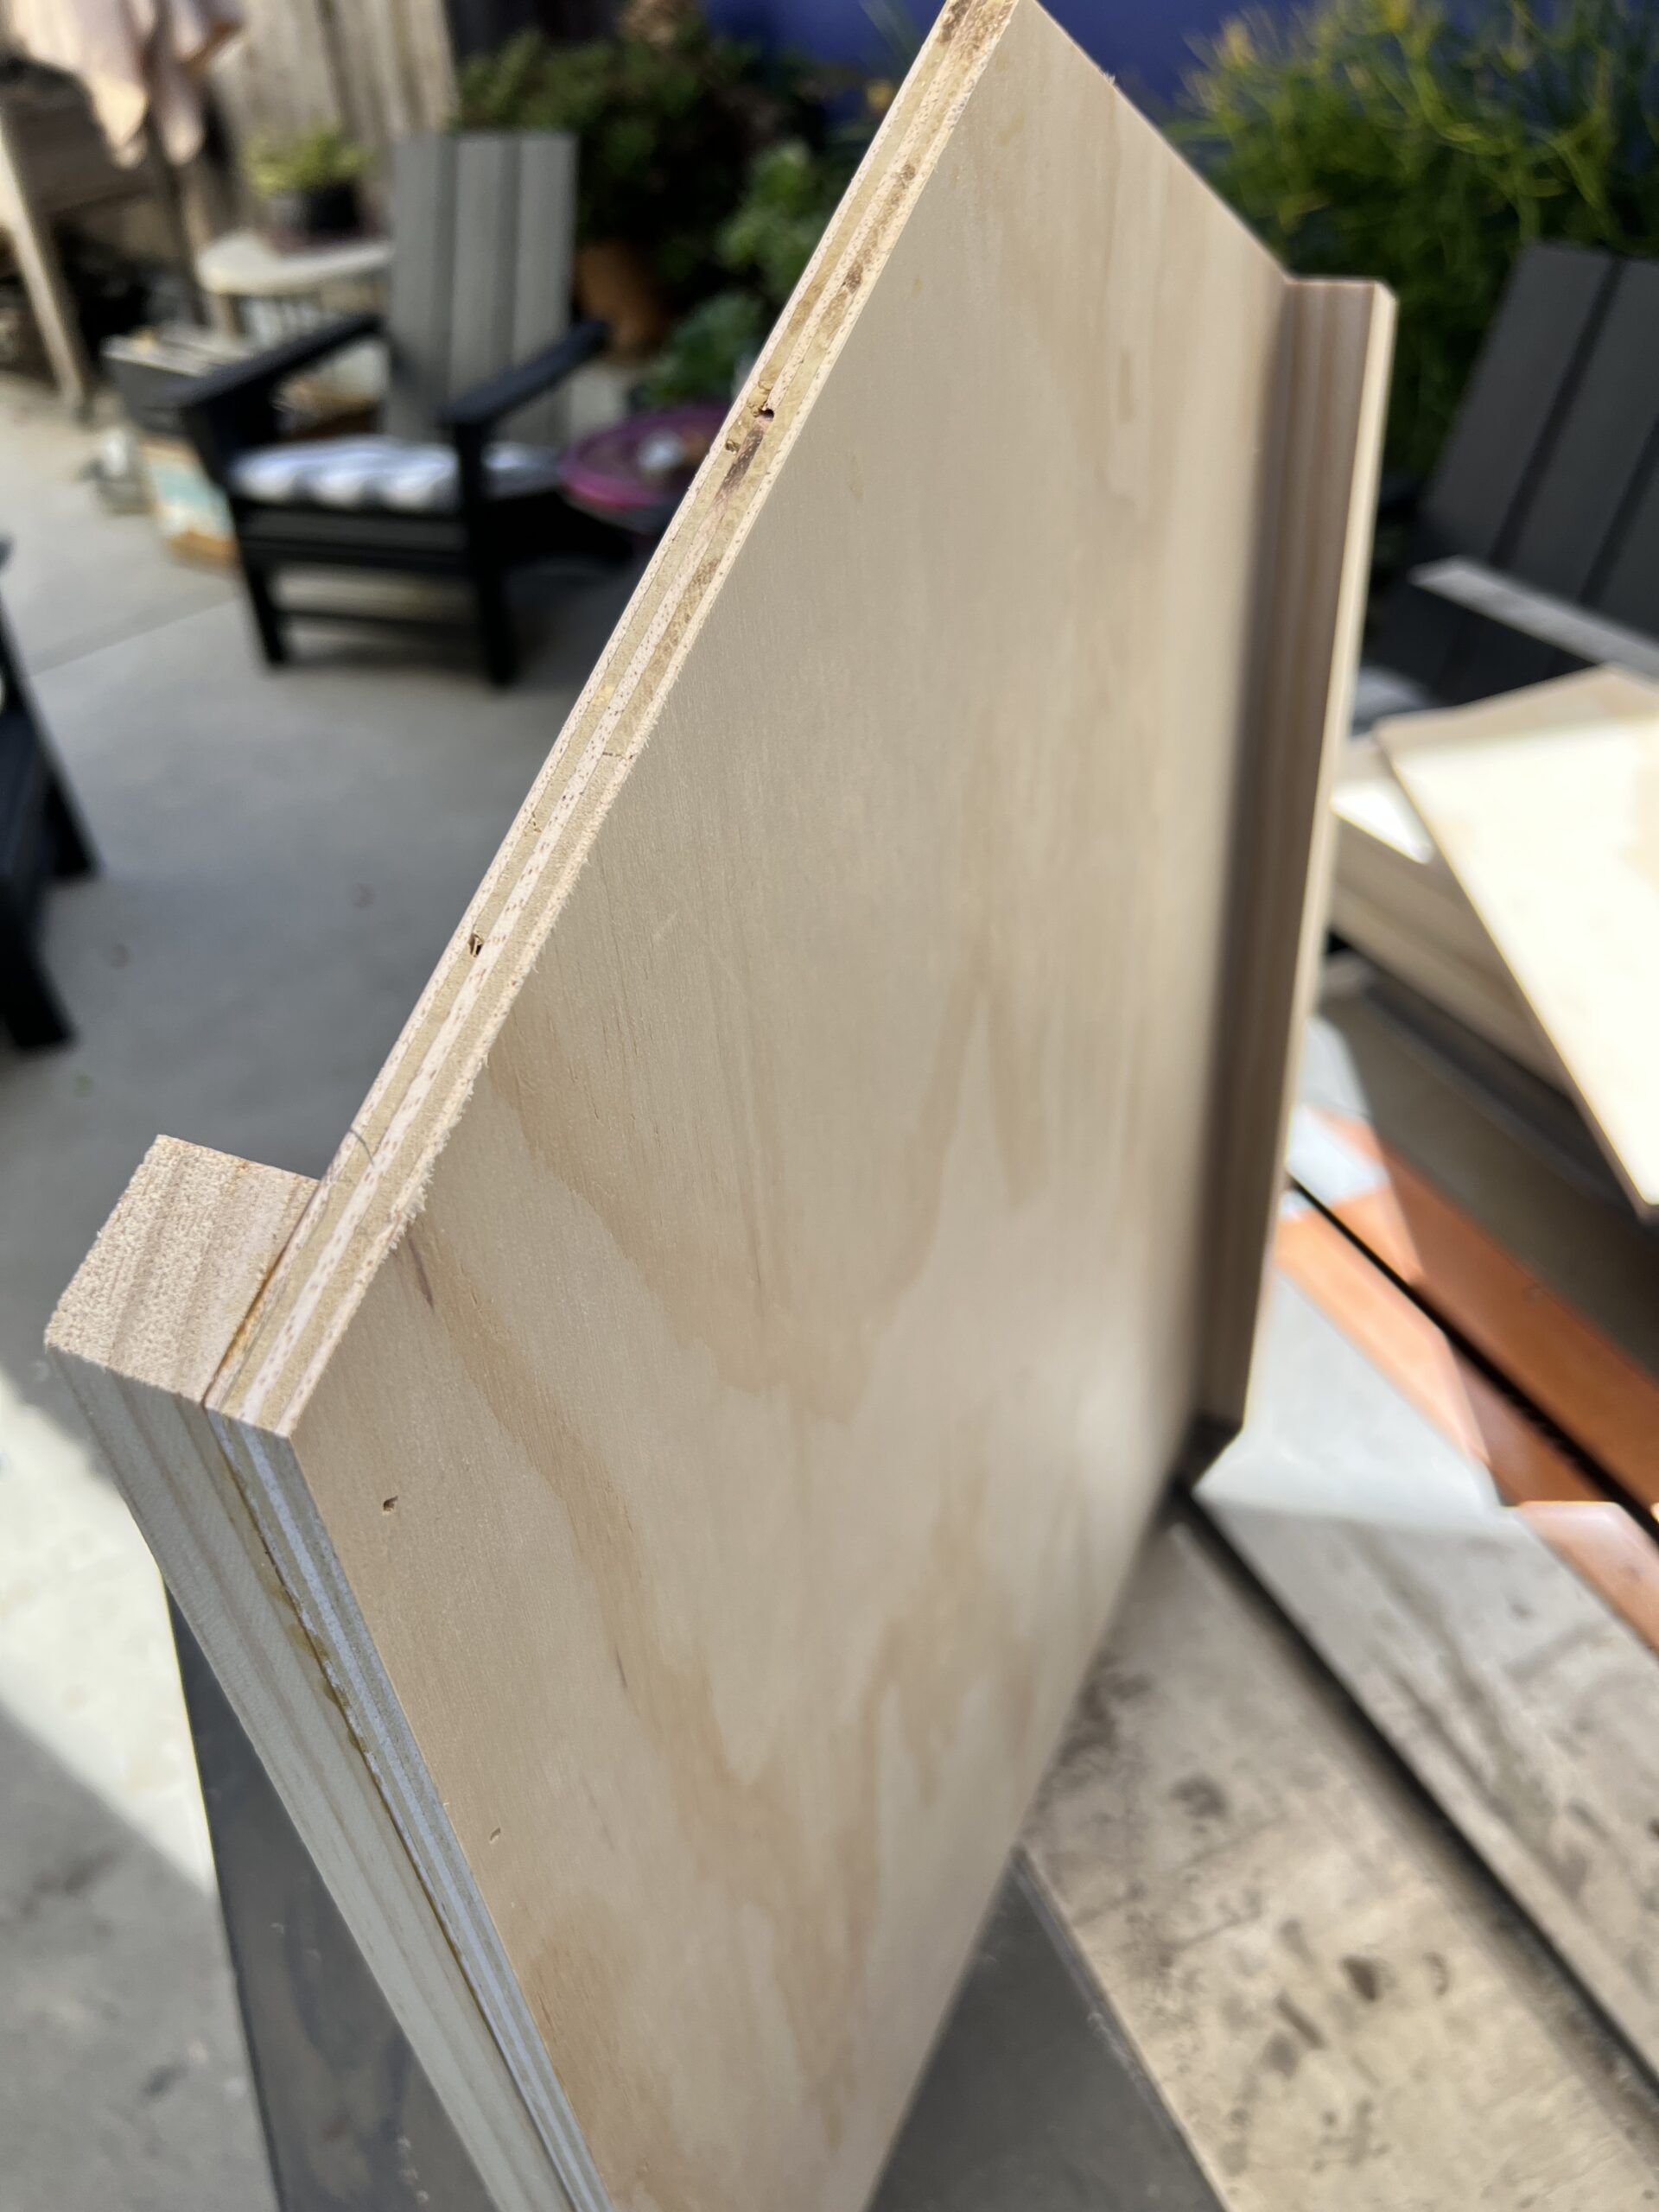
Glued and nailed.
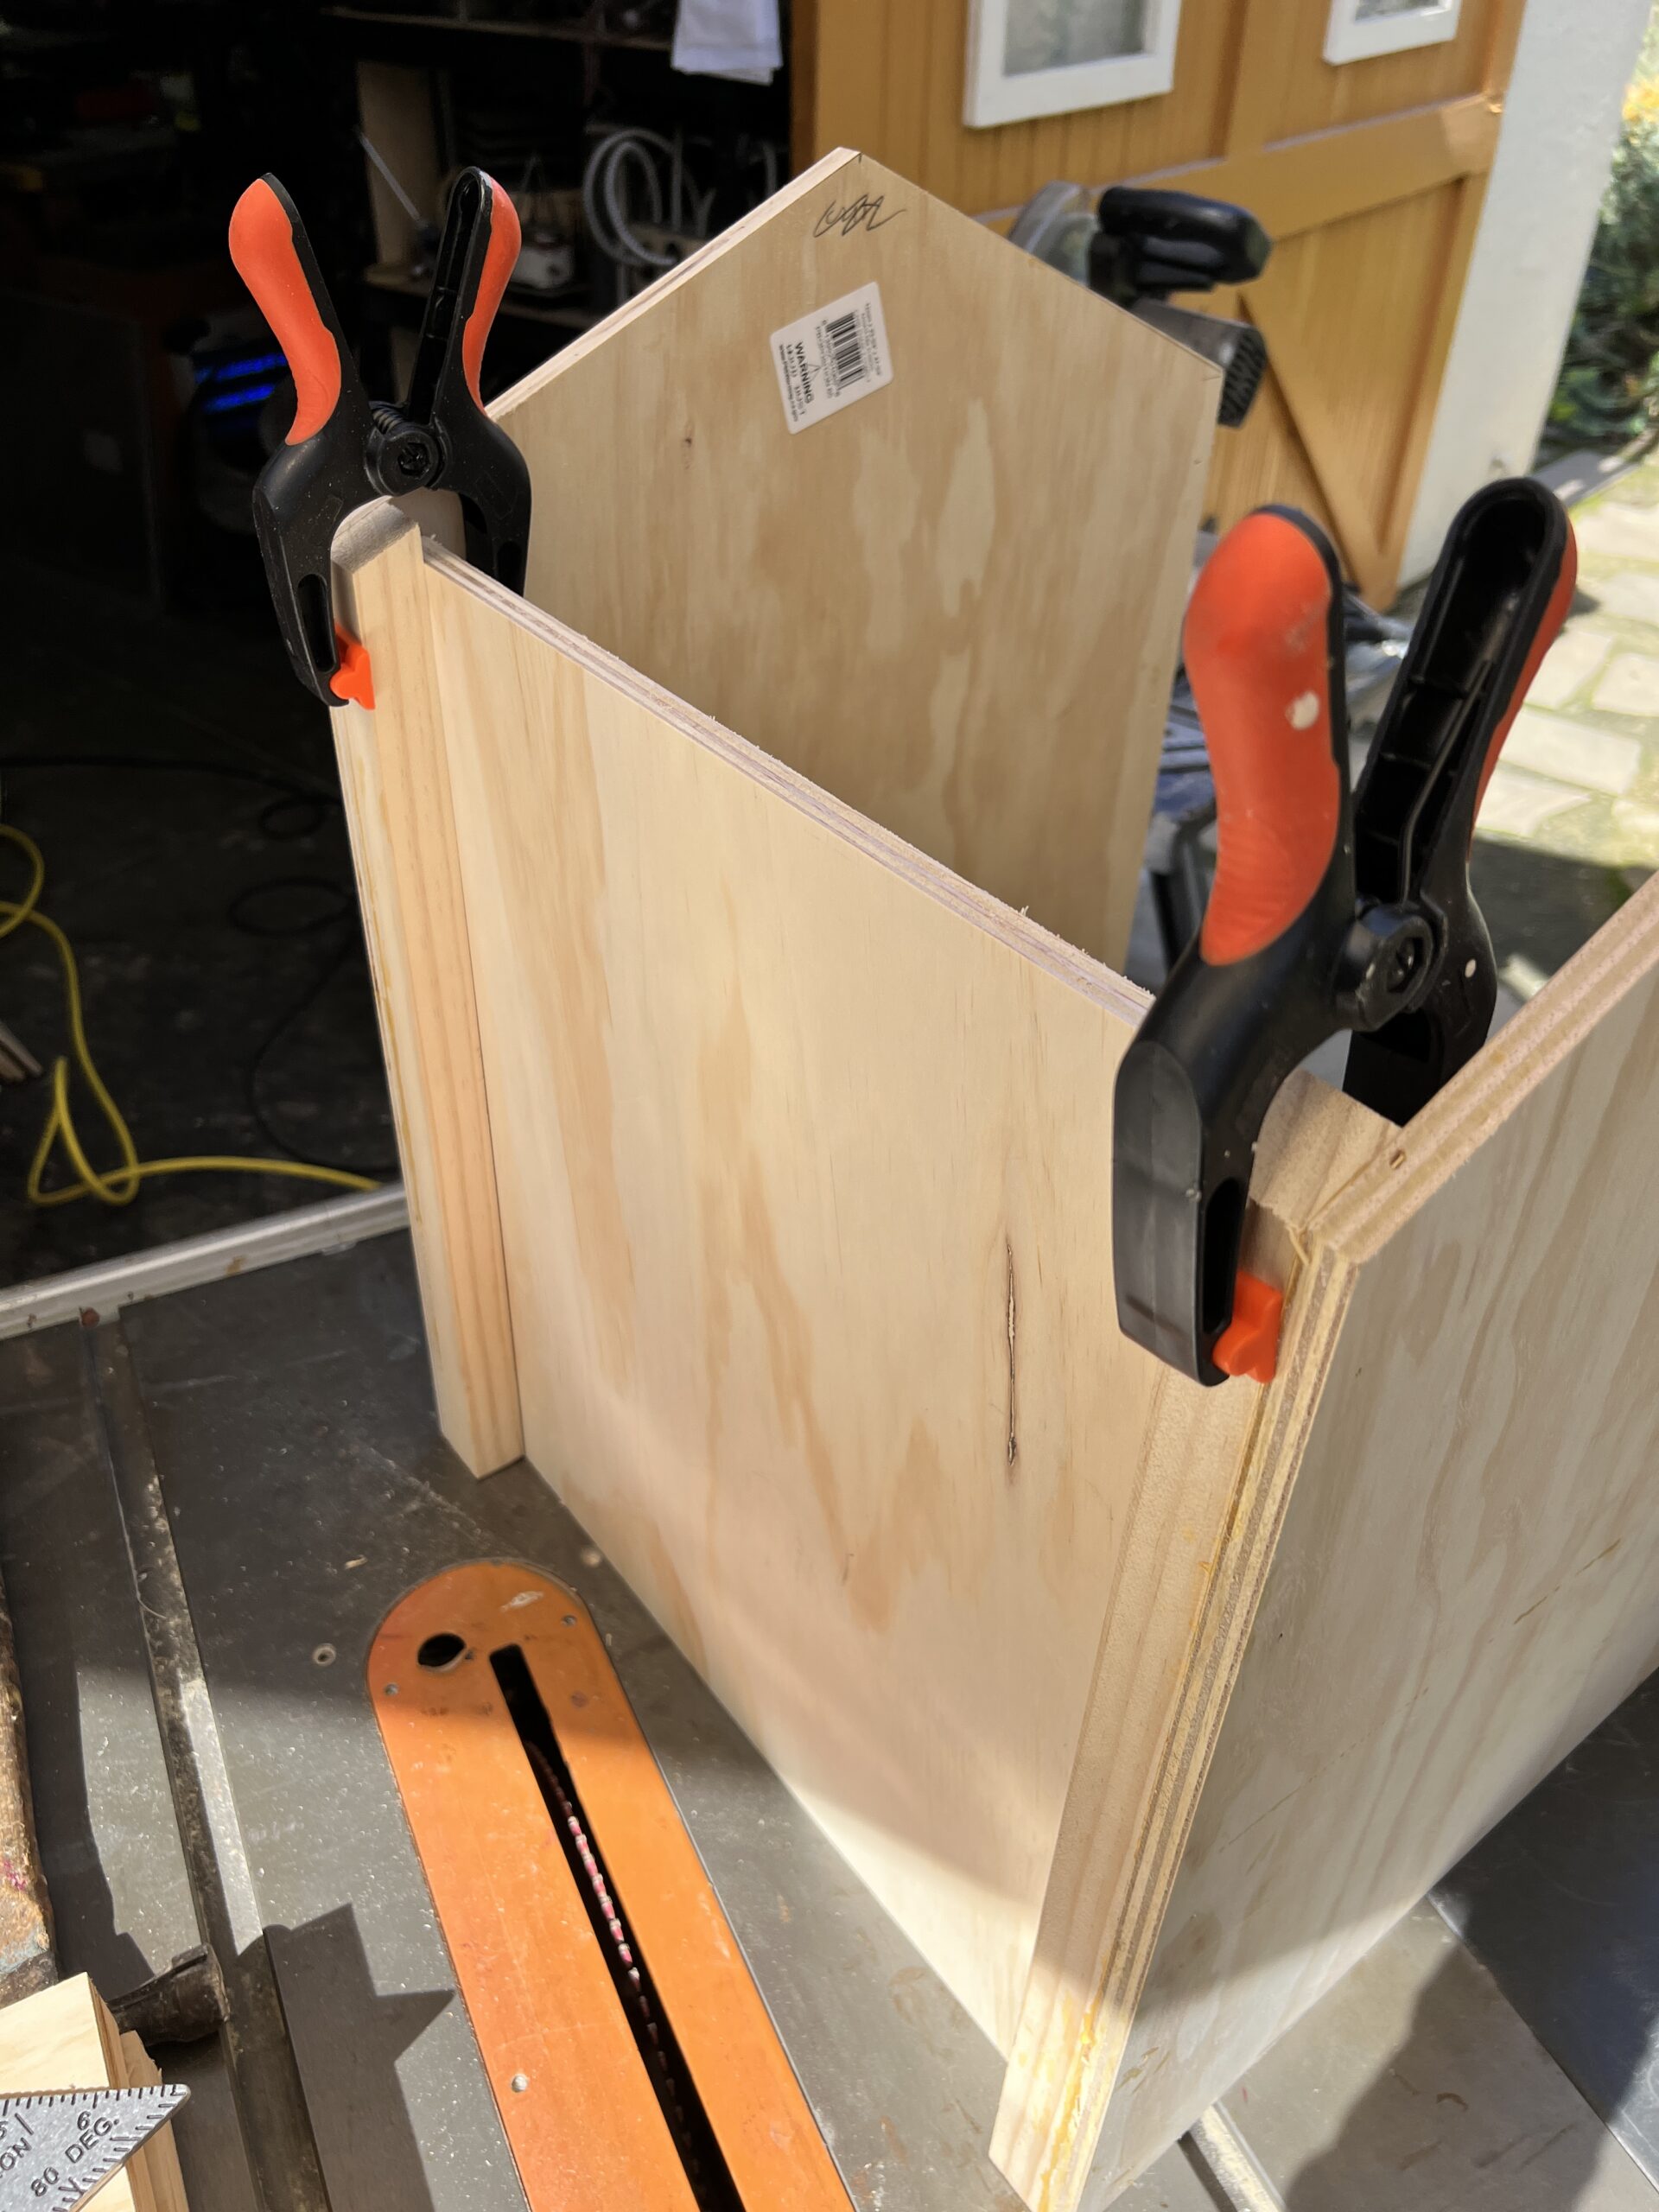
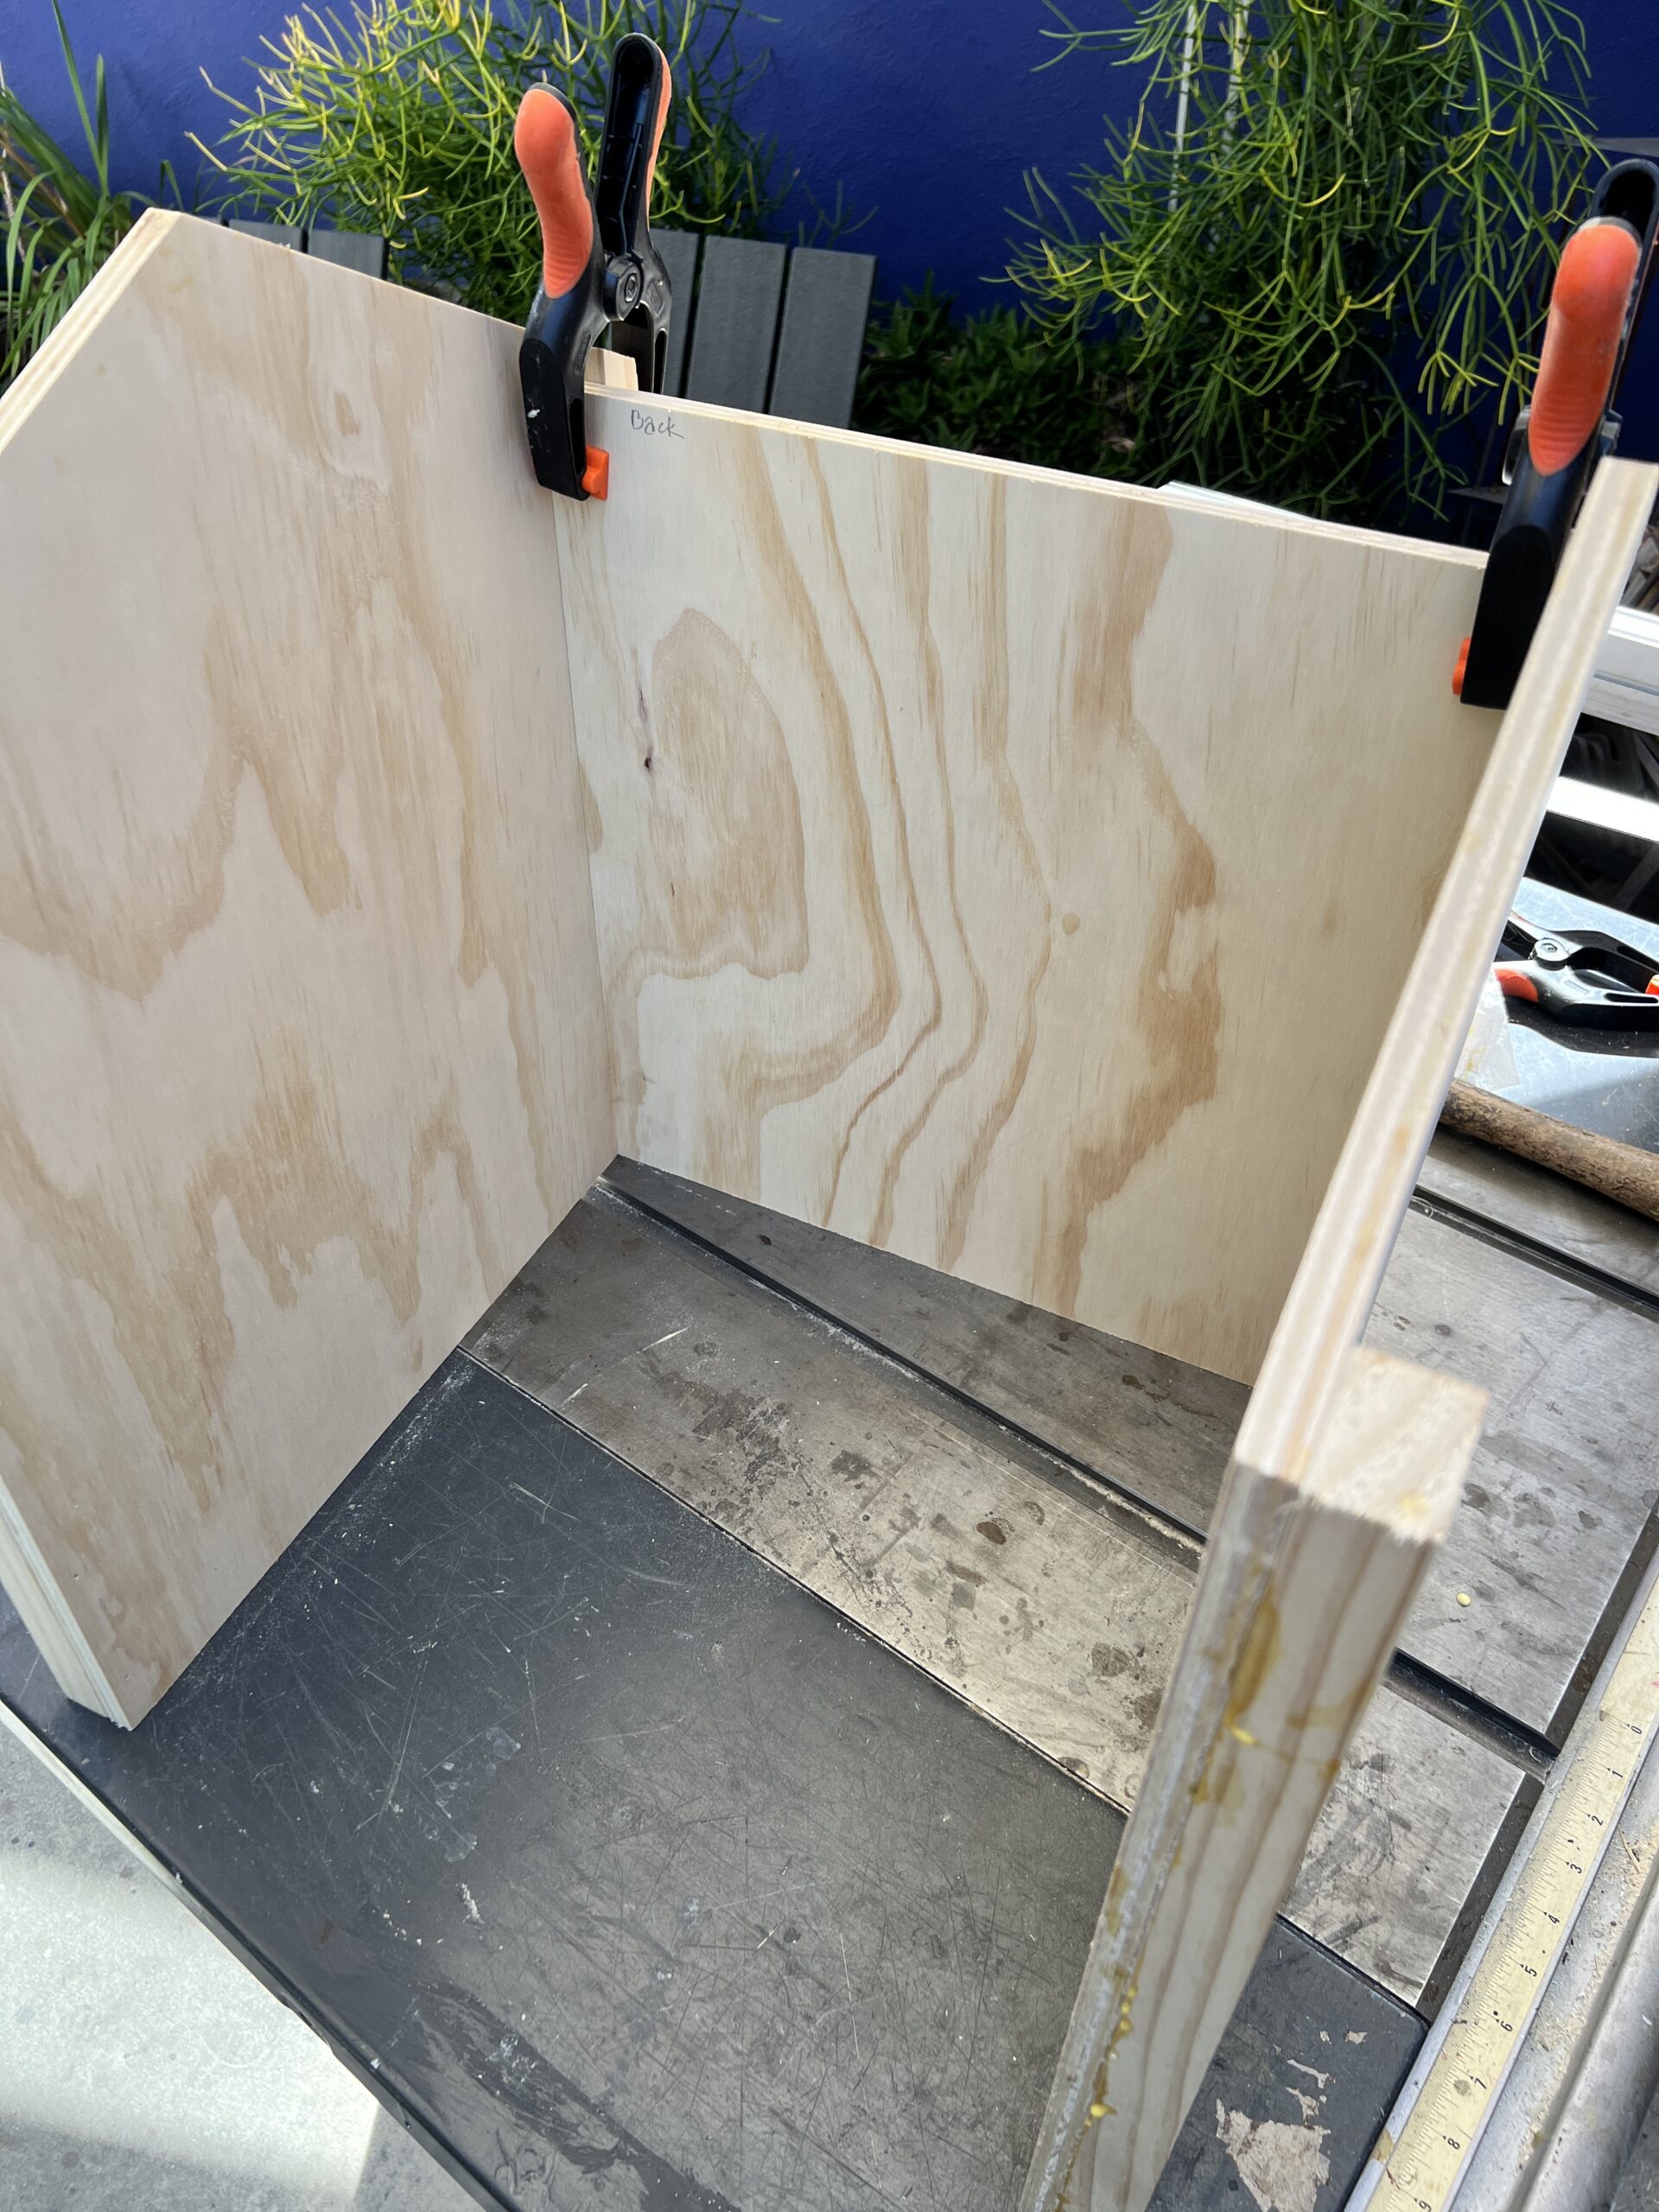
The back is attached to the two side panels’ 1″ x 1″. Glue and 1″ nails.
Gap at the top of the back allows for air to circulate.
As viewed from the front.
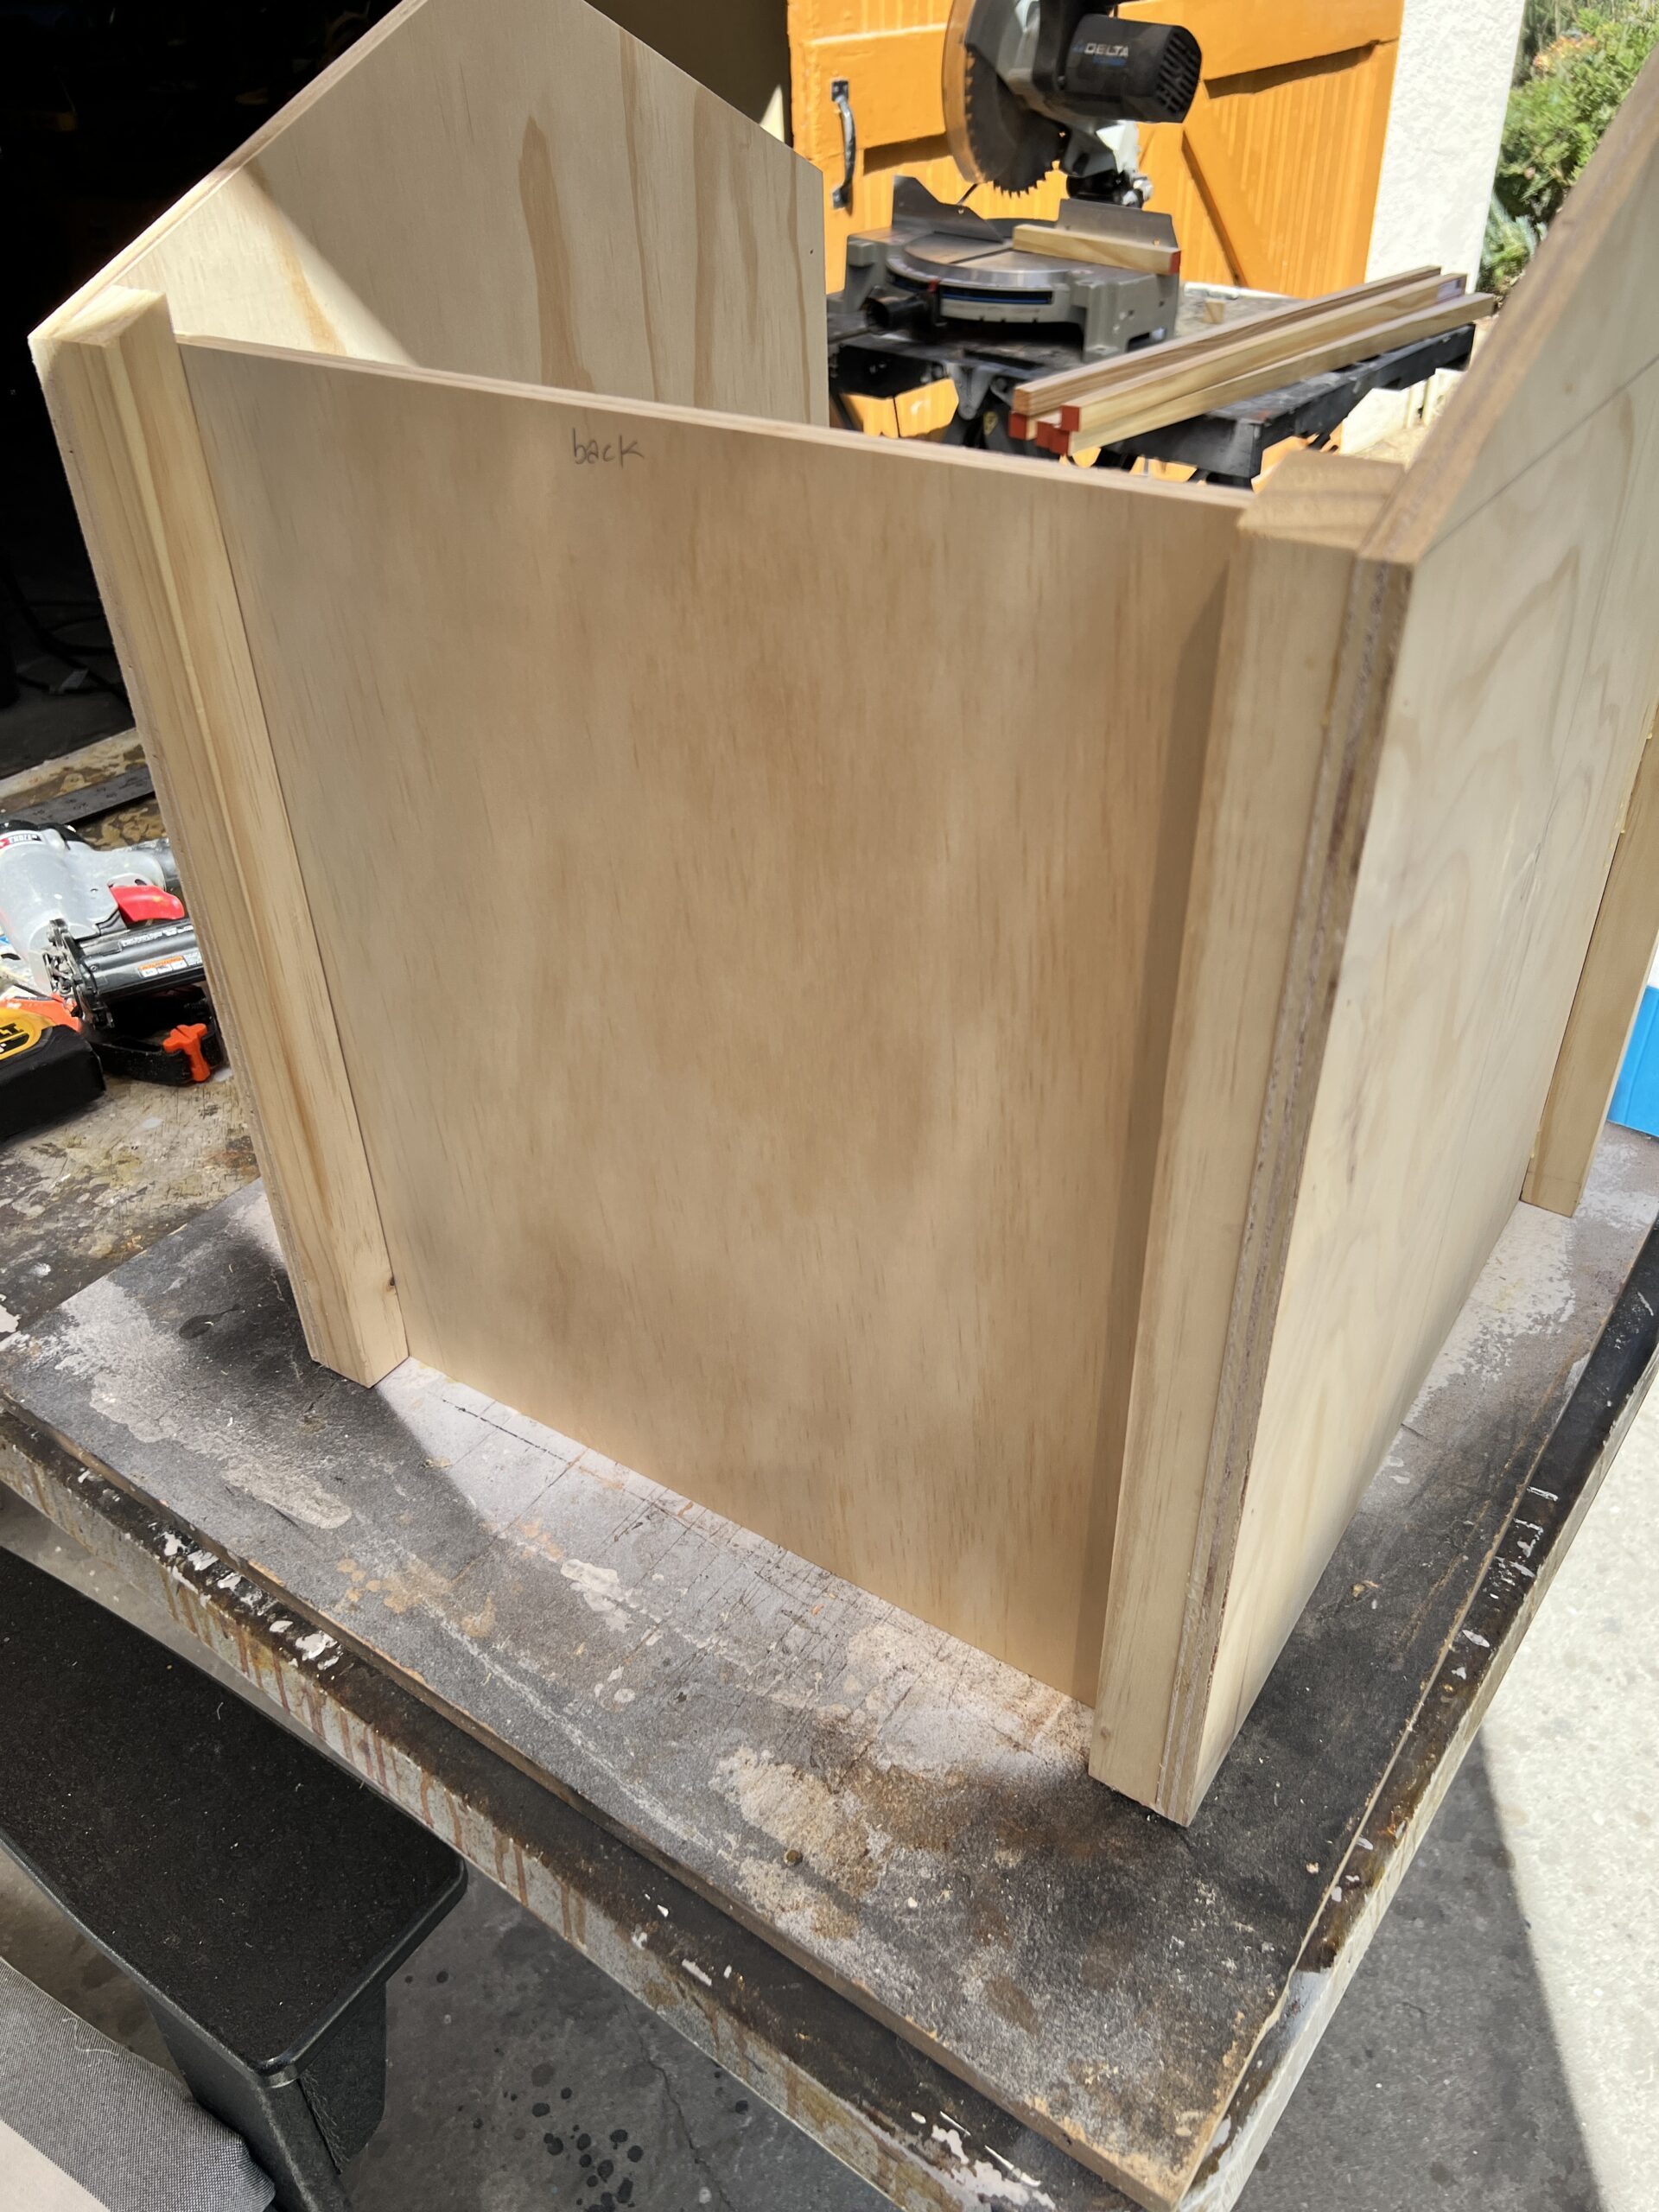
As viewed from the back.
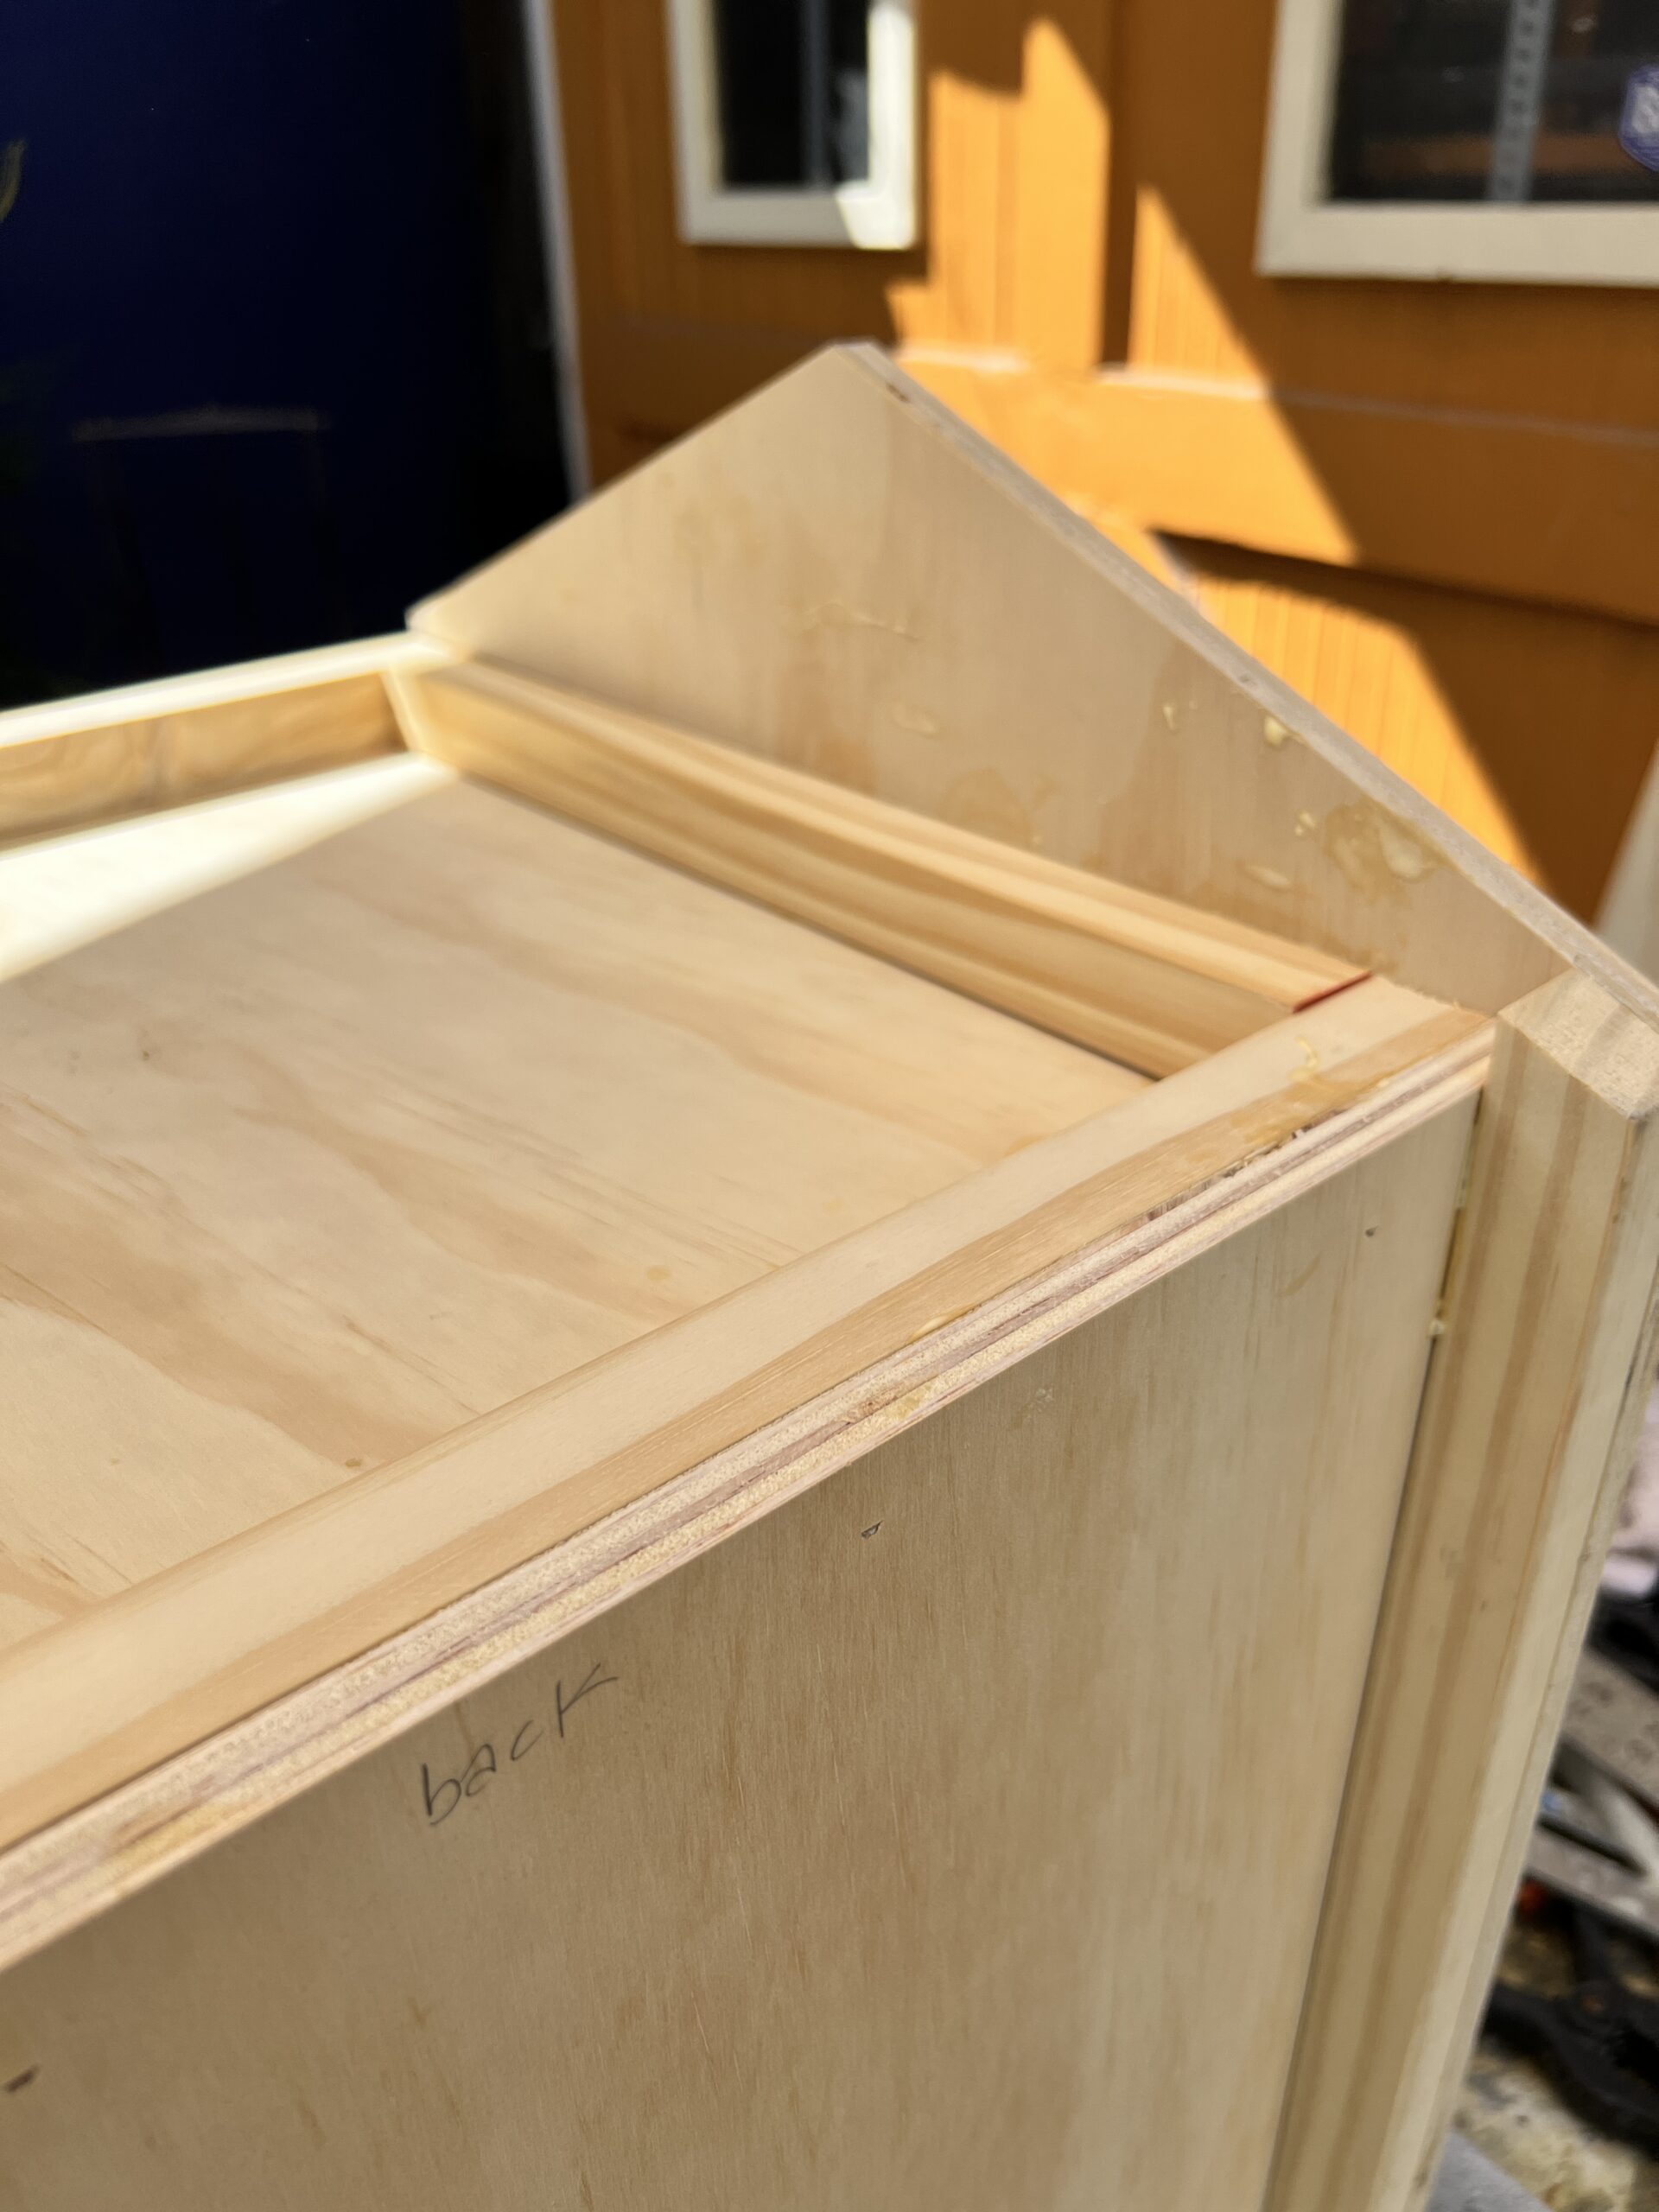
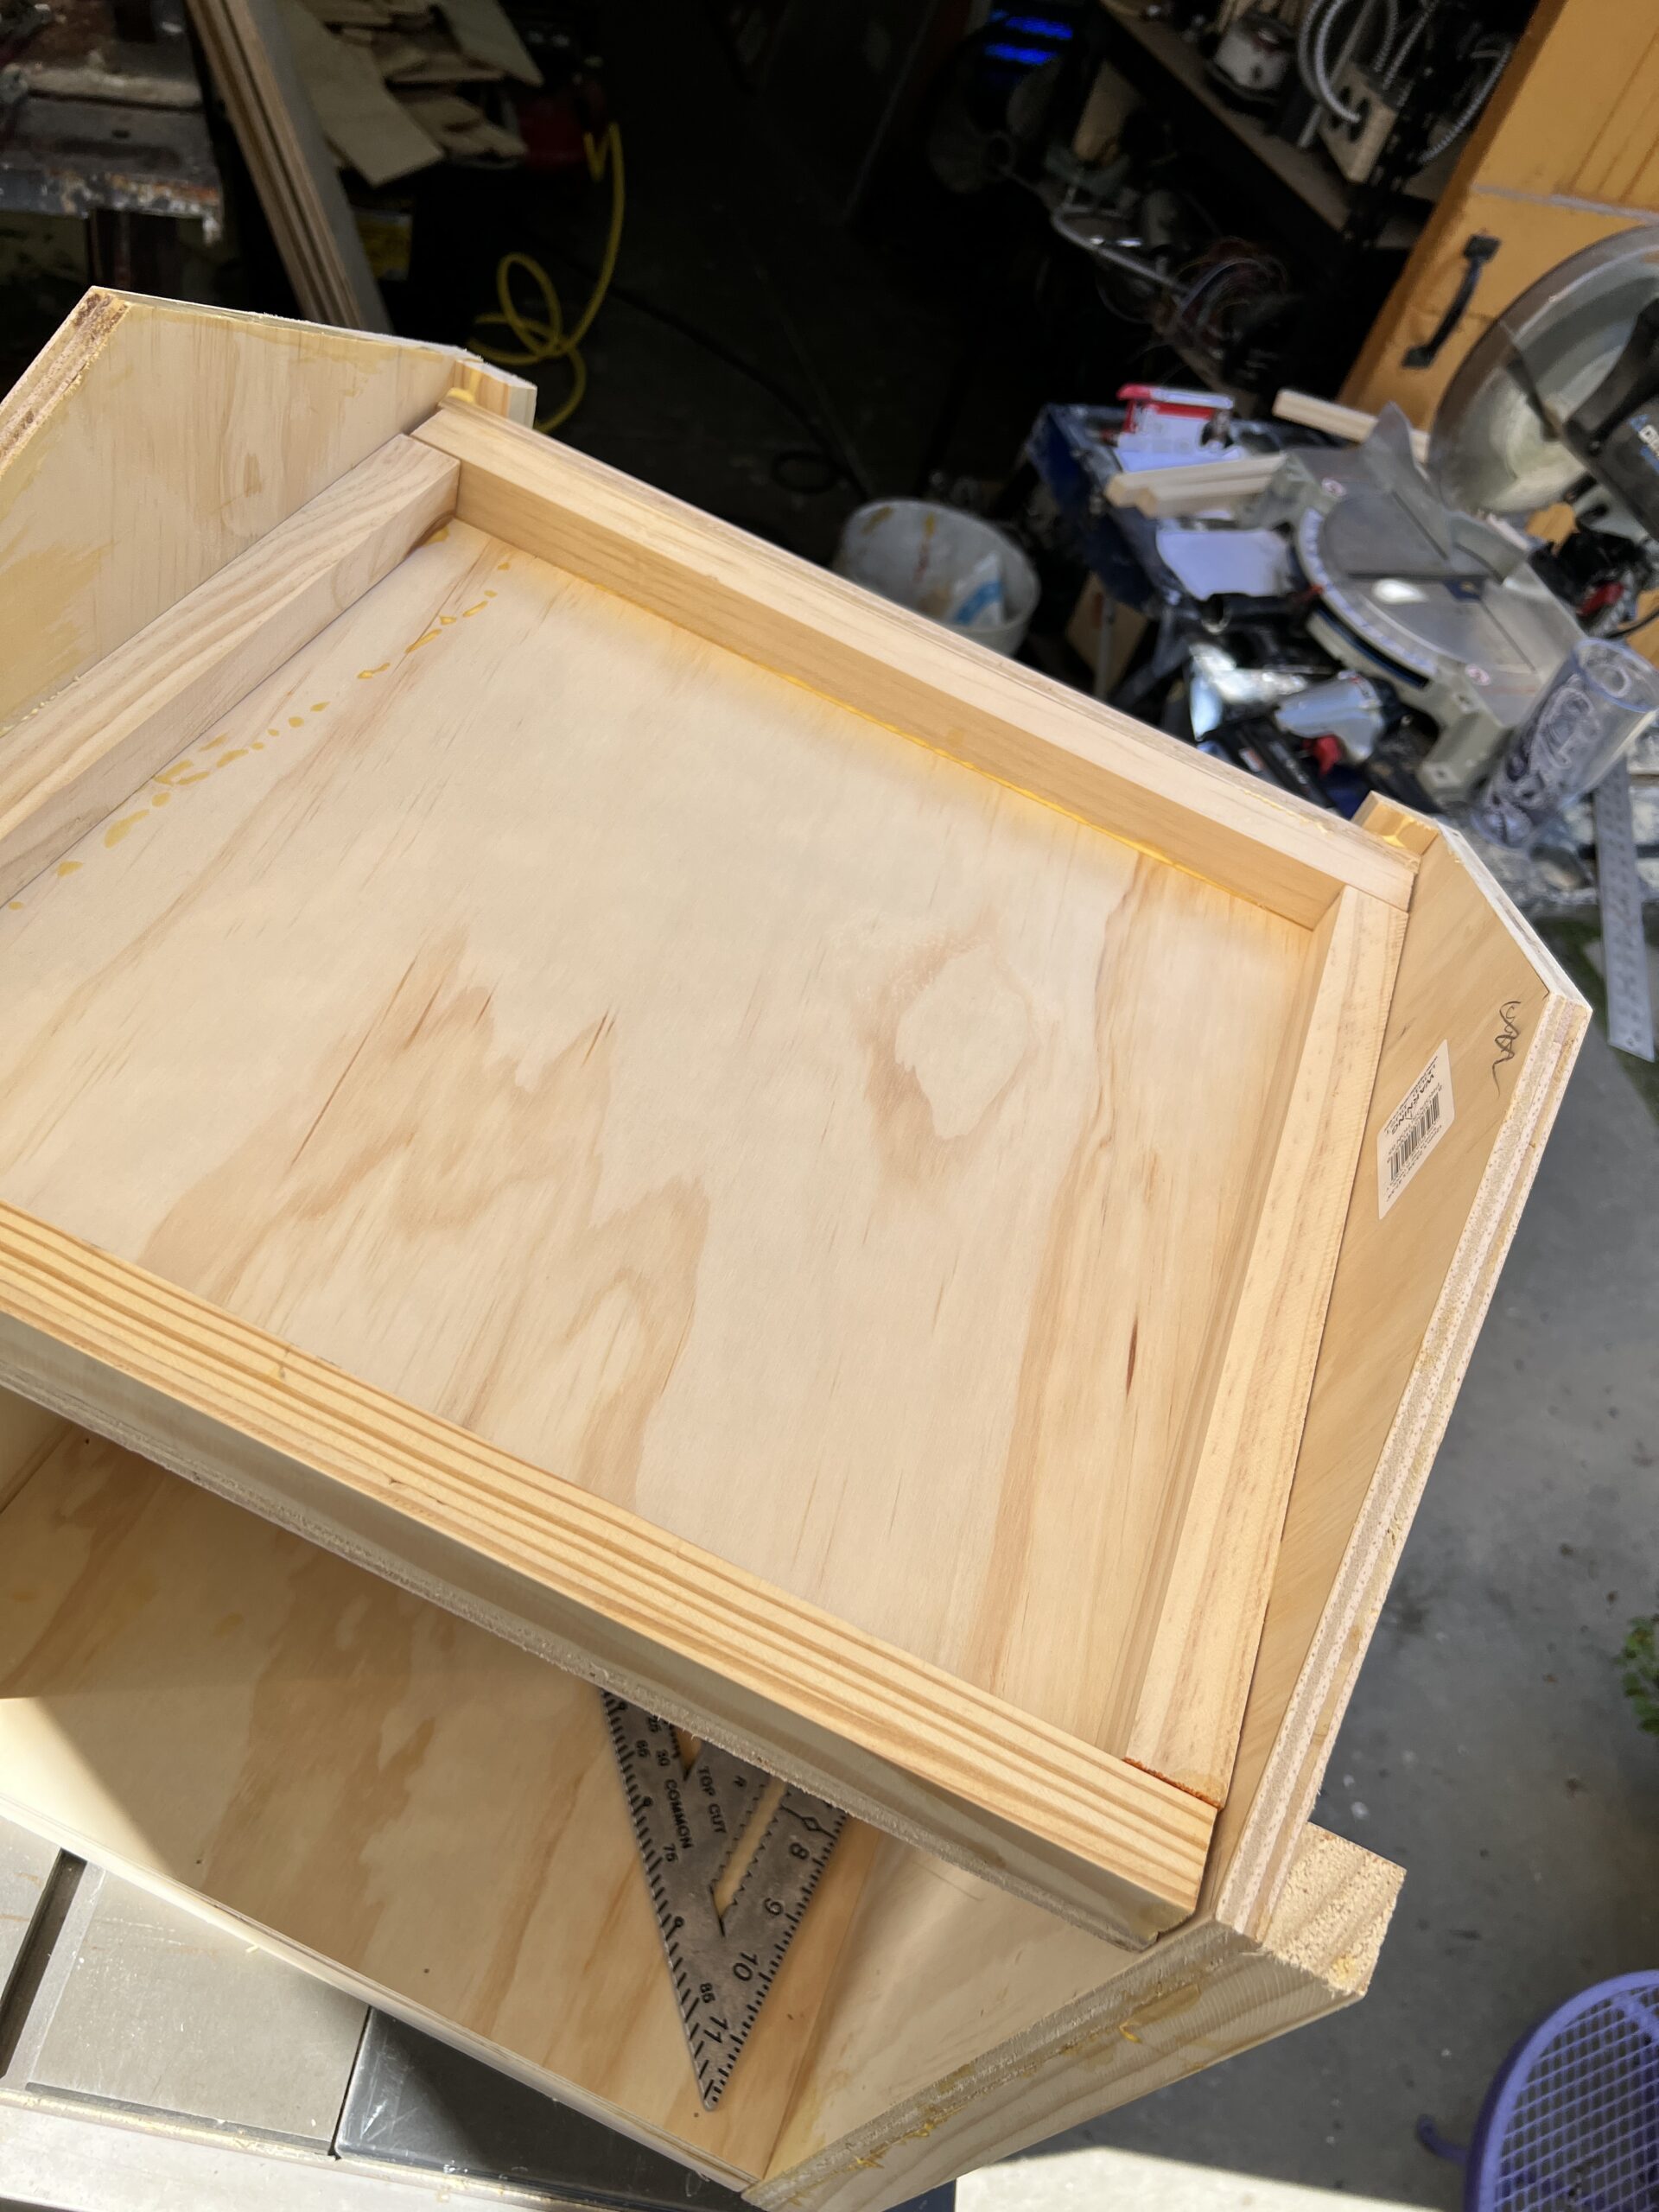
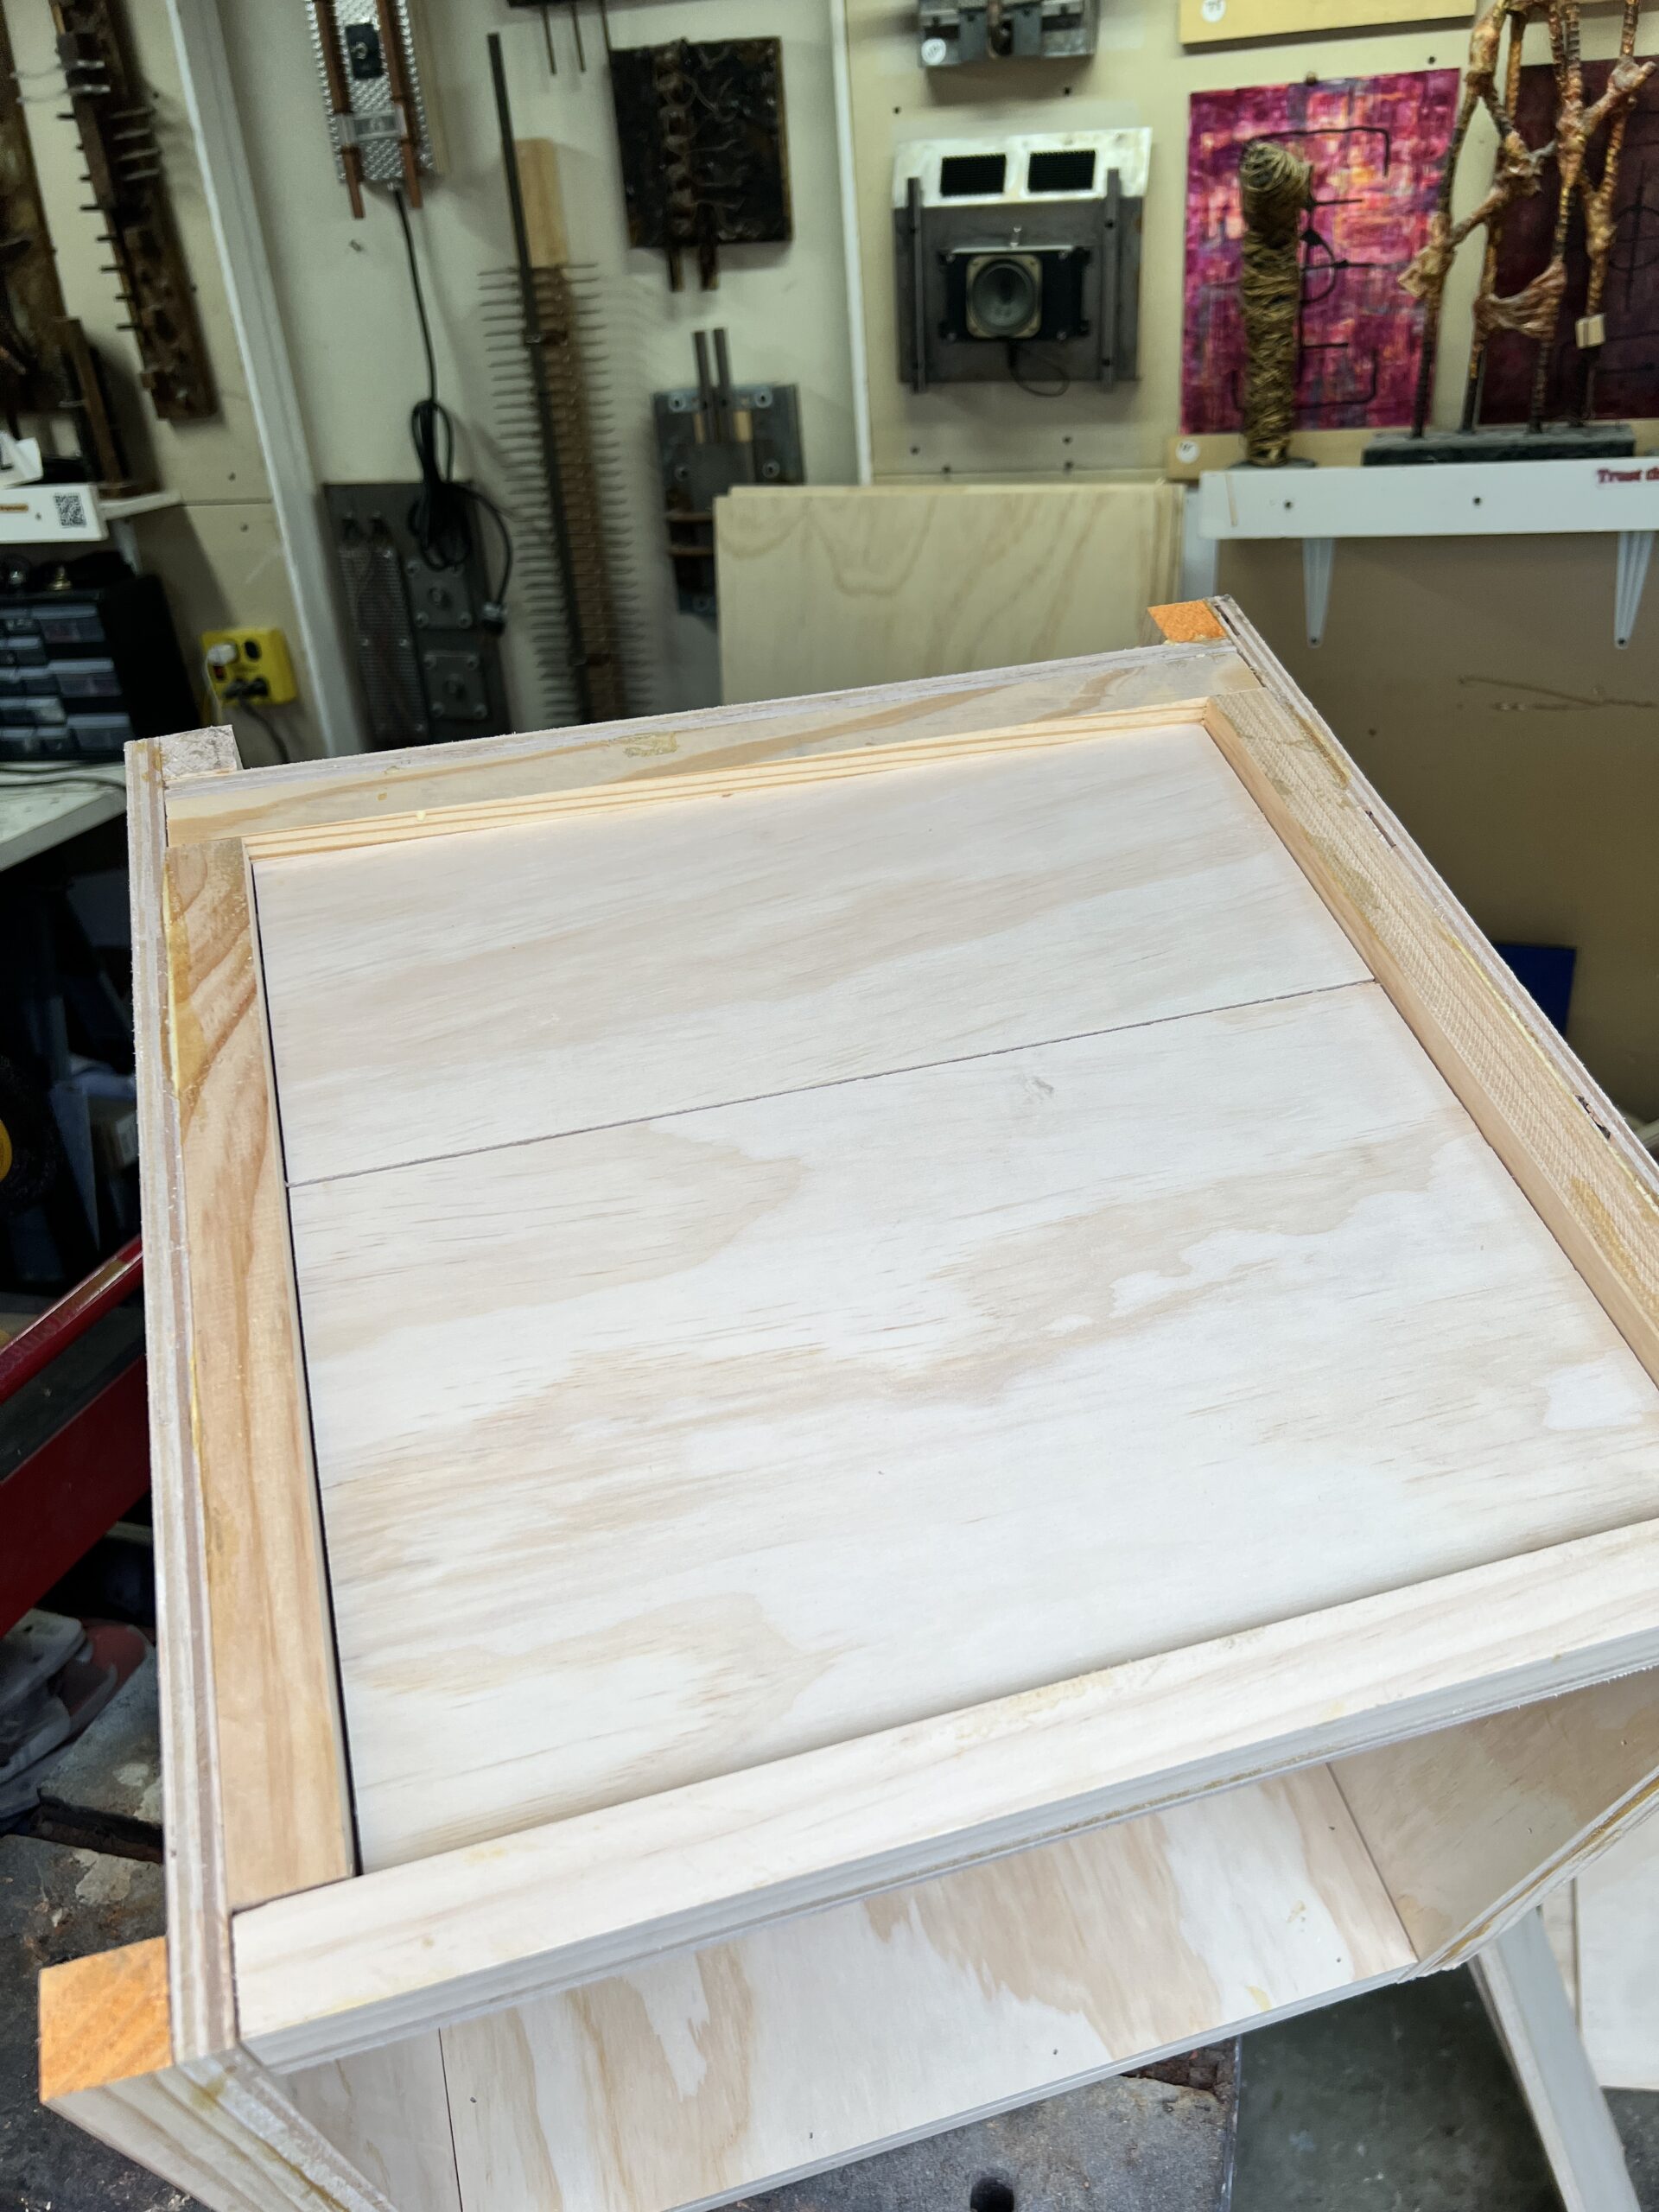
The top and bottom are identical. The 1″ x 1″ go across the fronts and backs of the top/bottom to create a seamless look from the front. See below.
Additional 1″ x 1″ are used across the sides of the top/bottom to allow for strength.
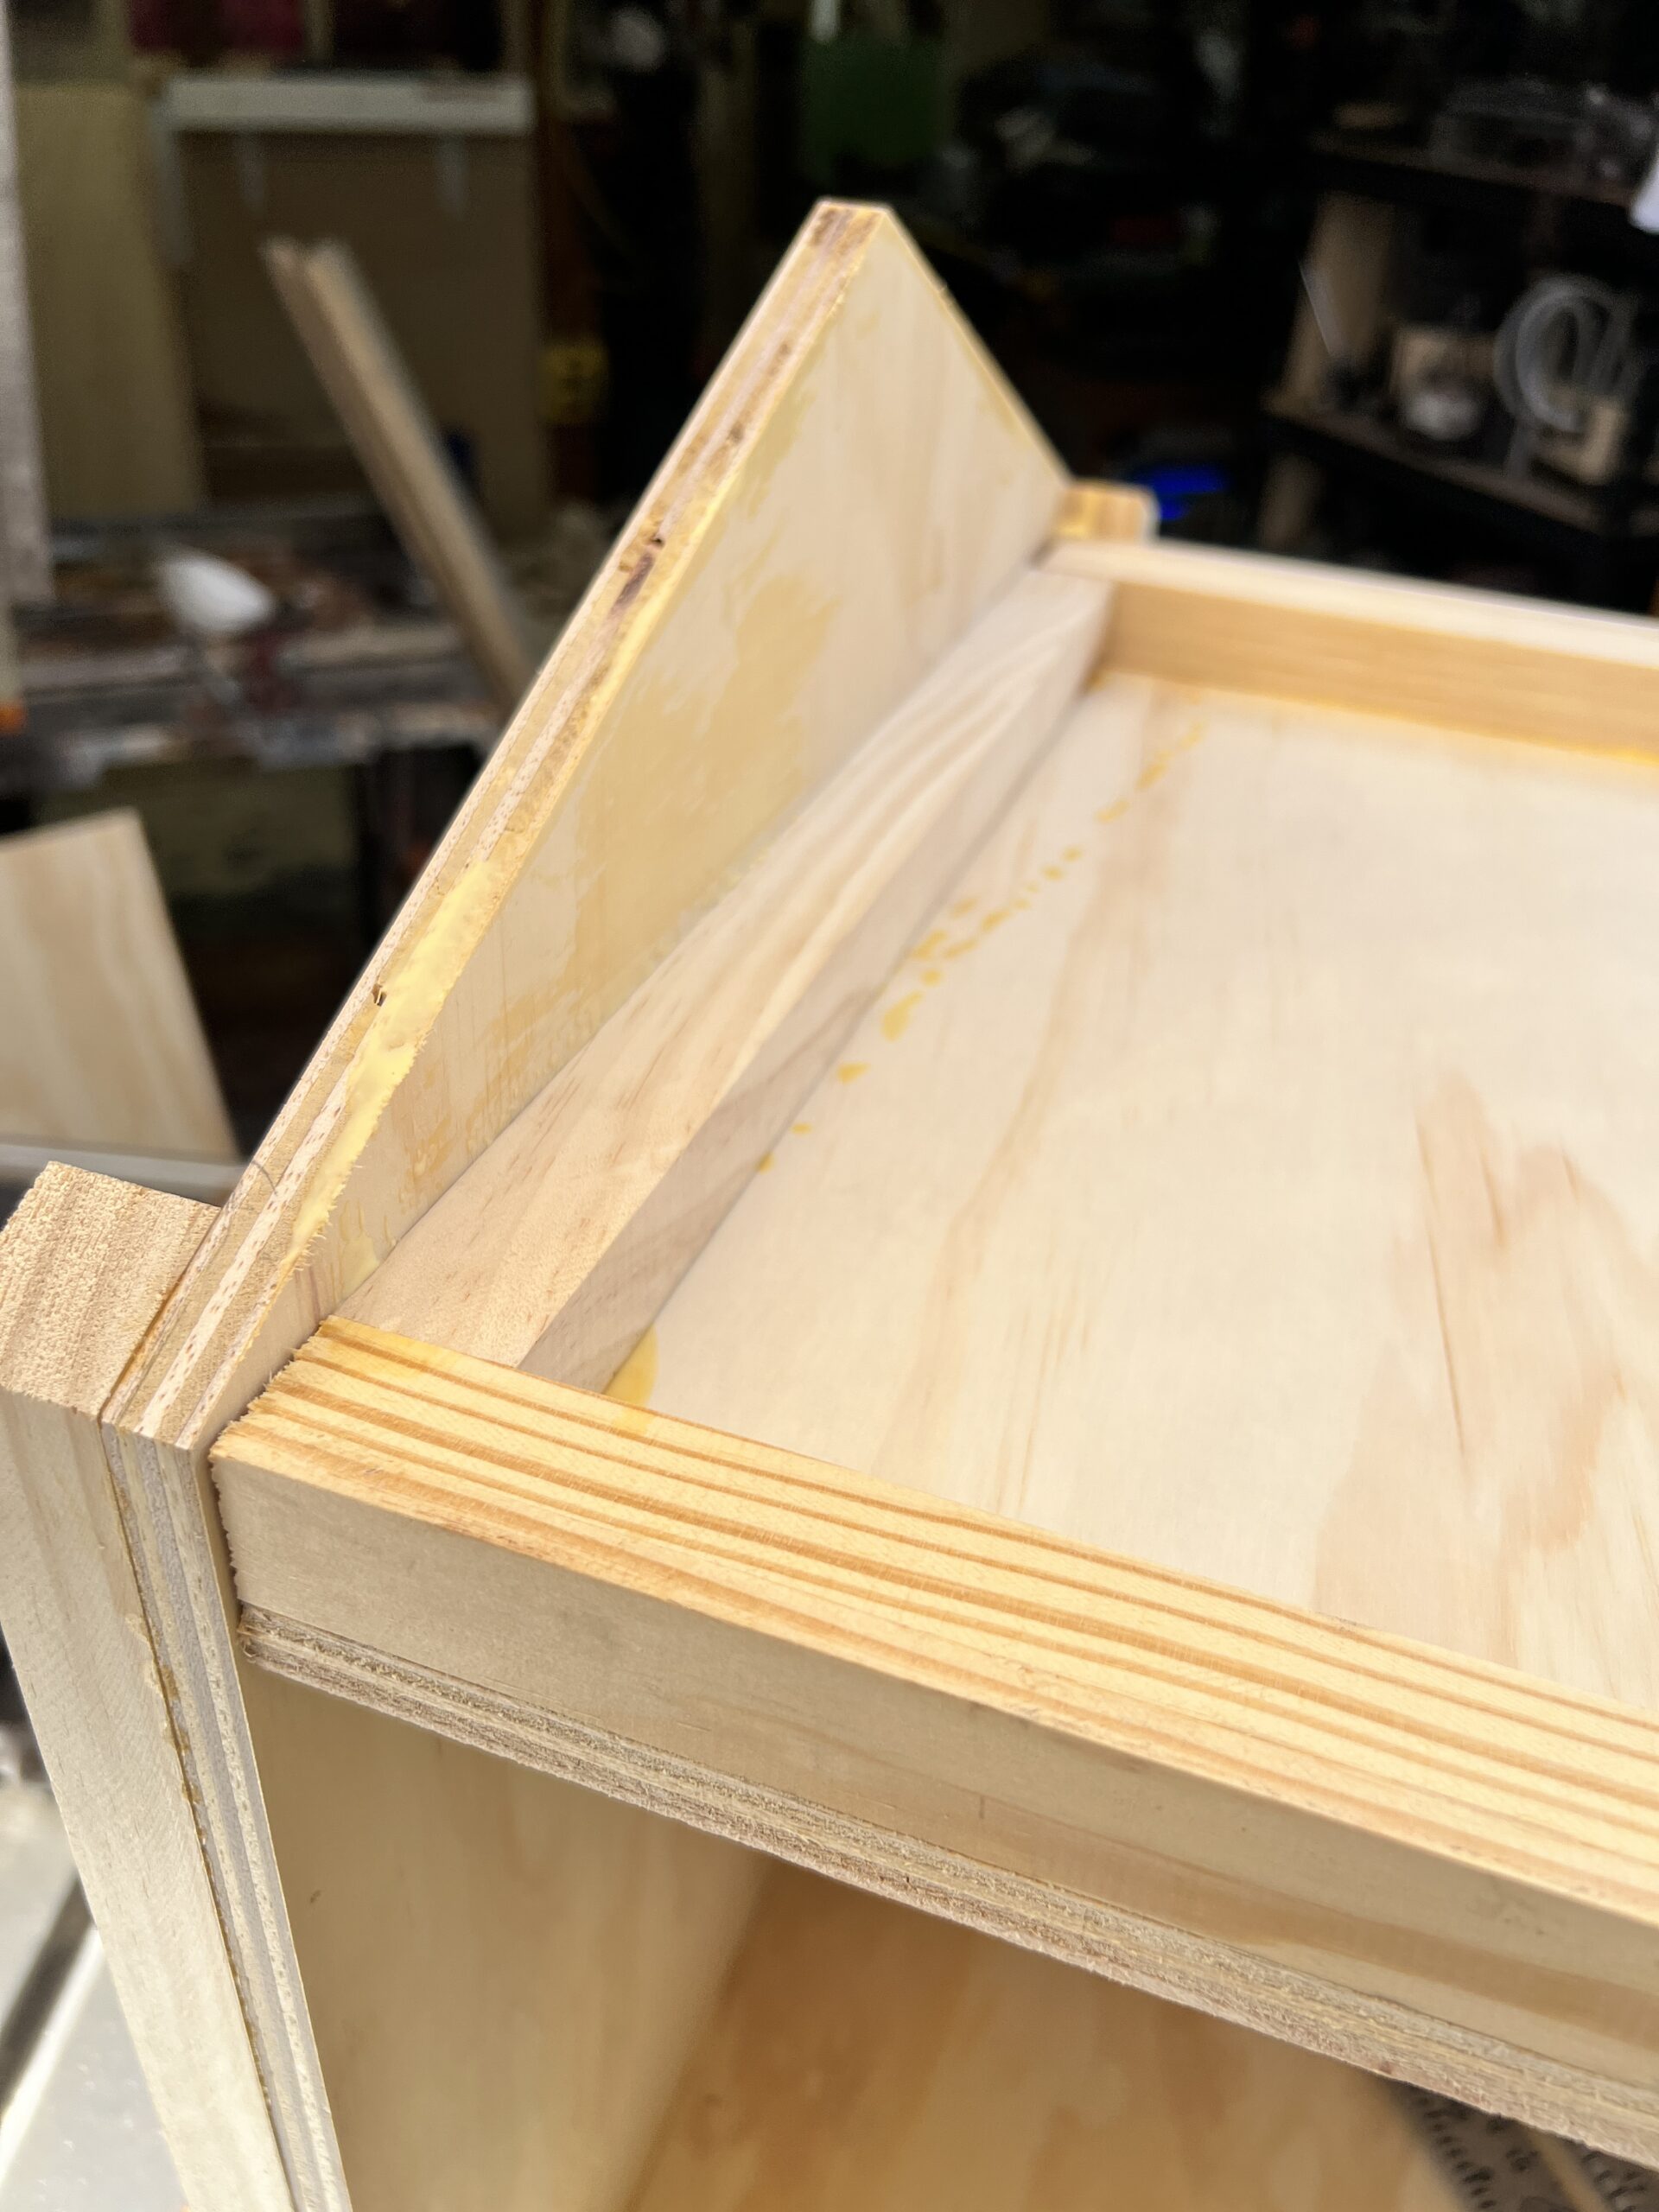
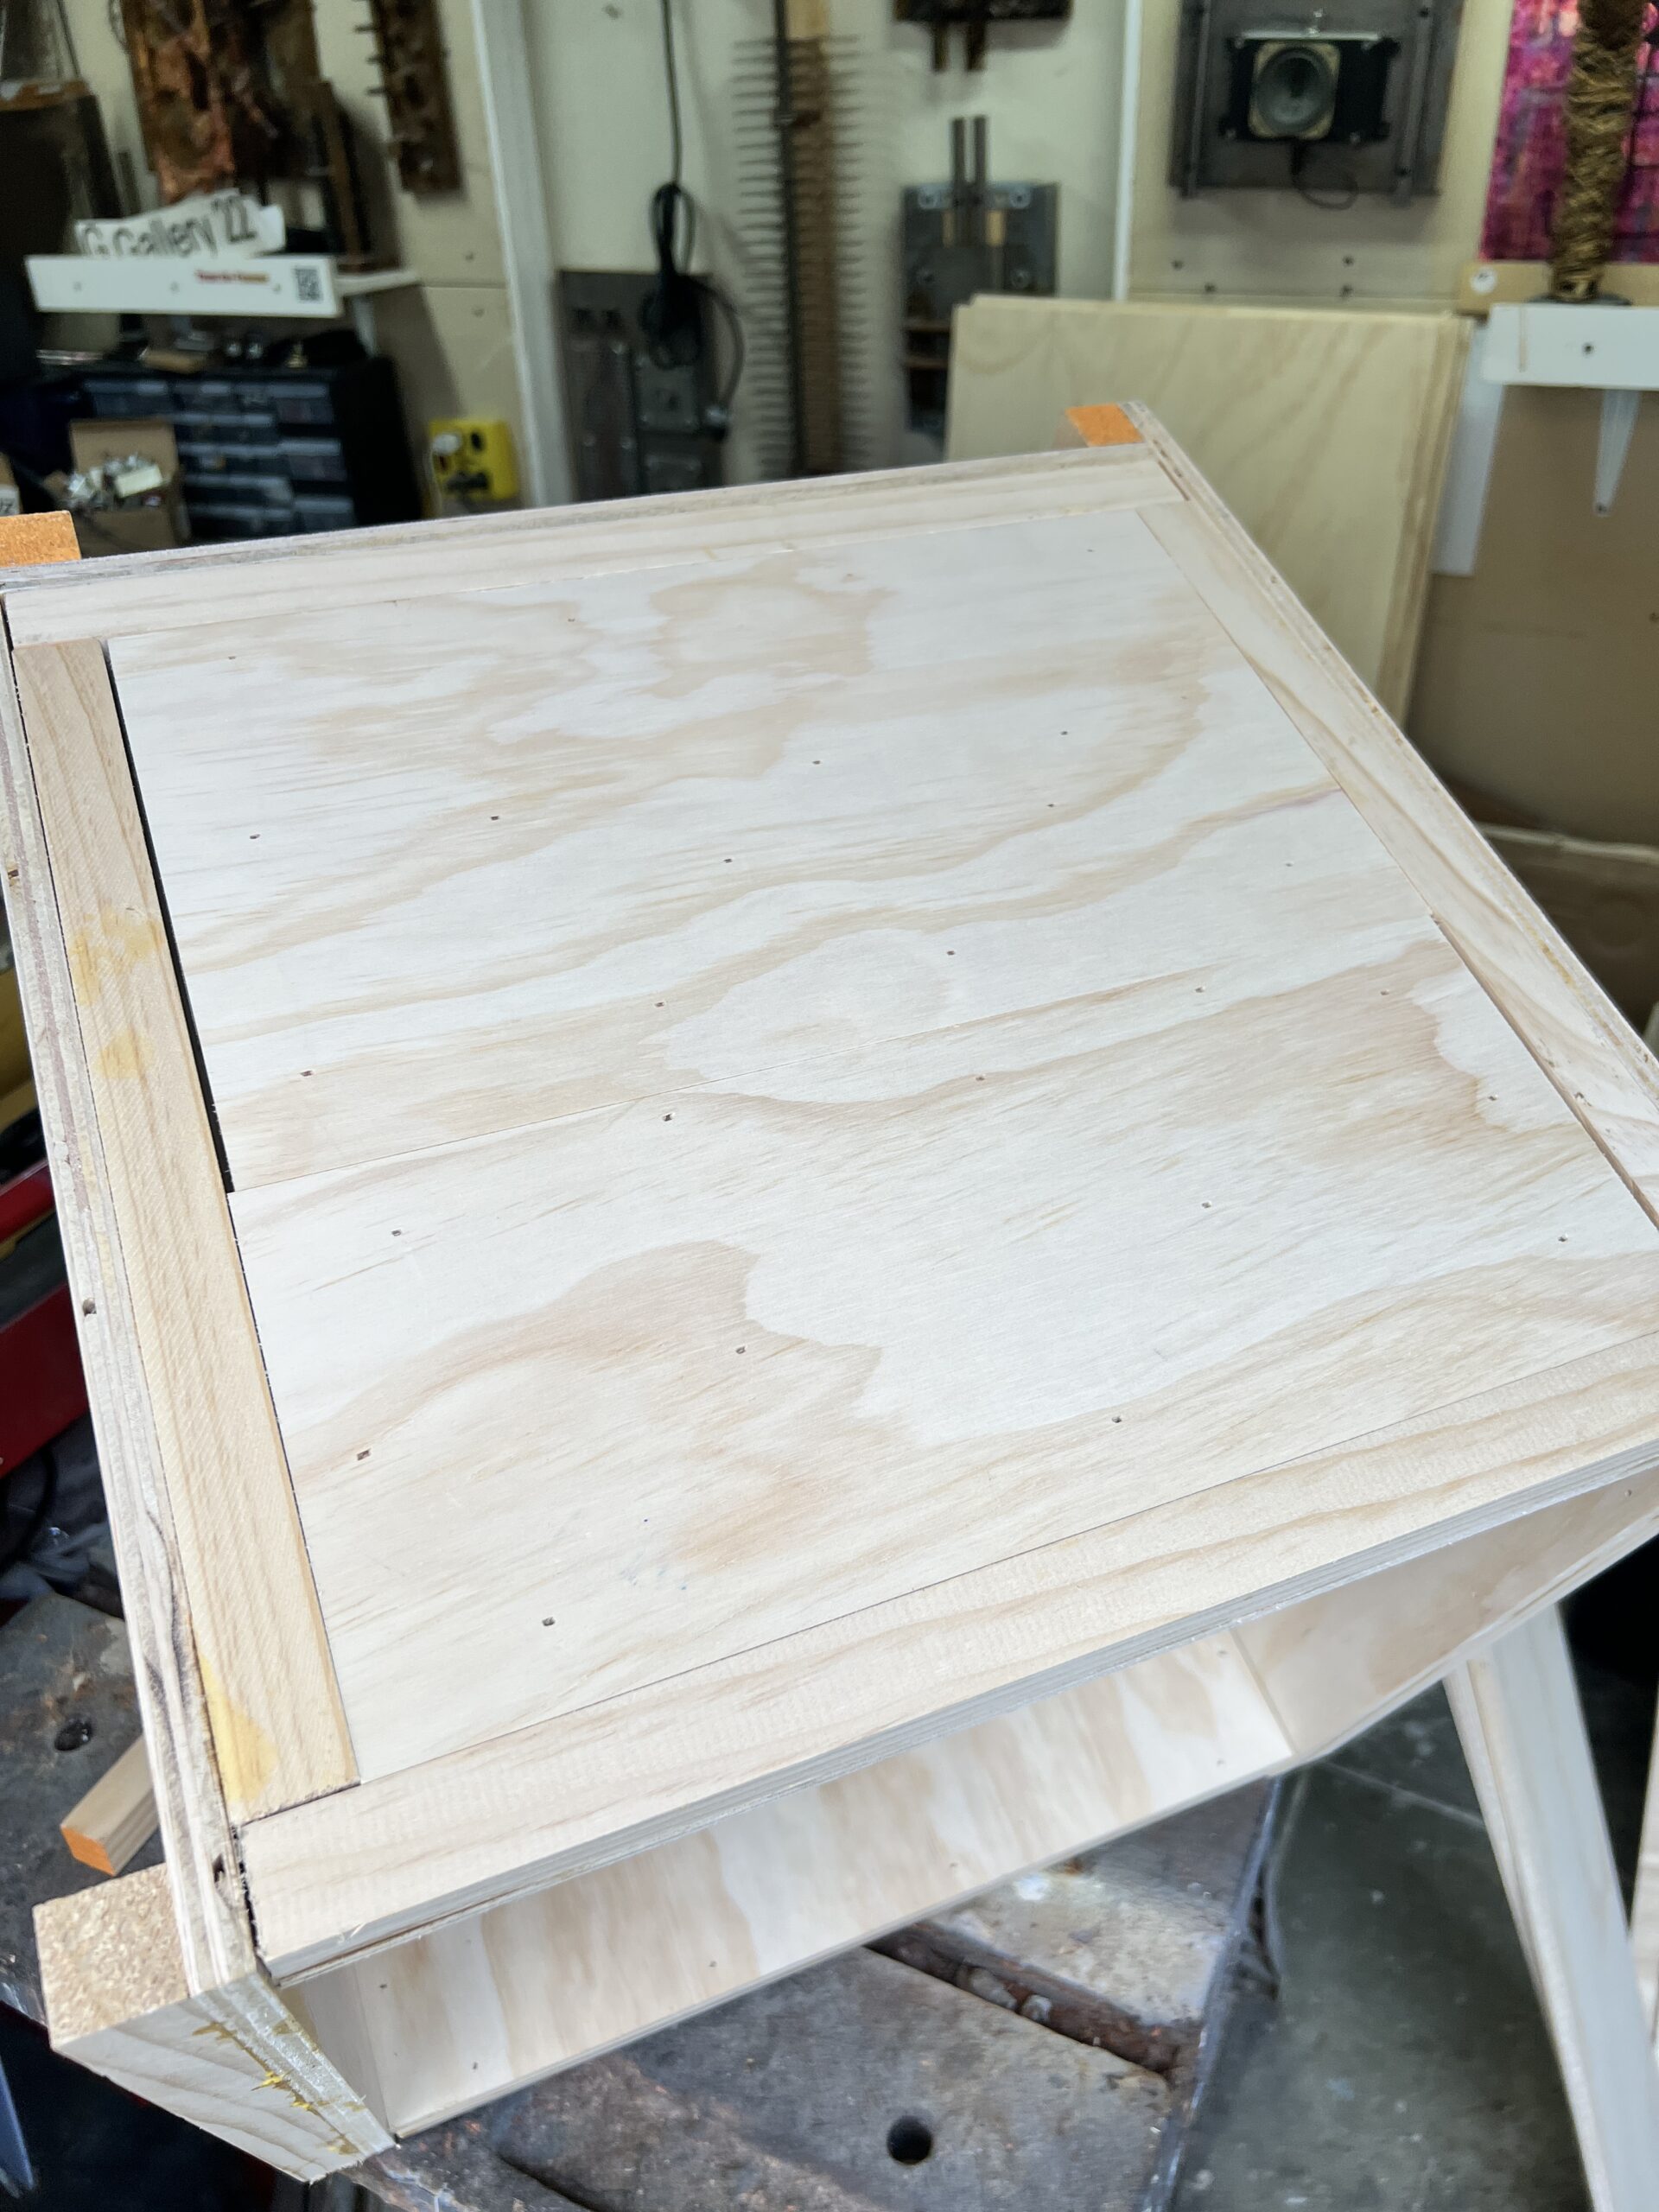
Bottom is slid inside and attached with glue and 1″ nails. Square to the sides and back.
Square to the back.
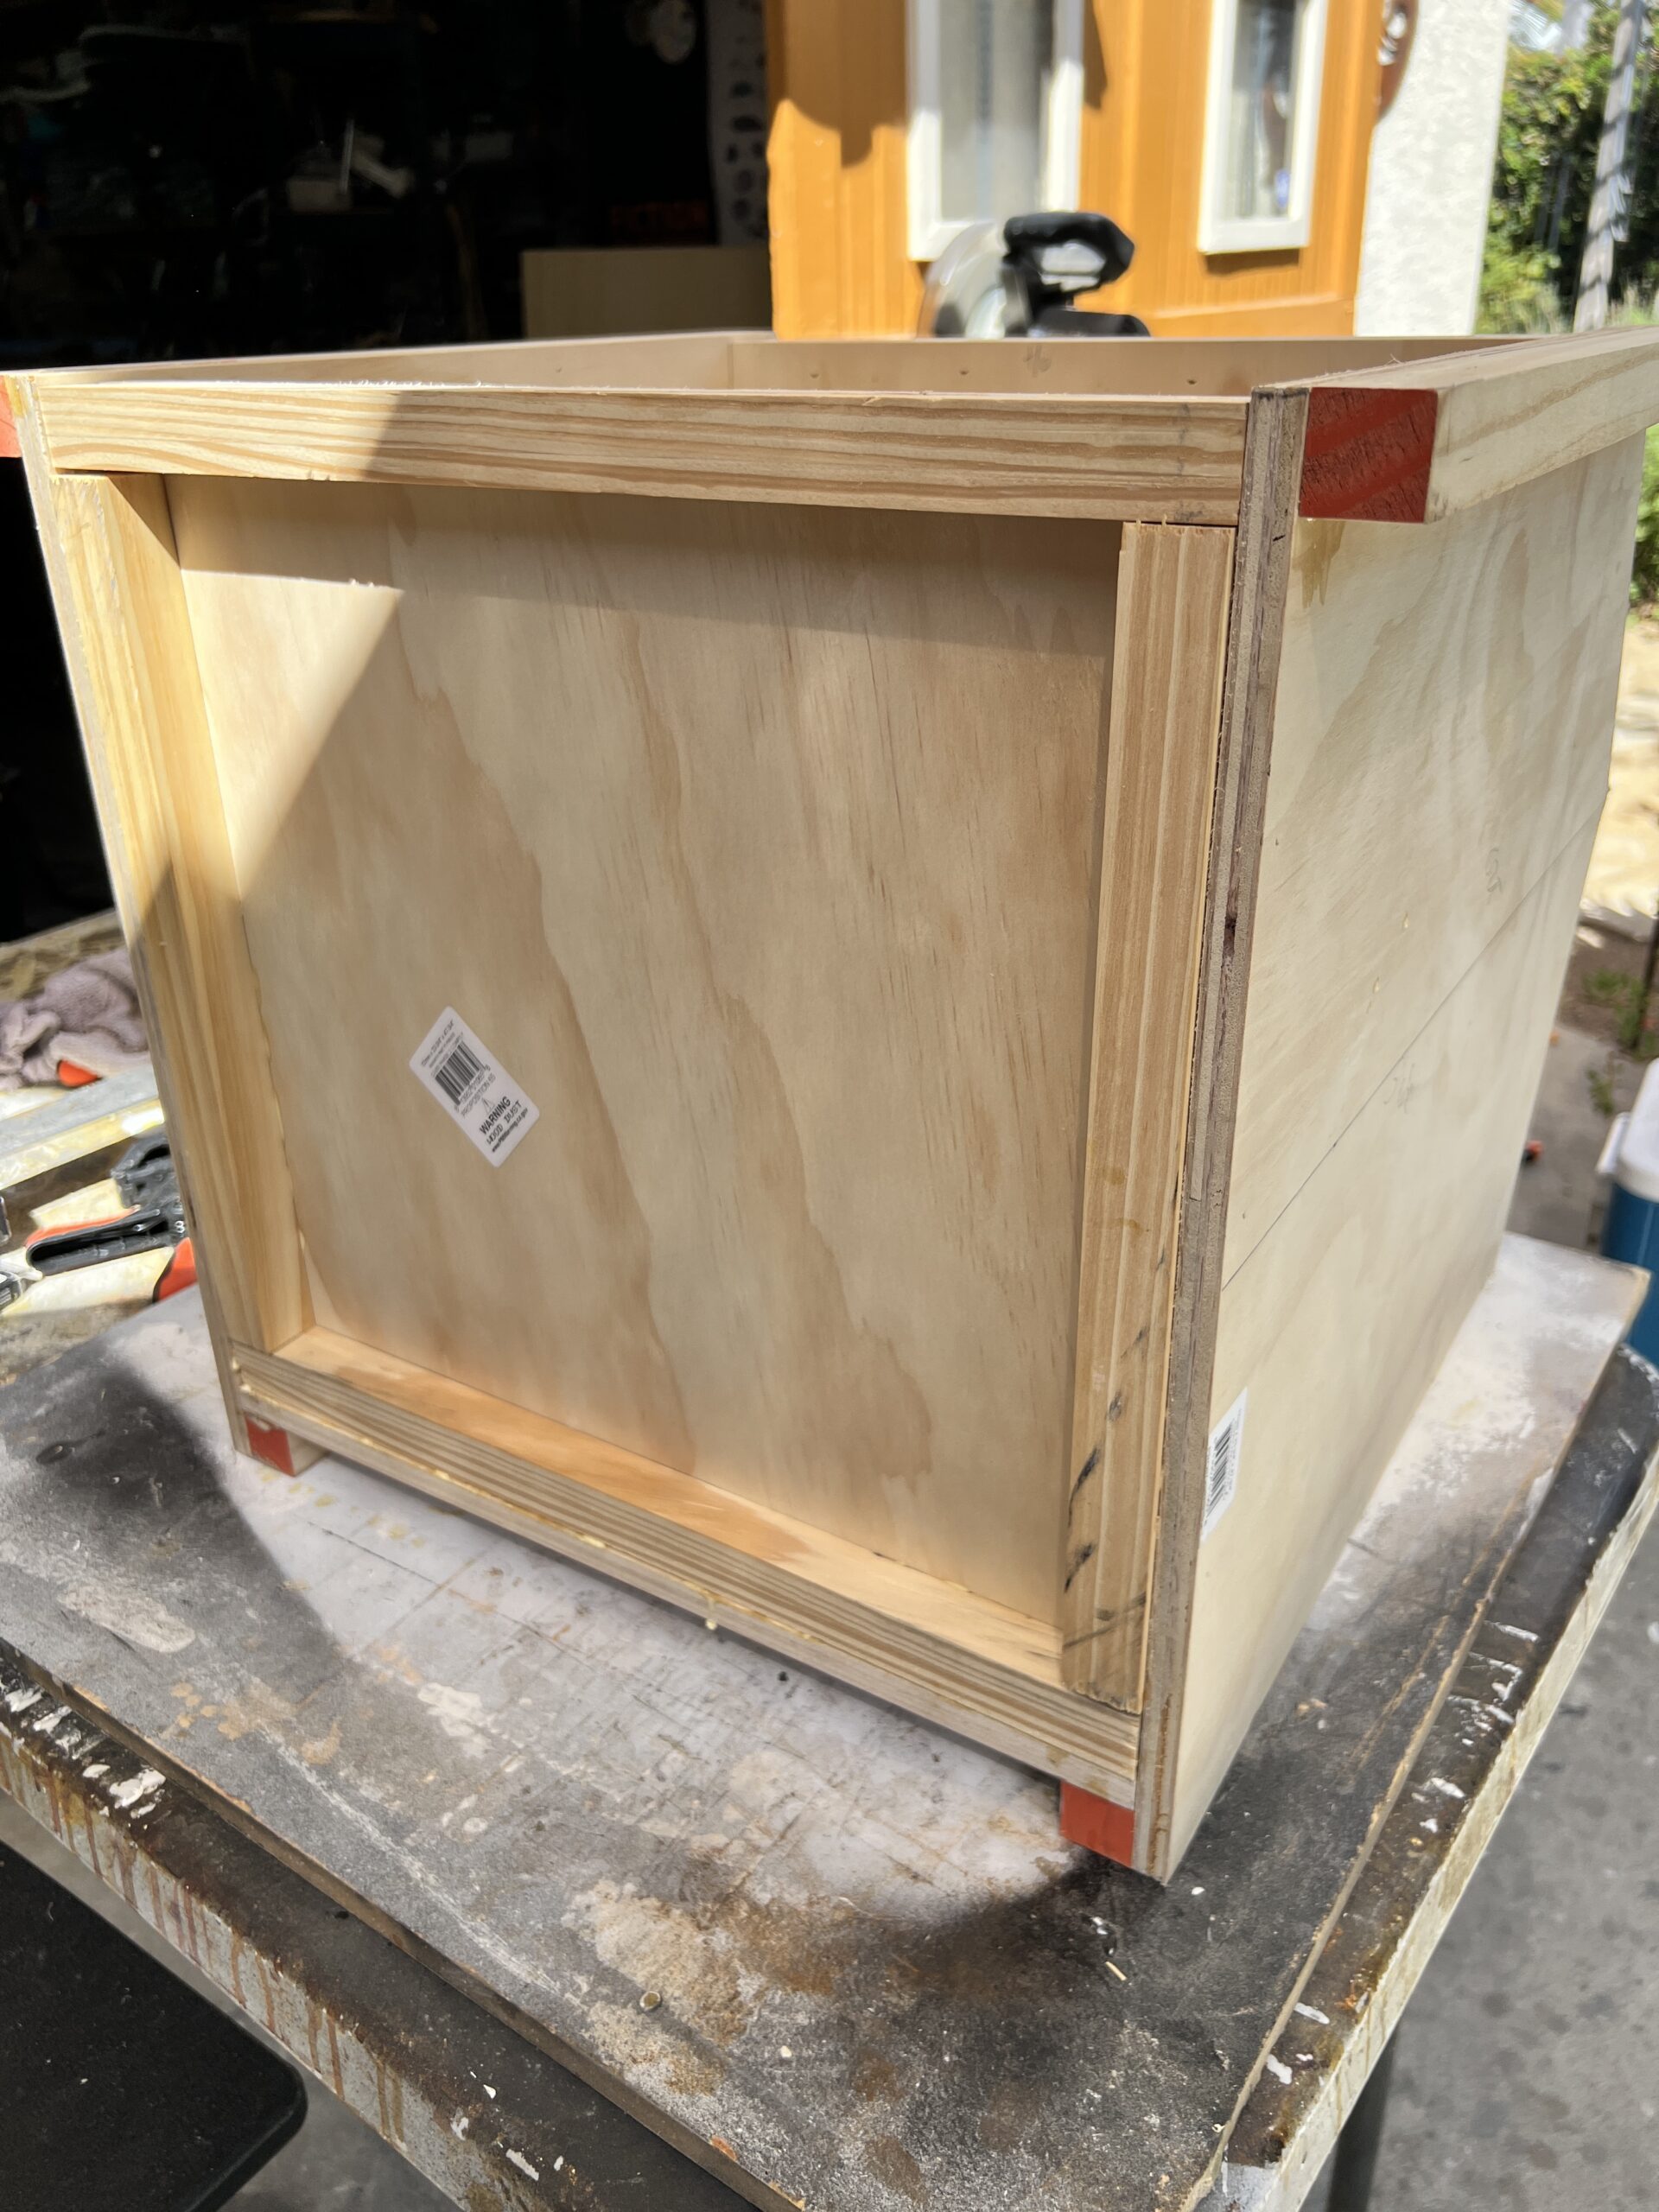
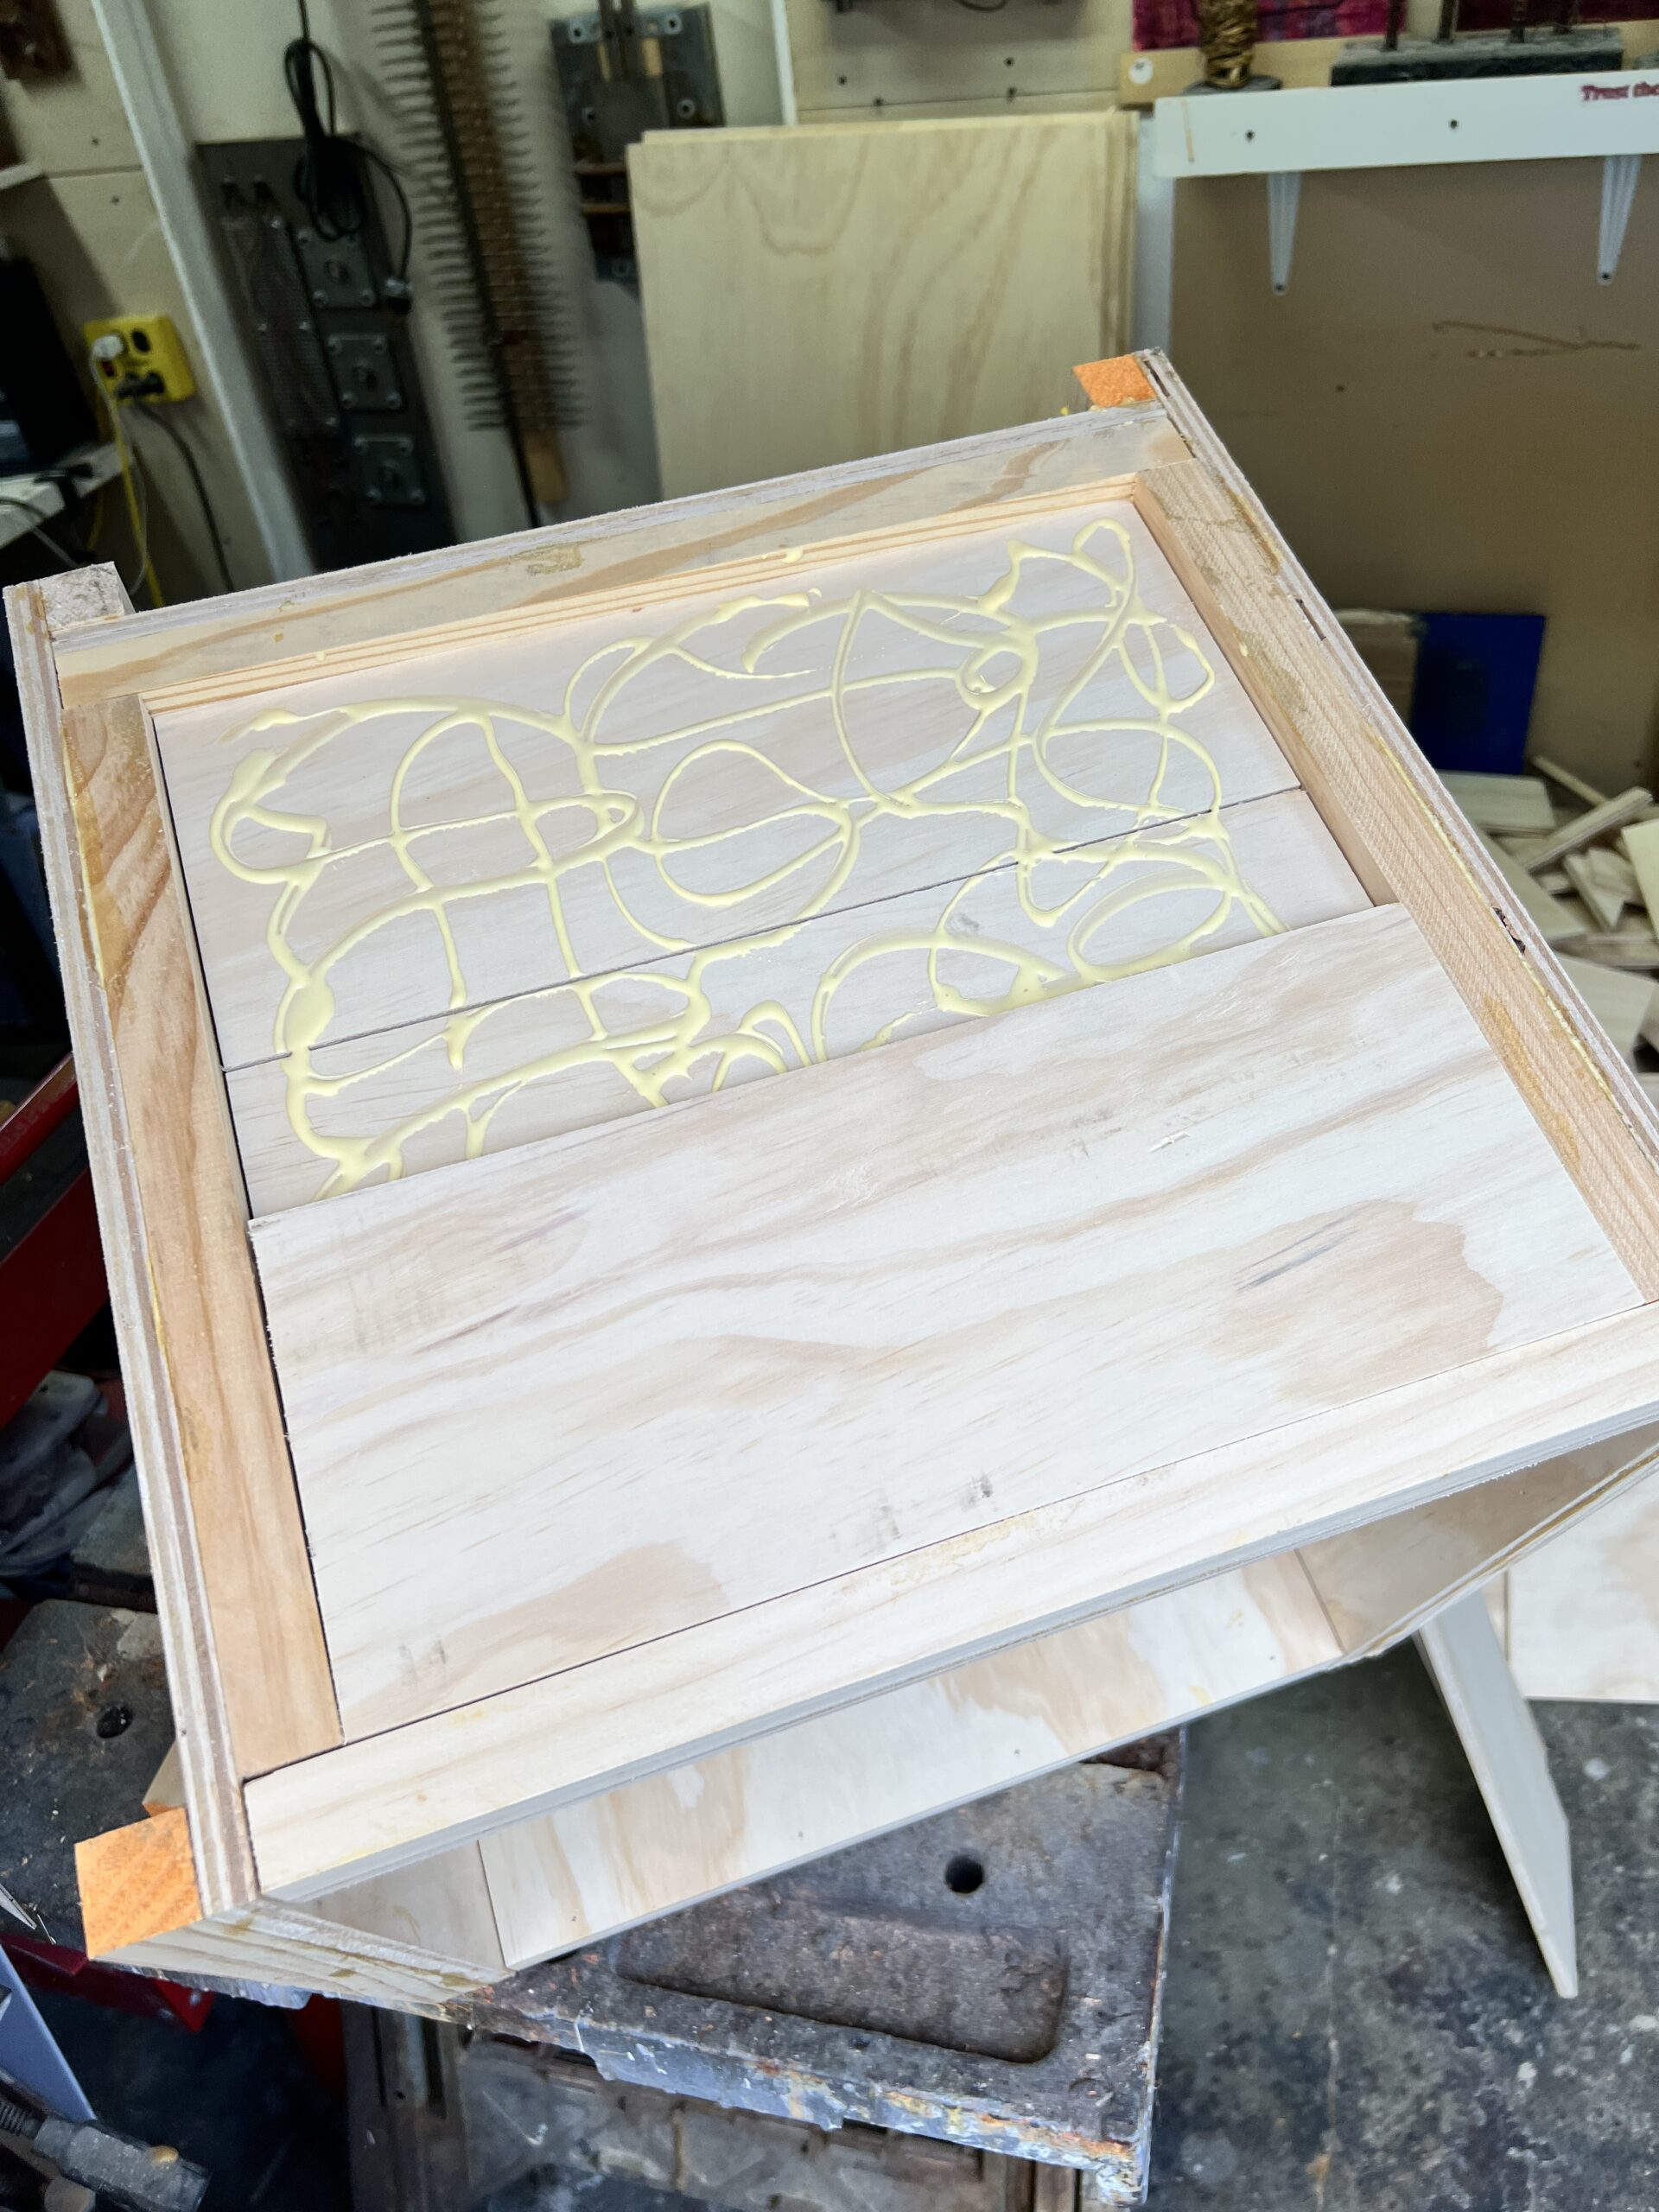
Top and bottom glued and inserted. One does need to spread the sides a bit to fit either the top/bottom in-between the two sides. Have learned that the bottom is easiest to do first then the top last. The top goes in from the back/top with the box sitting on its back facing up.
Top.
Bottom
To give the box a solid bottom to attach the post to, I use left over pieces. These create 1 1/2″ for the bottom in total thickness.
First two 1/2″ pieces glued.
Next two 1/2″ pieces glued and nailed.
Finished bottom.
1″ x 1″ are cut and glued/nailed for the roof to attach to.
Ready for roof (shown with inserts). The top two “peaks” are lightly rounded to create a “curve” for the roof to settle on.

1″ wide weather stripping is applied to the top two side edges where the roof sits on the box. Note: thin black line under the roof.
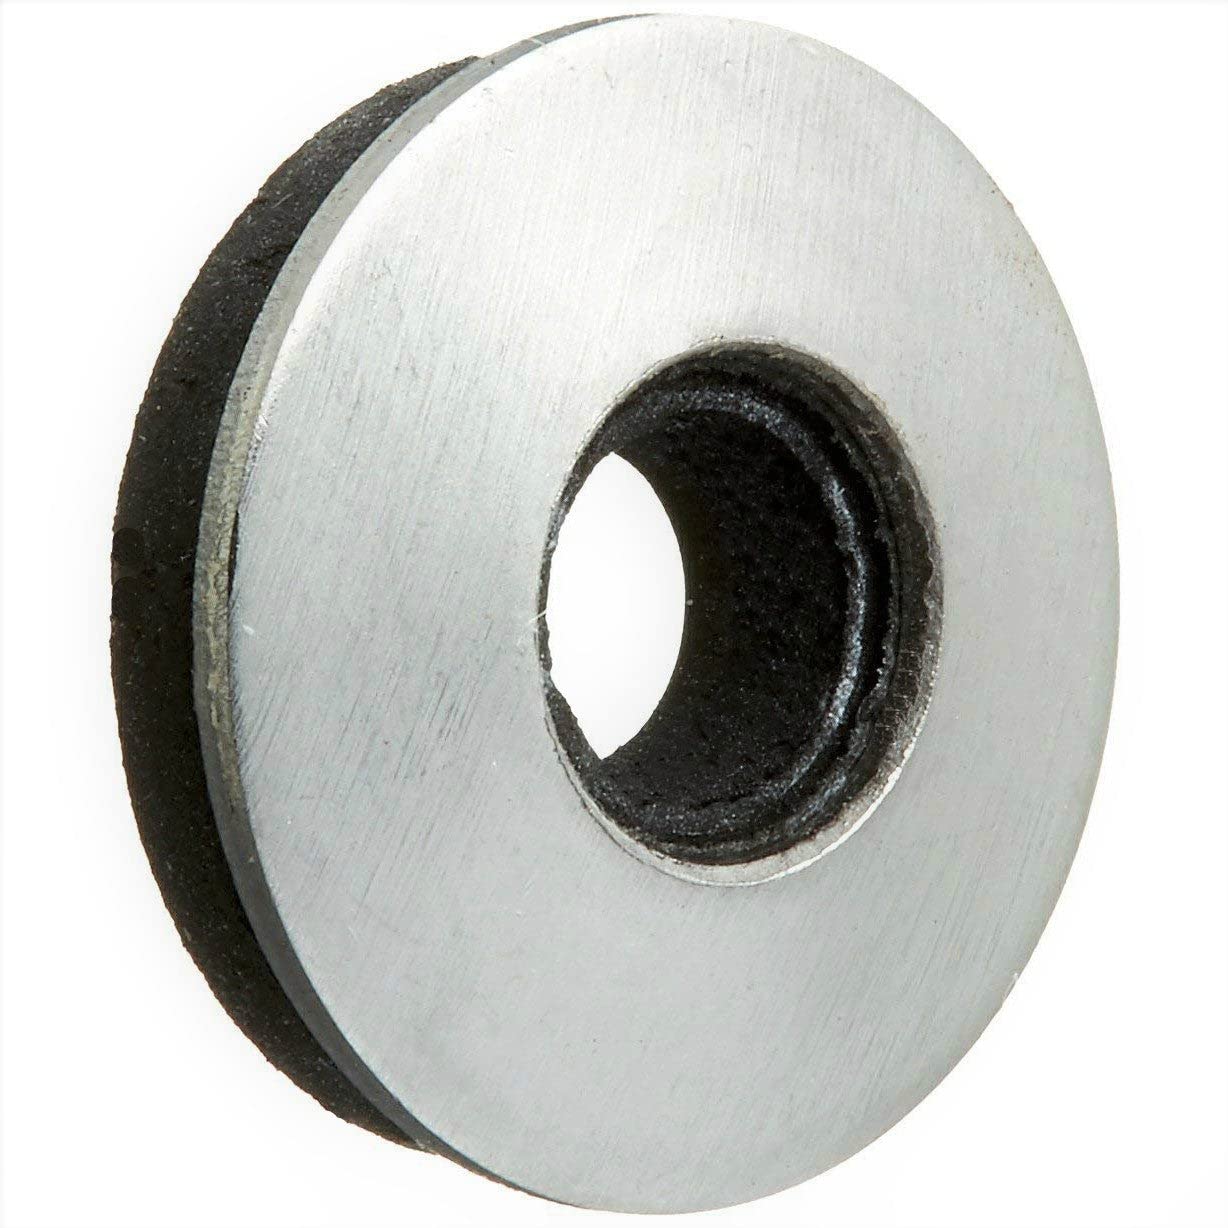
Roof is 24″ x 24″ 26 gauge cold-rolled steel. Bent in the middle to fit the angle (approx 25 degrees) with the sides being bent to create a surface for water to roll off. The distance at the front bend is 2″. Stainless steel screws are used front and back with 1/4″ Stainless Steel EPDM Bonded Sealing Neoprene Rubber Washers to hold the roof in place.
These are screwed into the side edges, where the weather stripping lies, half way down the front and back for the roof. See image below.
With inserts. These are 3/8″ thick plywood and are cut slightly smaller than the inside dimensions.
Floor is 15 3/4″ w x 15″ d (goes in first and uses felt pads at corners for easy sliding in/out)
Back is 15 3/4″ w x 13 1/4″ h (goes in next and sits on top of floor)
Sides are 14 5/8″ d x 13 1/4″ h (go in last and site against back while sitting on top of floor.
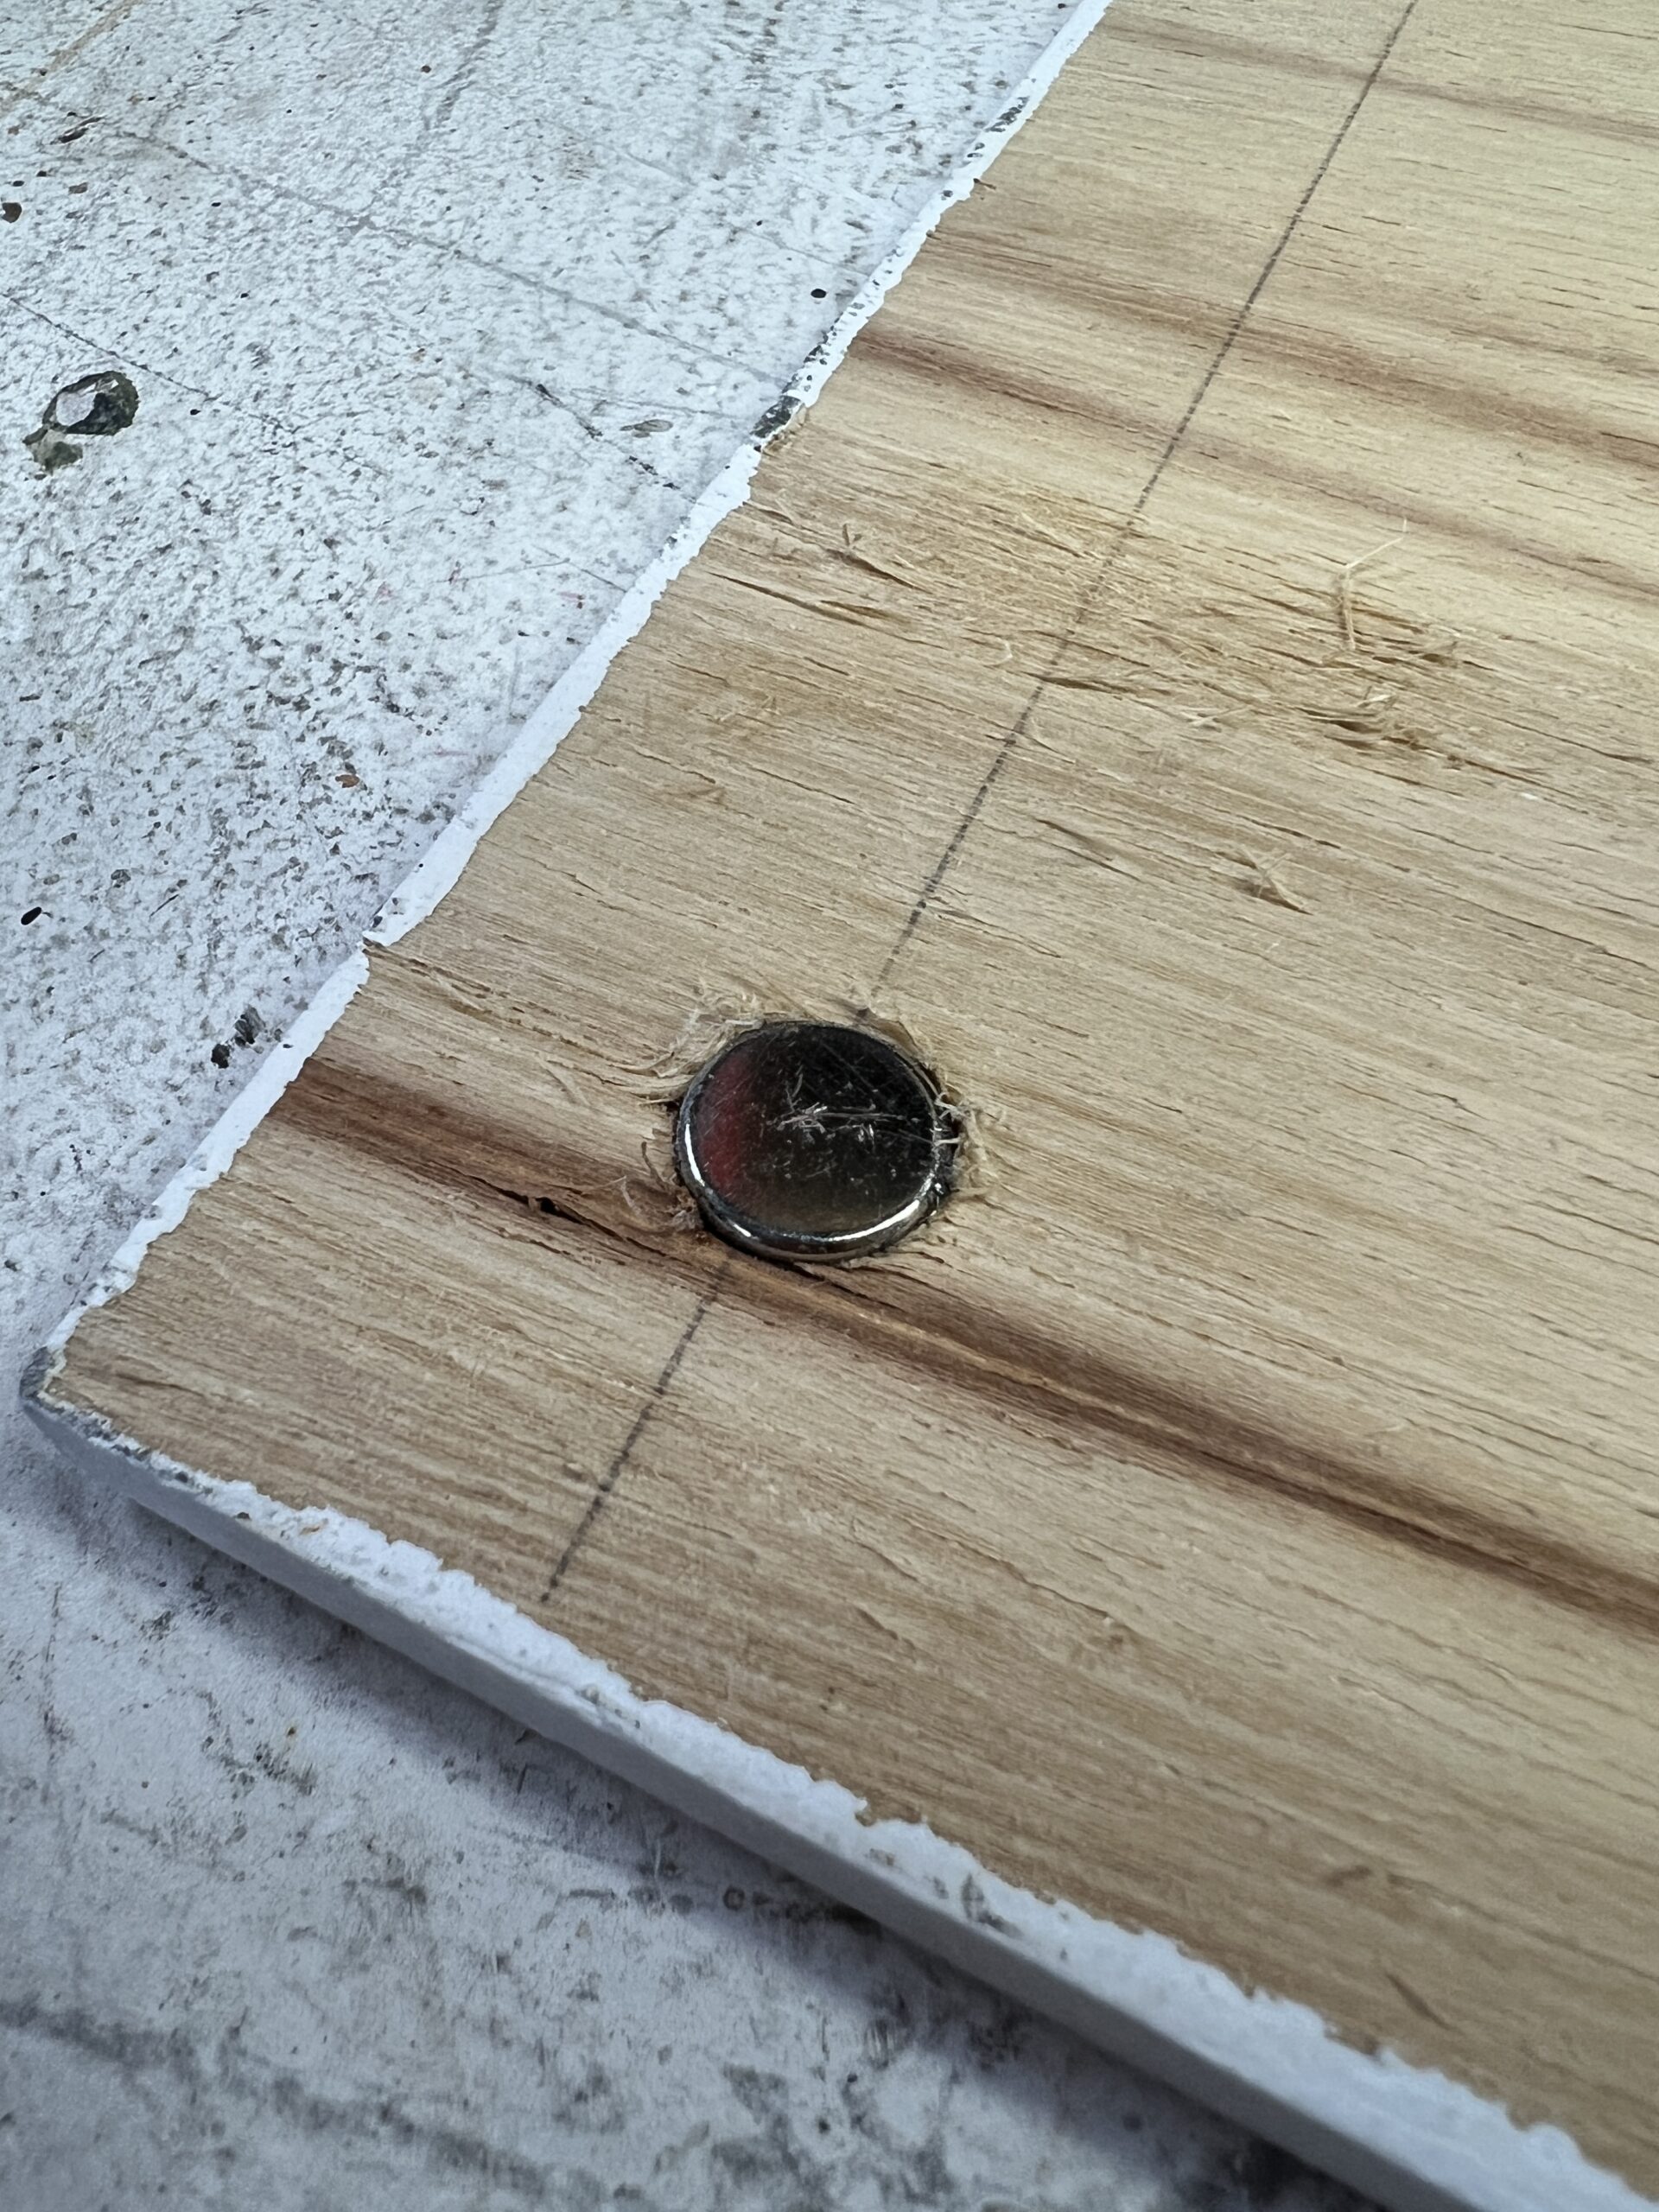
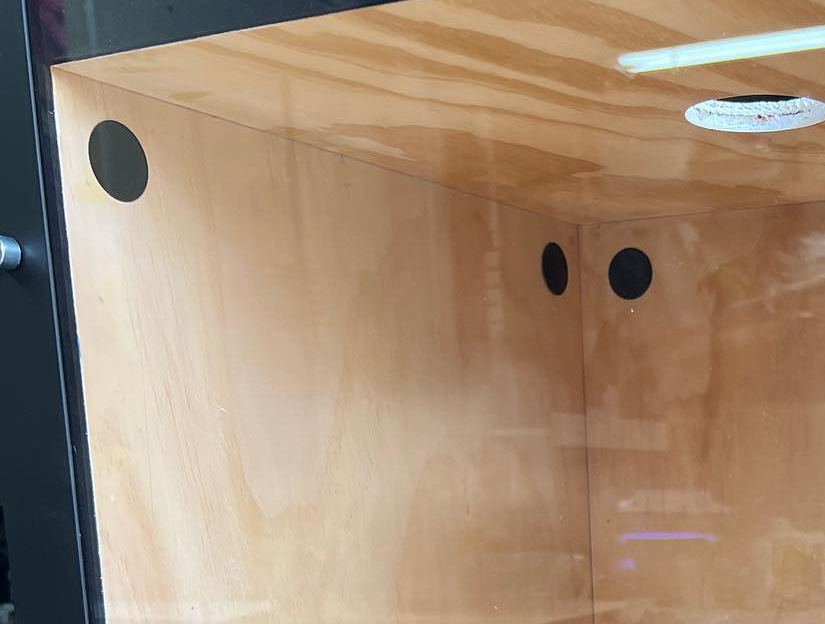
Inserts are held in place with counter sunk magnets. The magnets attached to black metal discs glued to the inside back/sides. See below.
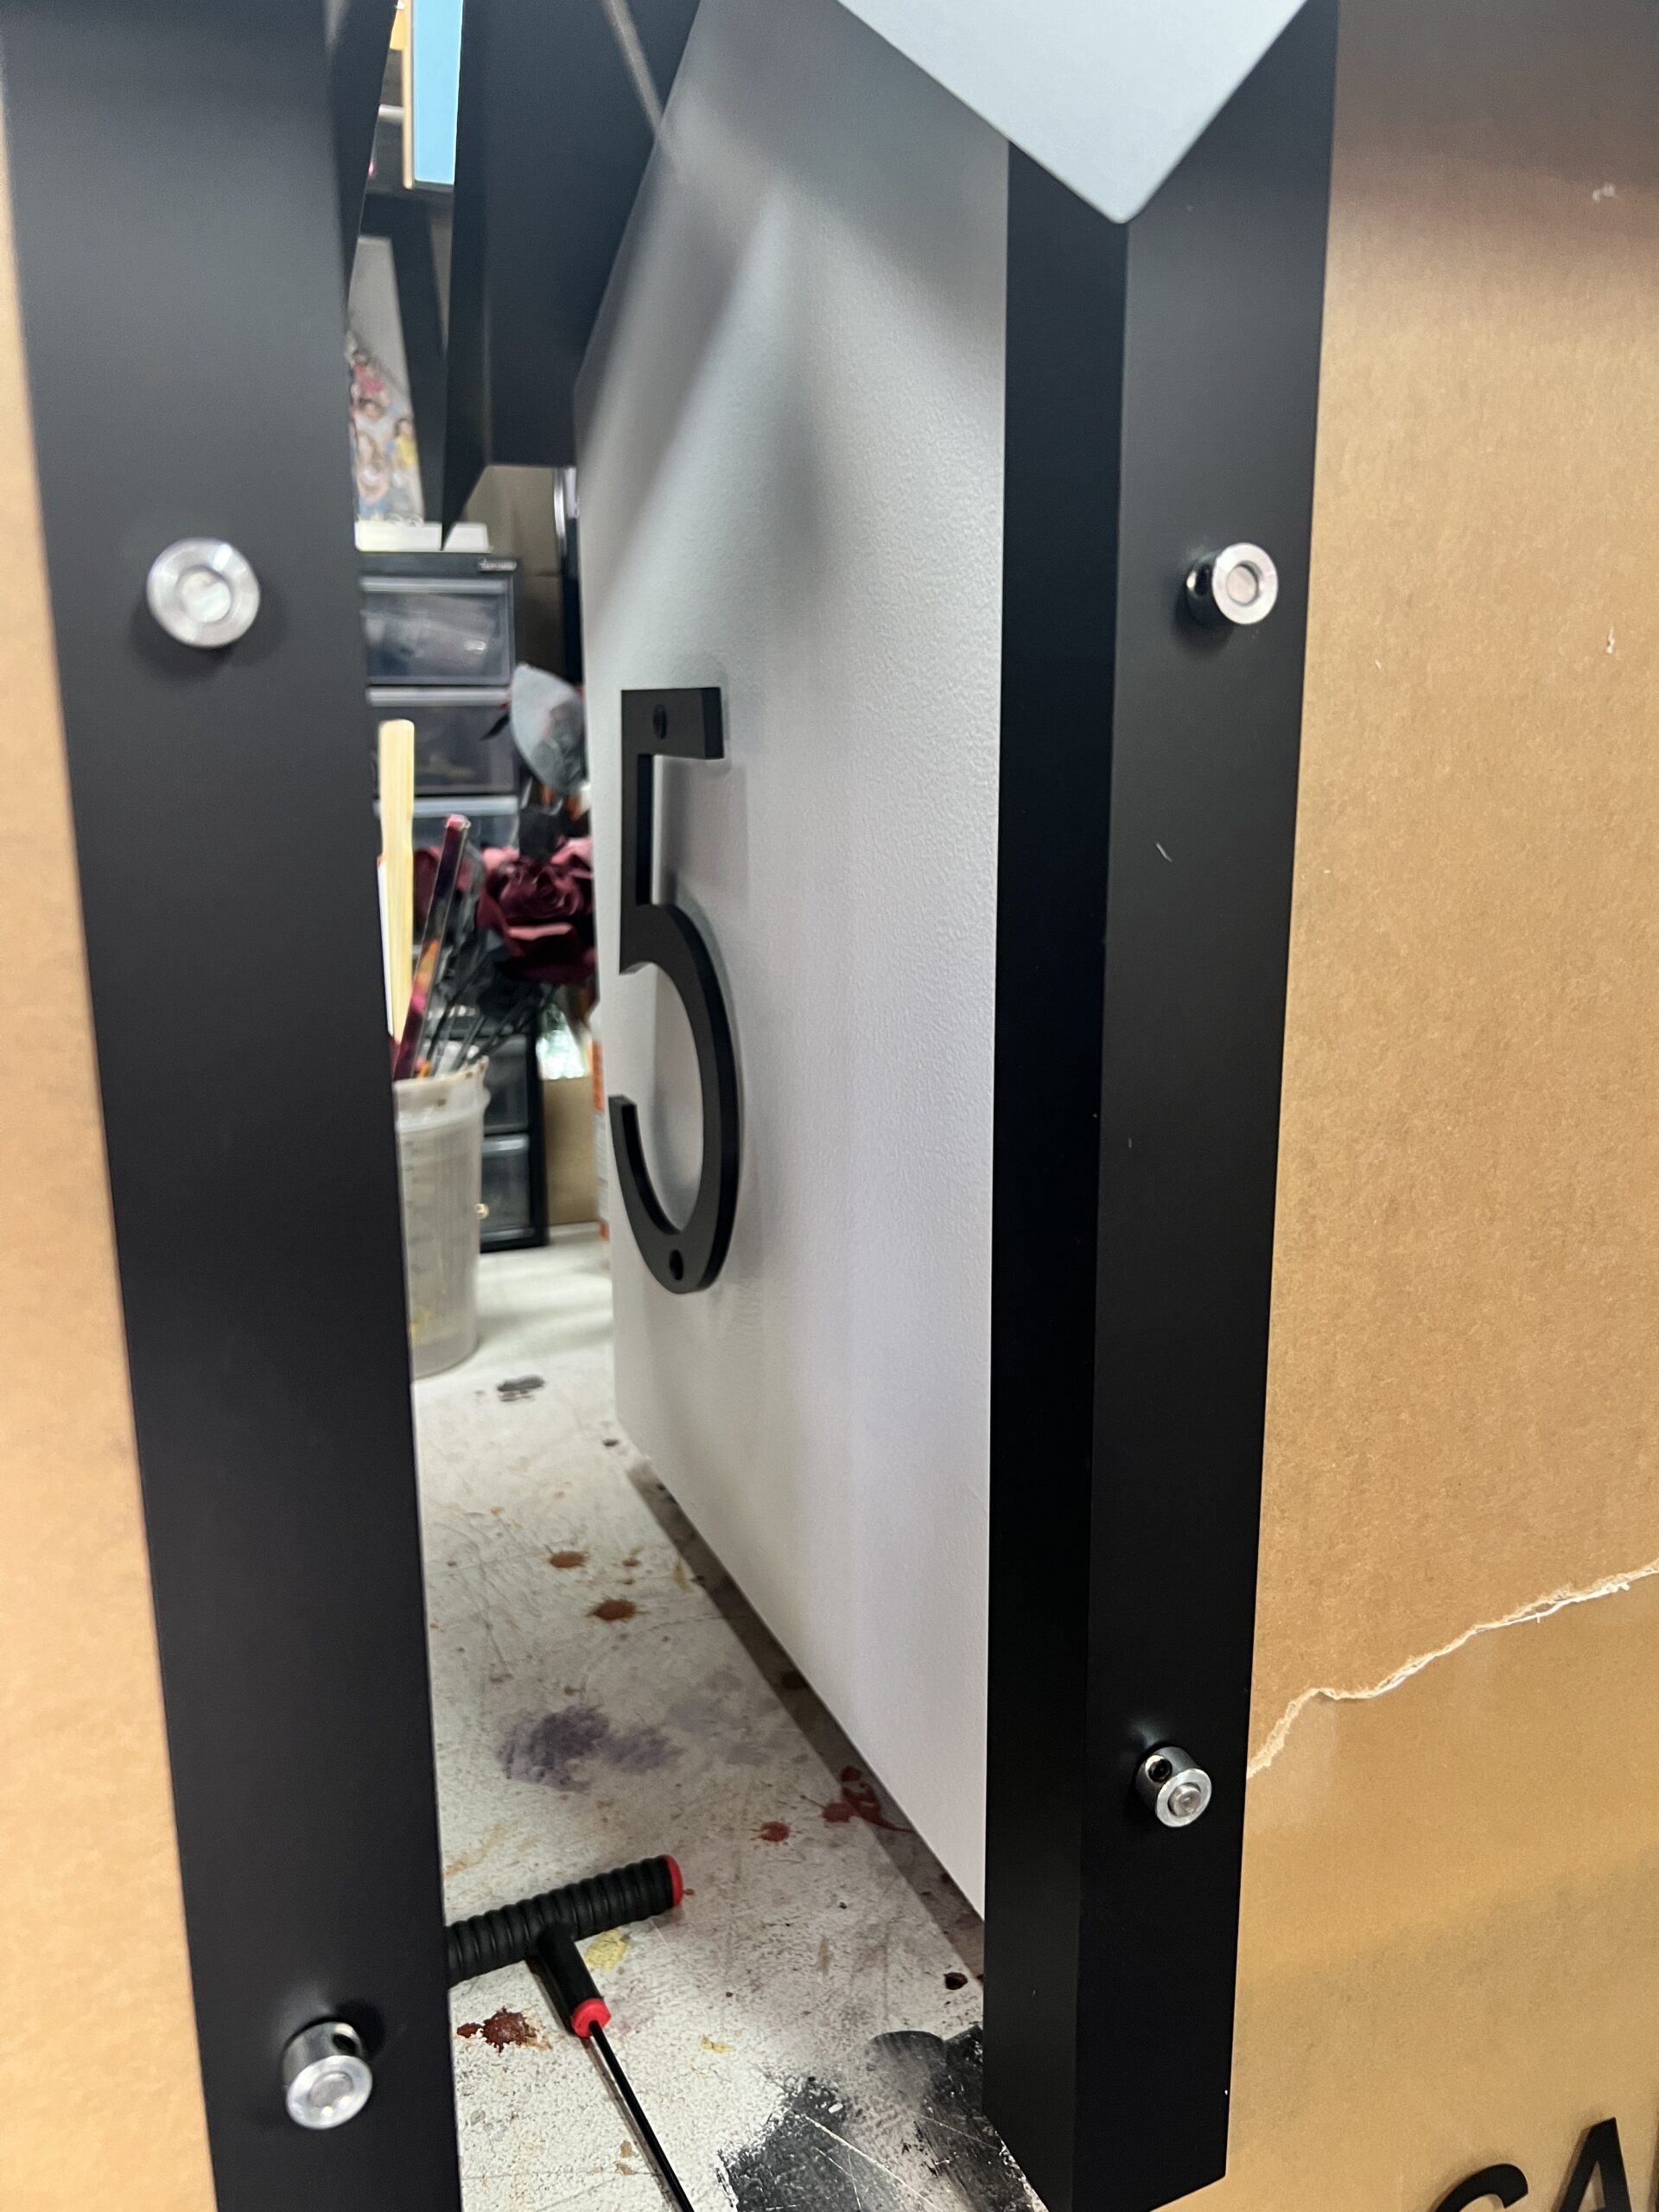
1/4″ cast acrylic is held in place with 1/4″ studs. These are approx. 1 1/8″ long and sunk/glued into 1/4″ holes drilled into the 1″ x 1″ pieces on the front. 1 1/2″ x 17″ aluminum angle sits over the acrylic holding it in place. 3/8″ holes are drilled through both the acrylic and aluminum for the 1/4″ studs to pass through.
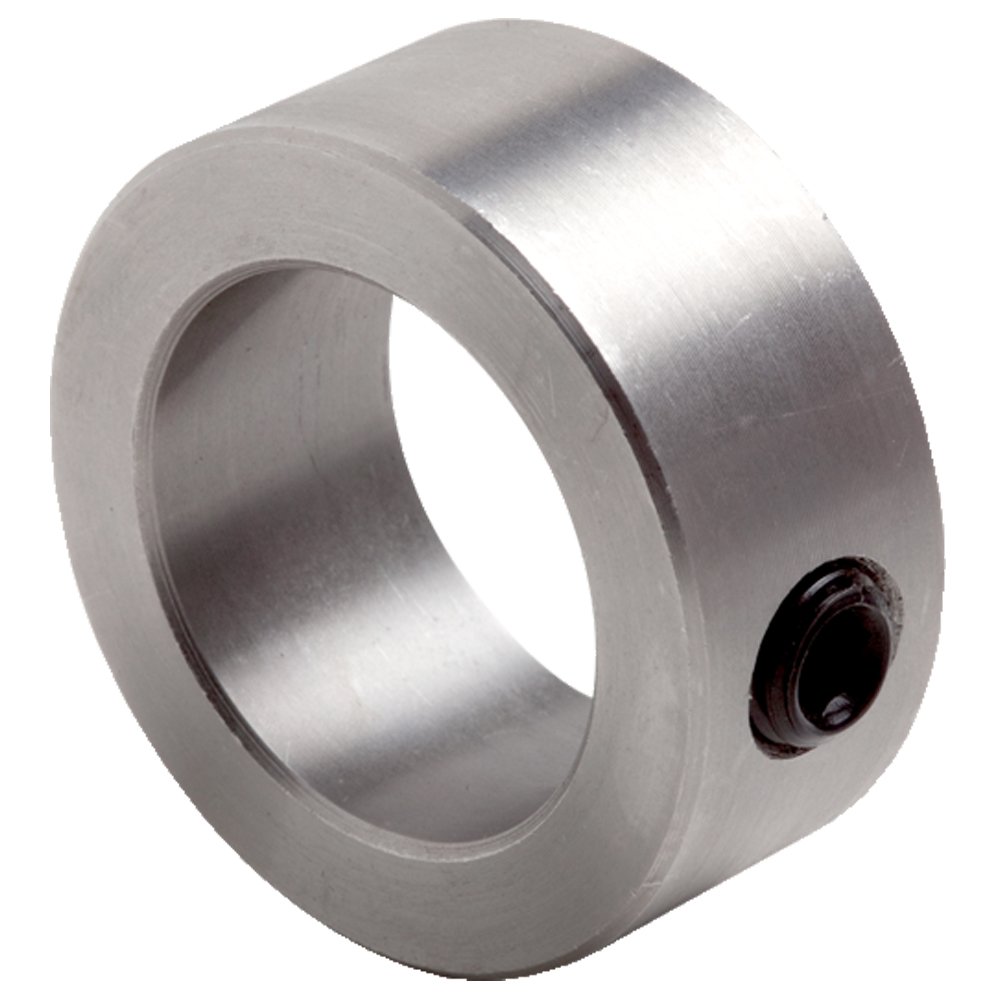
Use Shaft Collar (with 10″-32″ Set Screw, One Piece, Set Screw Style, Zinc Plated Steel, 1/4″ Bore, 1/2″ OD, 5/16″ Width) are used on the 1/4″ studs to “lock ” it tight.
All nail holes and wood imperfections are patched, sealed, and sanded. Four coats of exterior wood primer/sealer is used on all exterior surfaces.
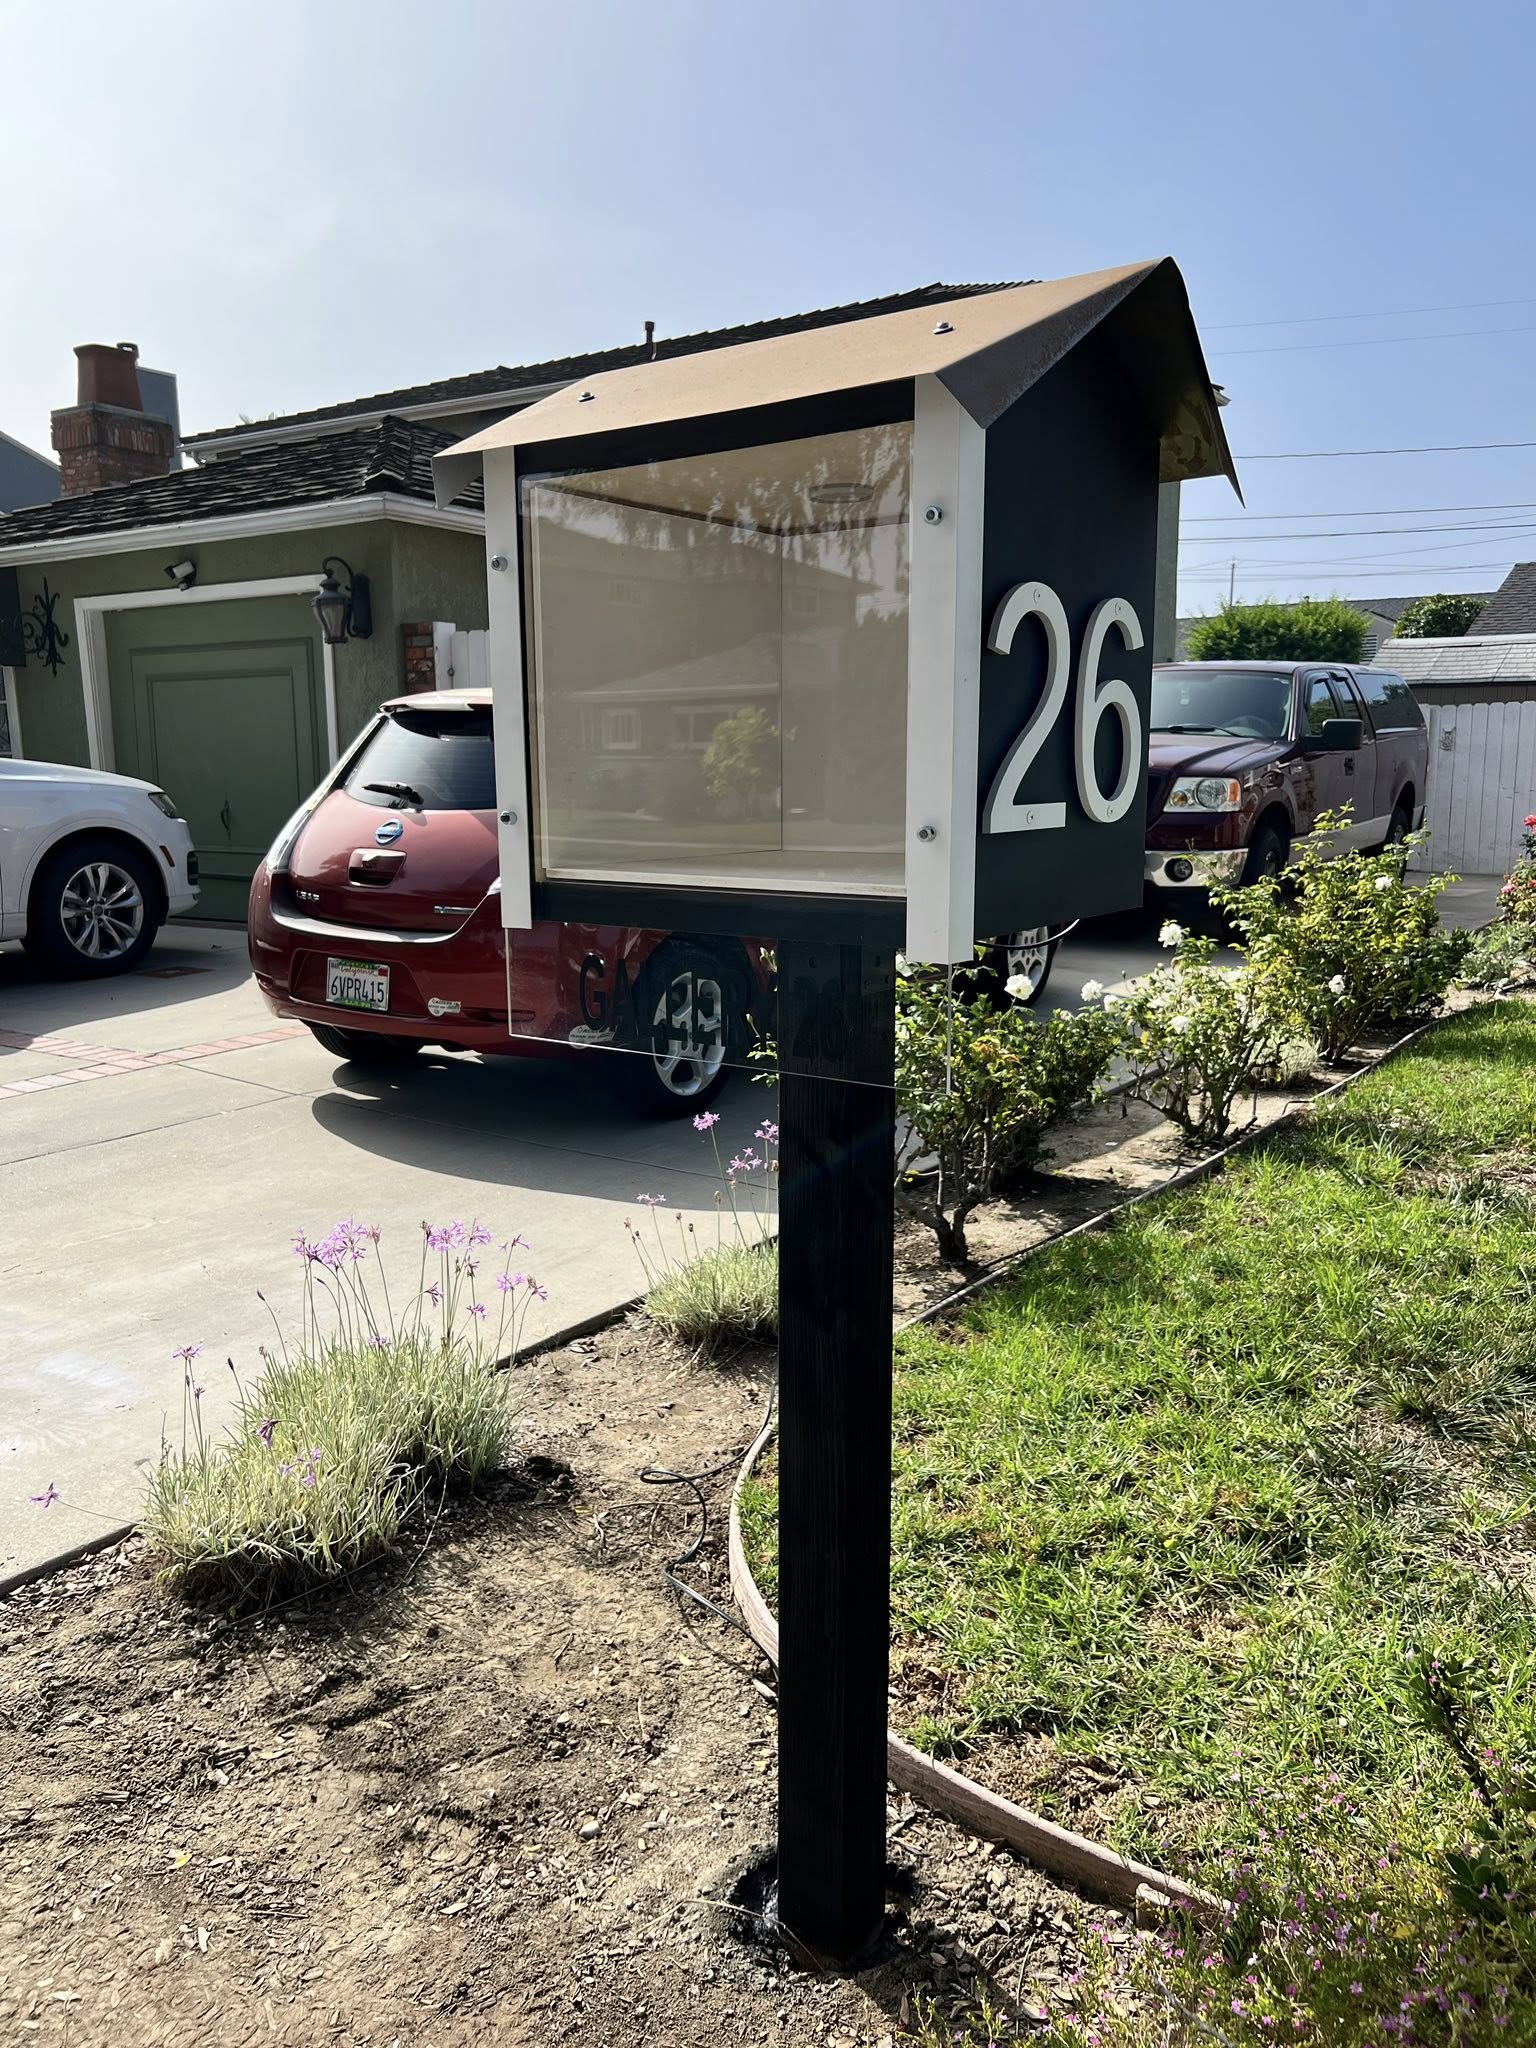
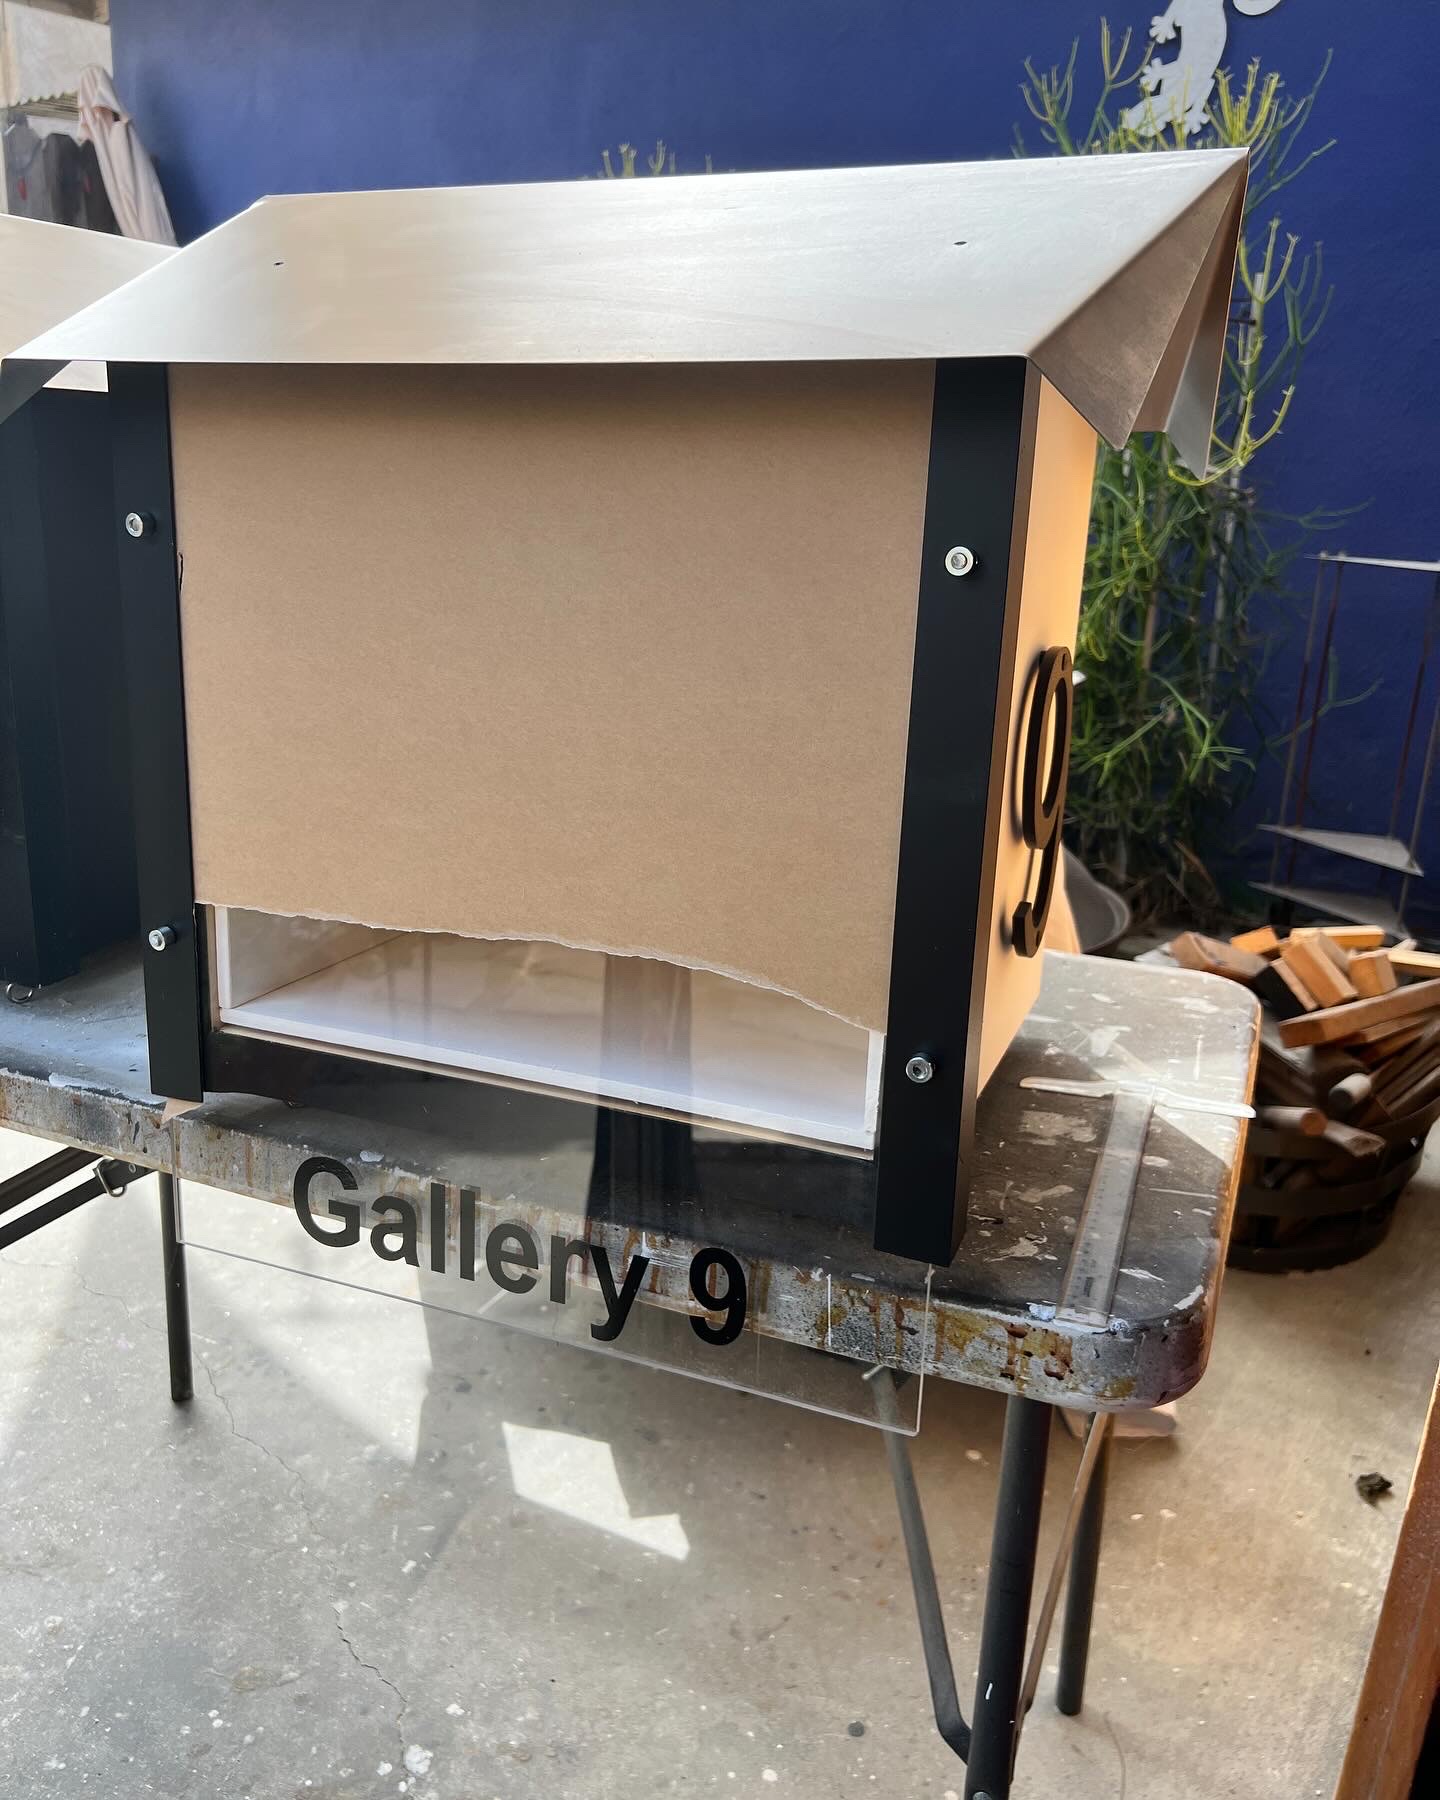
Finished gallery.
Site by 38thWeb.com